


Codemagic’s support for monorepos makes it easier to handle multiple projects inside the same repository. In this article, you will learn what a monorepo is, why you should use one and how to build your monorepo projects on Codemagic.
Written by Souvik Biswas
What is a monorepo?
A monorepo is a single repository consisting of multiple projects. For example, it can be a food ordering service that consists of two apps: one for delivery agents and one for buyers. It may also contain an application and its related API in the same repository.
Benefits of using a monorepo
The real advantage of using a monorepo to maintain multiple projects within a single organization depends on the structure of the projects. But more broadly, some of the benefits of using a monorepo are as follows:
Helps to maintain a single source of truth and provides better visibility to manage dependencies.
Supports collaboration across teams working on separate projects within the same organization.
Large-scale code refactoring is safer.
Now, let’s take a look at how you can build projects present inside a monorepo on Codemagic.
Getting started
To build a project, you first have to add the repository to Codemagic. In case you are not a Codemagic user yet, you can sign up here:
In this demonstration, we will use a monorepo for a ride-hailing service consisting of two apps, one for the drivers (present in the drivers_app directory) and the other for the passengers (present in the passengers_app directory).
You can follow the steps below:
Add your repository to Codemagic by clicking on the Add application button on the Applications page.

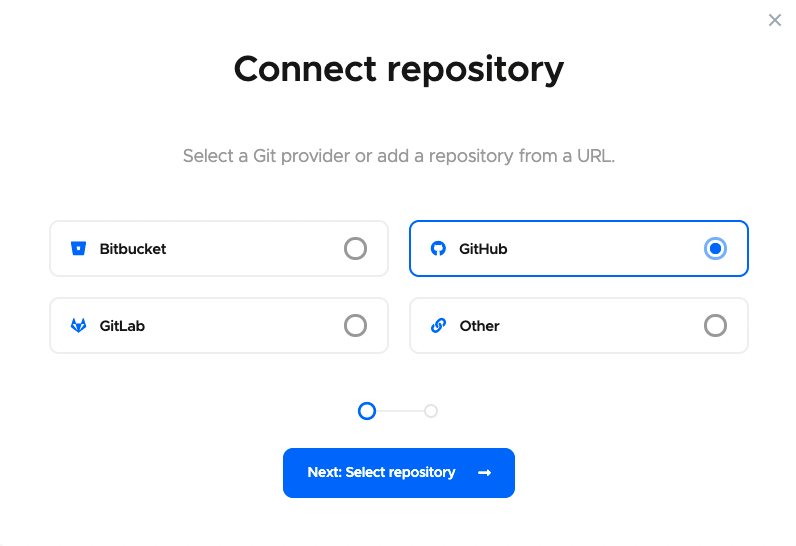
Select a Git provider or add a repository using a URL.
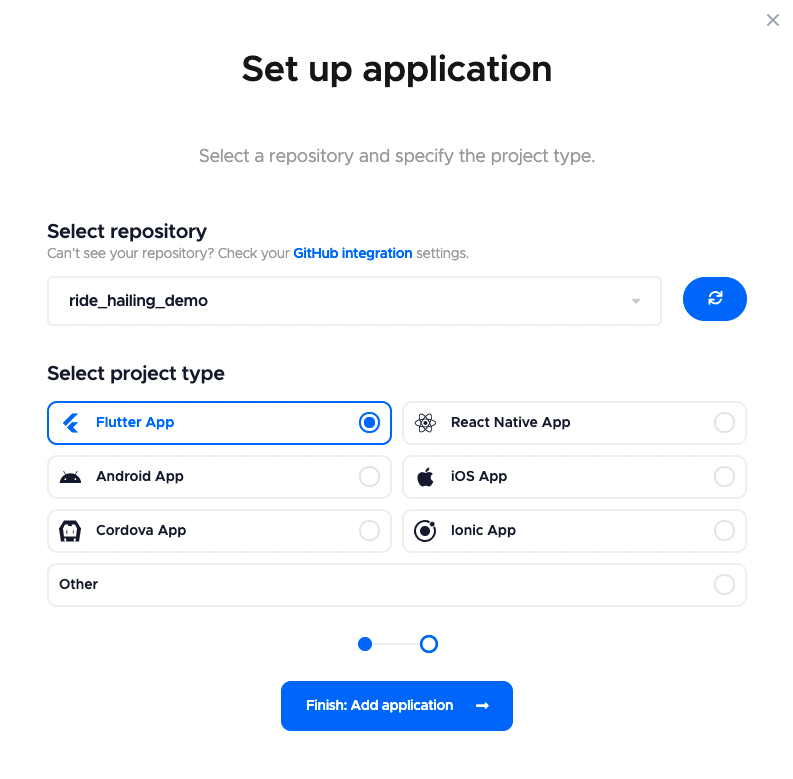
Choose the repository that you want to add, and select the project type. If your monorepo contains projects with multiple frameworks, you can choose Other, and give it a name (e.g., Monorepo).
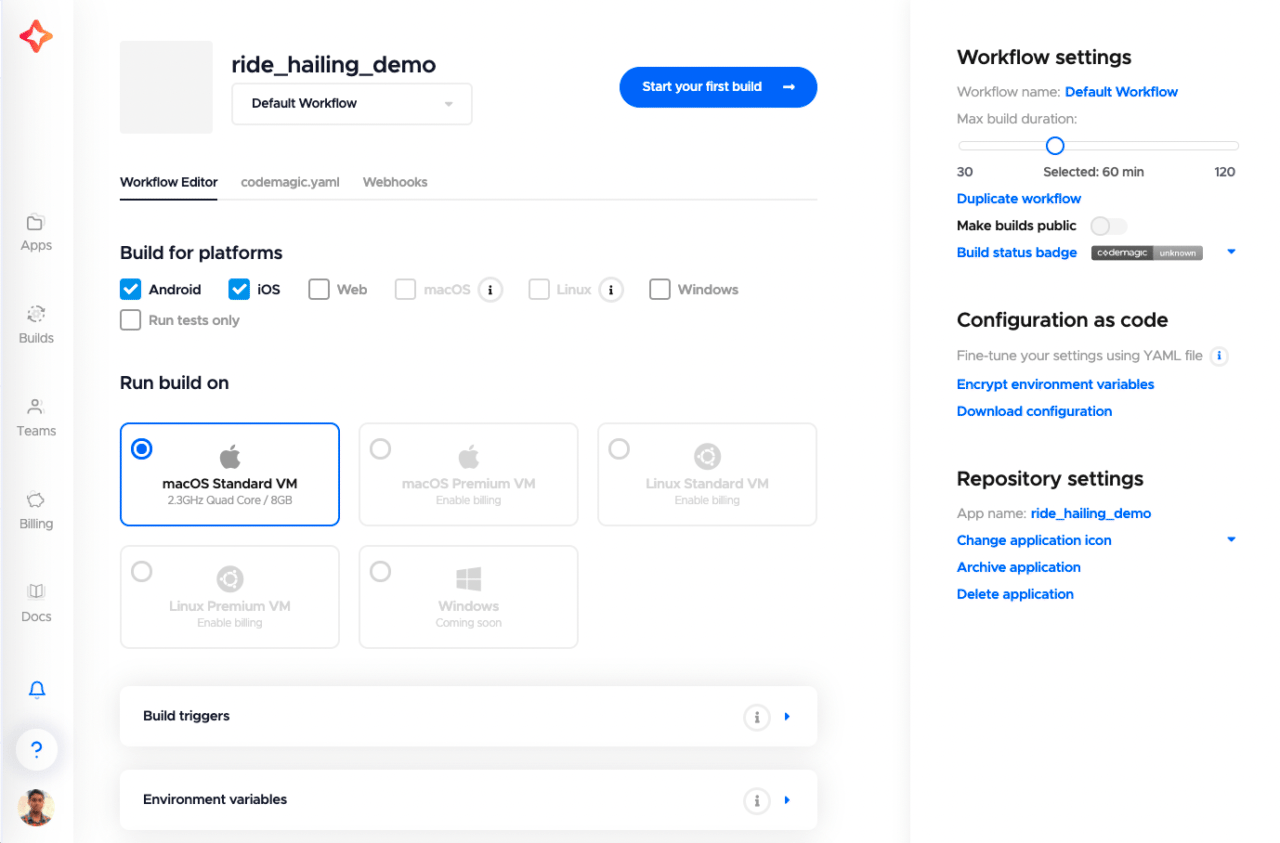
This will take you to the project settings page of the repository that you just added.
If you want to build Flutter projects using the Workflow Editor, then you can continue. Otherwise, if you want to use the codemagic.yaml file, then head over to the Using Codemagic YAML section.
Using Flutter Workflow Editor
You can use the Flutter Workflow Editor on Codemagic if you want to build Flutter apps present inside the monorepo.
Follow the steps below to build the projects present inside this monorepo:
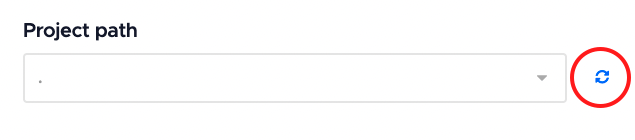
On the project settings page, scroll down to the Build section. Here, you can choose the Project path of the Flutter app that you want to build.
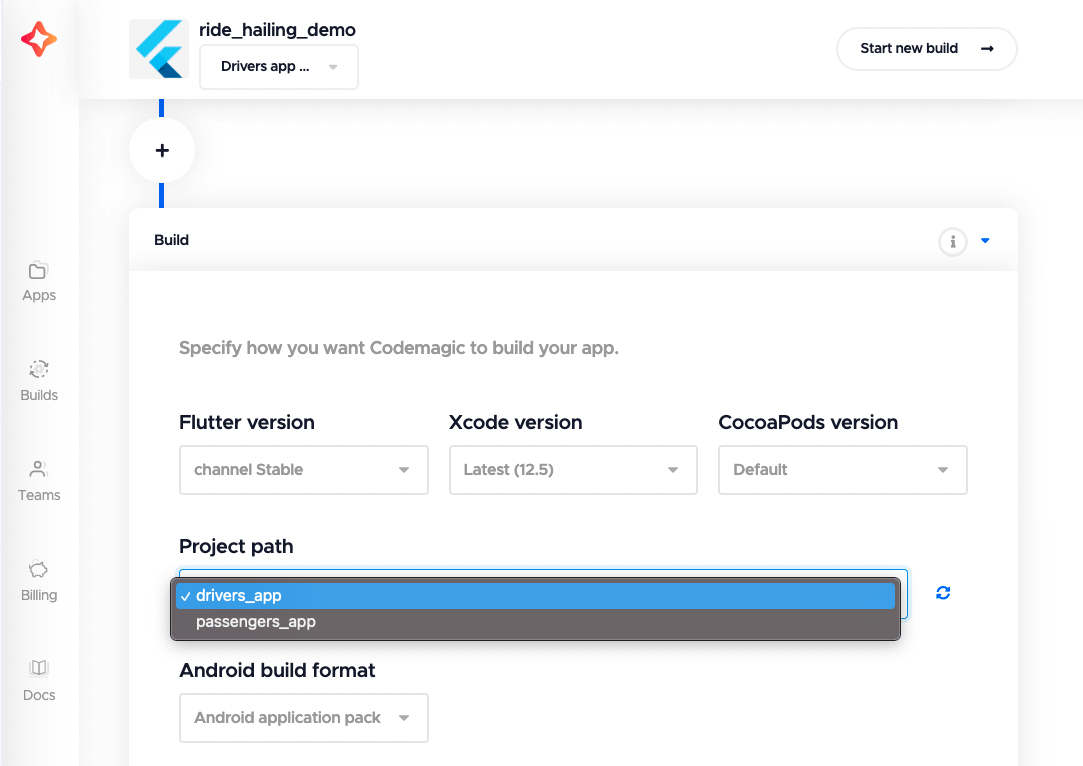
Initially, the project path will be set to the root of the repository (indicated by
.). If you start the build with the default selection, the first build is run for the project with the highest number of platforms available (android,ios, etc.).Codemagic automatically scans the repo for the presence of Flutter apps, so you can select the project path from the dropdown.
For newly added repositories, you may have to rescan for the project paths to show up. You can do that by clicking on the button just beside the Project path dropdown.
A dialog box will appear. You can select the branch to rescan for the project paths, and click Rescan.
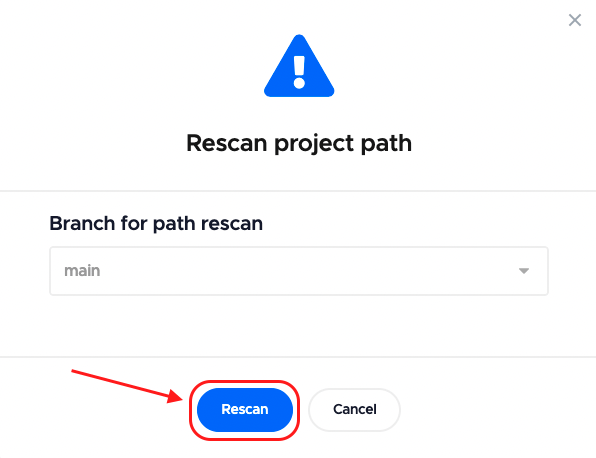
This should update the project path dropdown.
Select the path of the project that you want to build, and click Save changes.

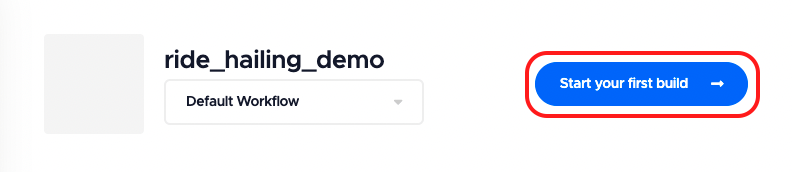
Now, you can start your build by clicking on Start your first build.
Select the branch and workflow. By default, it is Default Workflow. Click Start new build.
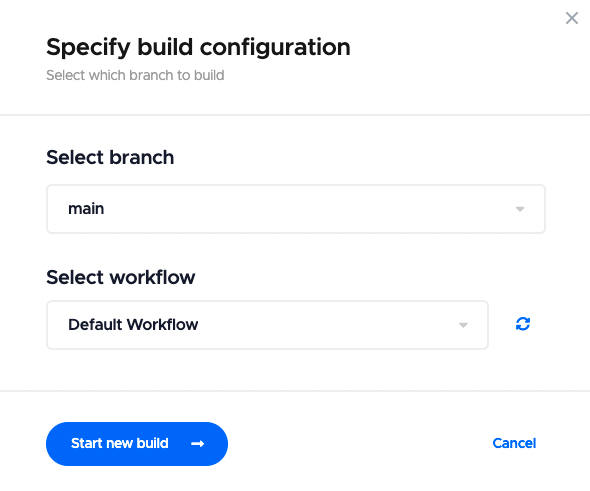
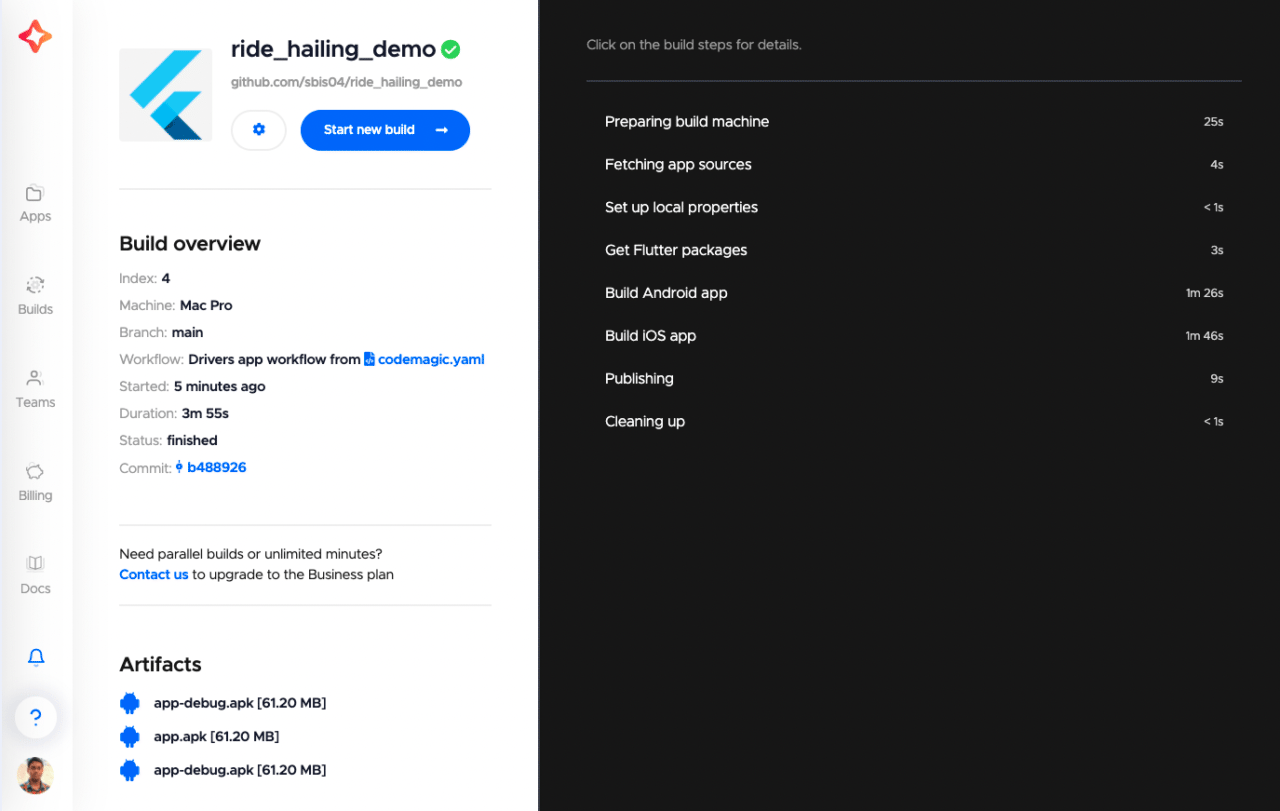
This will start the build for the drivers_app project (present inside the monorepo) on Codemagic.

To manage multiple projects efficiently, you can create separate workflows for each of them by following the steps below:
First of all, rename the current workflow to Drivers app workflow to make it easily identifiable.
Click on Duplicate workflow under Workflow settings.
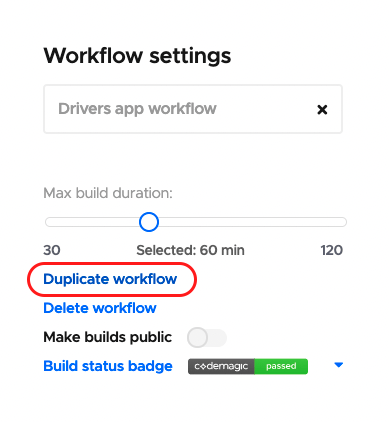
This will create a copy of the current workflow. Rename this workflow to Passengers app workflow.
Go to the Build section, and change the project path to
passengers_app. Click on Save changes.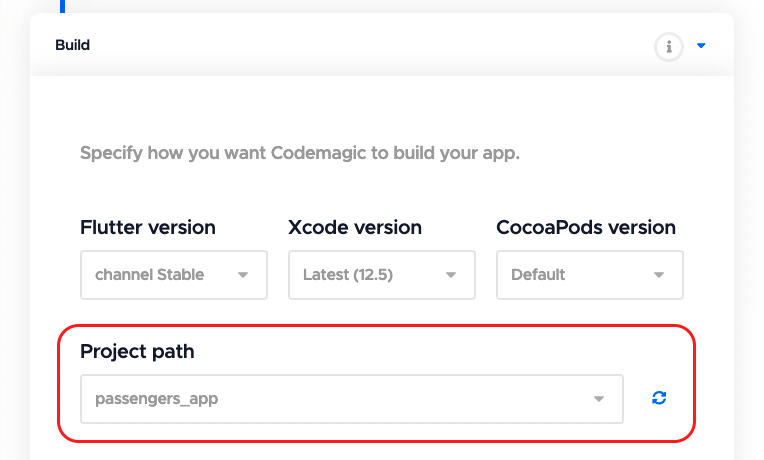
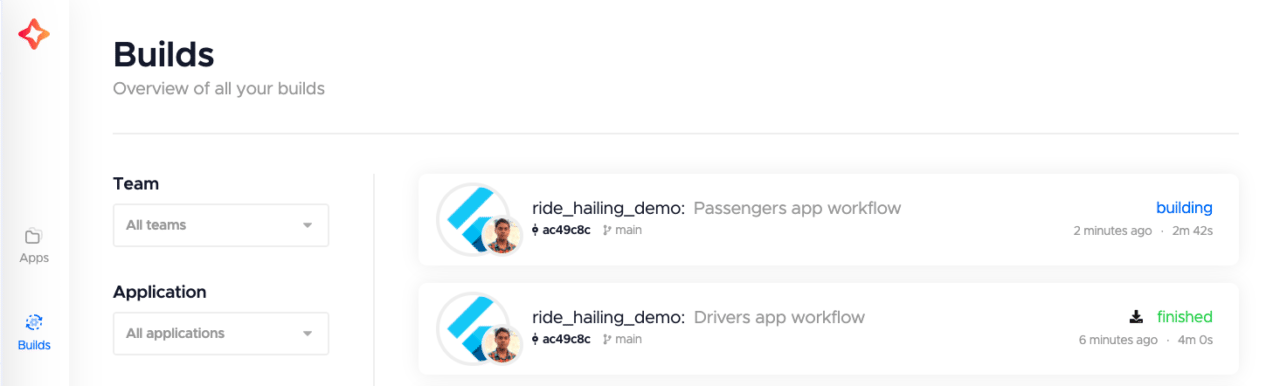
You can now start a build for the passengers_app by simply selecting this workflow. All of the project builds, along with their workflow, will be visible on the Builds page.
Now, we will take a look at how you can build monorepo projects using the codemagic.yaml file. If you want to get the codemagic.yaml file for the projects you were building using the Flutter Workflow Editor, you can download it by going to Project settings > Configuration as code > Download configuration.
Using Codemagic YAML
You can use the codemagic.yaml file to configure your build pipeline on Codemagic. Monorepos can also be easily managed using this file.
Follow the steps below to set up your codemagic.yaml file for the monorepo:
Create a file named
codemagic.yamlin the root of the project repository.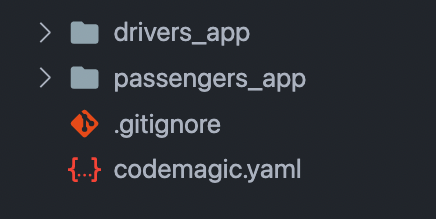
The basic structure of the file is as follows:
workflows:
  default-workflow:
    name: Default workflow
    instance_type: mac_mini
    max_build_duration: 60
    environment:
      flutter: stable
      xcode: latest
      cocoapods: default
    scripts:
      # Add scripts here
    artifacts:
      - build/**/outputs/**/*.apk
      - build/ios/ipa/*.ipa
    publishing:
      email:
        recipients:
          - name@example.com
To build monorepo projects, you have to select the path to the app that you want to build. You can add it by using the
working_directorykey, like this:workflows: default-workflow: name: Default workflow # Specify path to the app folder like this working_directory: drivers_app # ...By default, the working directory is the root of the repository (indicated by
.).
Now, every command that you define inside the scripts section will run inside the directory specified by the working_directory key.
To start a build using the YAML file, commit it to the version control system. Codemagic automatically scans for the codemagic.yaml file. You can start the build by going to the Project settings and clicking Start new build.

Select a workflow defined inside the YAML file. Click on Start new build.
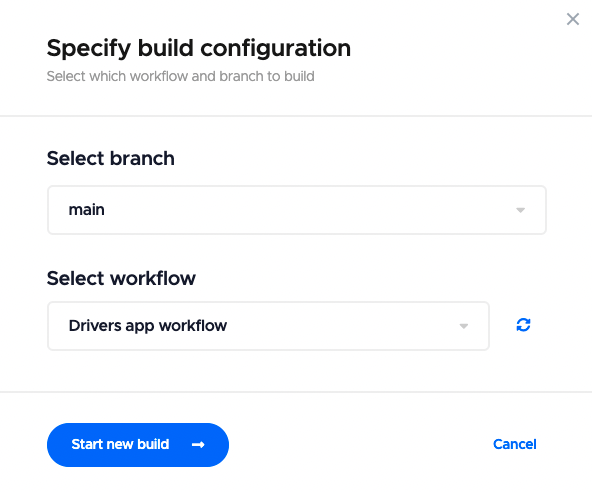
This will start a build of the specified workflow using the codemagic.yaml file.
To easily manage your build pipeline, you can define multiple workflows for separate projects inside the codemagic.yaml file. Its structure will look like this:
workflows:
  drivers-app-workflow:
    name: Drivers app workflow
    working_directory: drivers_app
    # ...

  passengers-app-workflow:
    name: Passengers app workflow
    working_directory: passengers_app
    # ...
The Codemagic YAML file also gives you access to conditional build triggers. This allows you to skip building particular commits or watch for changes in specific files to trigger builds.
This feature is especially useful while building projects present inside a monorepo. Conditional workflow triggering can be used to specify the path of the application in the changeset, like in the example below:
workflows:
  drivers-app-workflow:
    name: Drivers app workflow
    triggering:
      events:
        - push
    when:
      changeset:
        includes:
          - 'drivers_app/'
Here, a build will be triggered for this workflow only when changes are done inside the drivers_app directory. Any commit performed outside of it won’t trigger a build.
You can get the complete codemagic.yaml file of this demo project here.
References
- GitHub repository of the demo project
- Codemagic sample projects
- Codemagic YAML docs
- Conditional build triggers docs
Souvik Biswas is a passionate Mobile App Developer (Android and Flutter). He has worked on a number of mobile apps throughout his journey. He loves open-source contribution on GitHub. He is currently pursuing a B.Tech degree in Computer Science and Engineering from Indian Institute of Information Technology Kalyani. He also writes Flutter articles on Medium - Flutter Community.


