


Codemagic and Bitrise both are cloud-based continuous integration and continuous delivery tools for building mobile apps. They offer support for most of the popular mobile frameworks, like Android, iOS, Flutter, React Native, Cordova, and Ionic.
It might be tough to choose between these two platforms, but fear not – we are here to help you decide on the best CI/CD service for your individual needs or those of your team.
In this article, we will compare Codemagic with Bitrise head to head, going over the advantages and disadvantages of each service.
Written by Souvik Biswas (updated in August 2021)
Onboarding
You can log in to both Codemagic and Bitrise using your GitHub, Bitbucket or GitLab account.
Codemagic onboarding
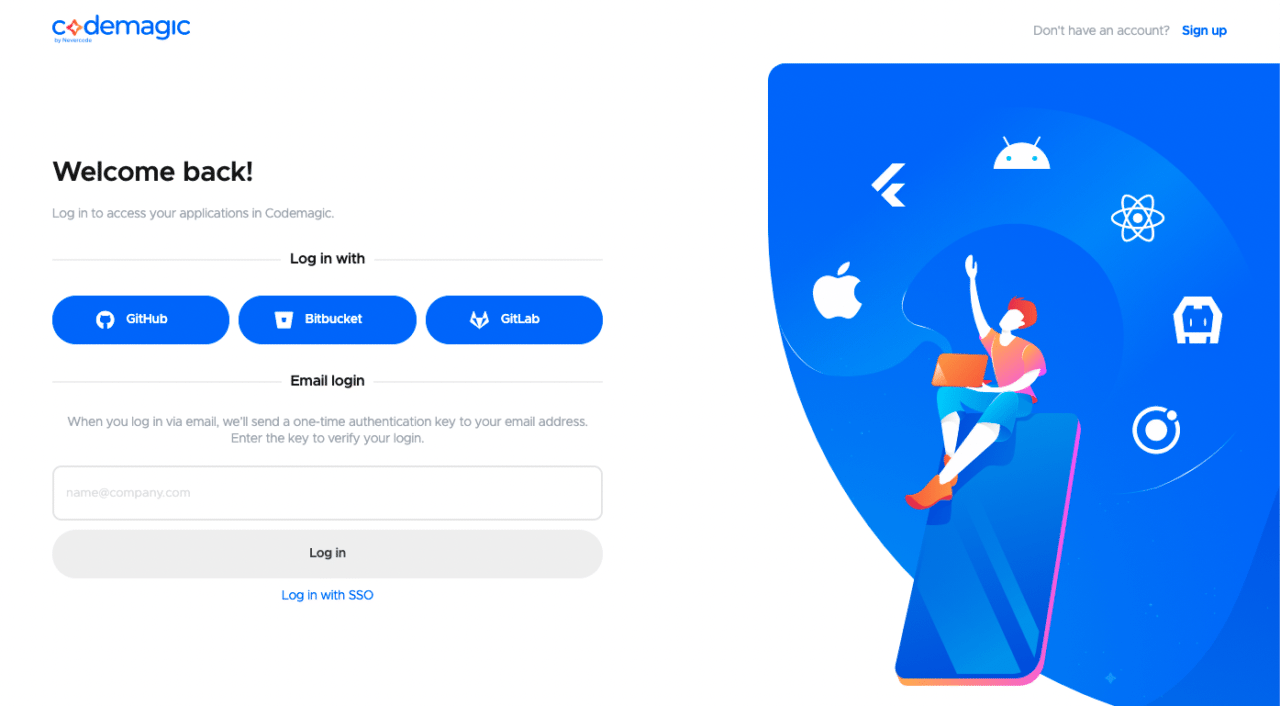
Codemagic uses GitHub app integration to connect with GitHub, so you just need to provide it read access. It uses OAuth to connect with your Bitbucket or GitLab account. In this case, you have to provide both read and write access. Codemagic automatically pulls all the applications present on the version control account you logged in with.
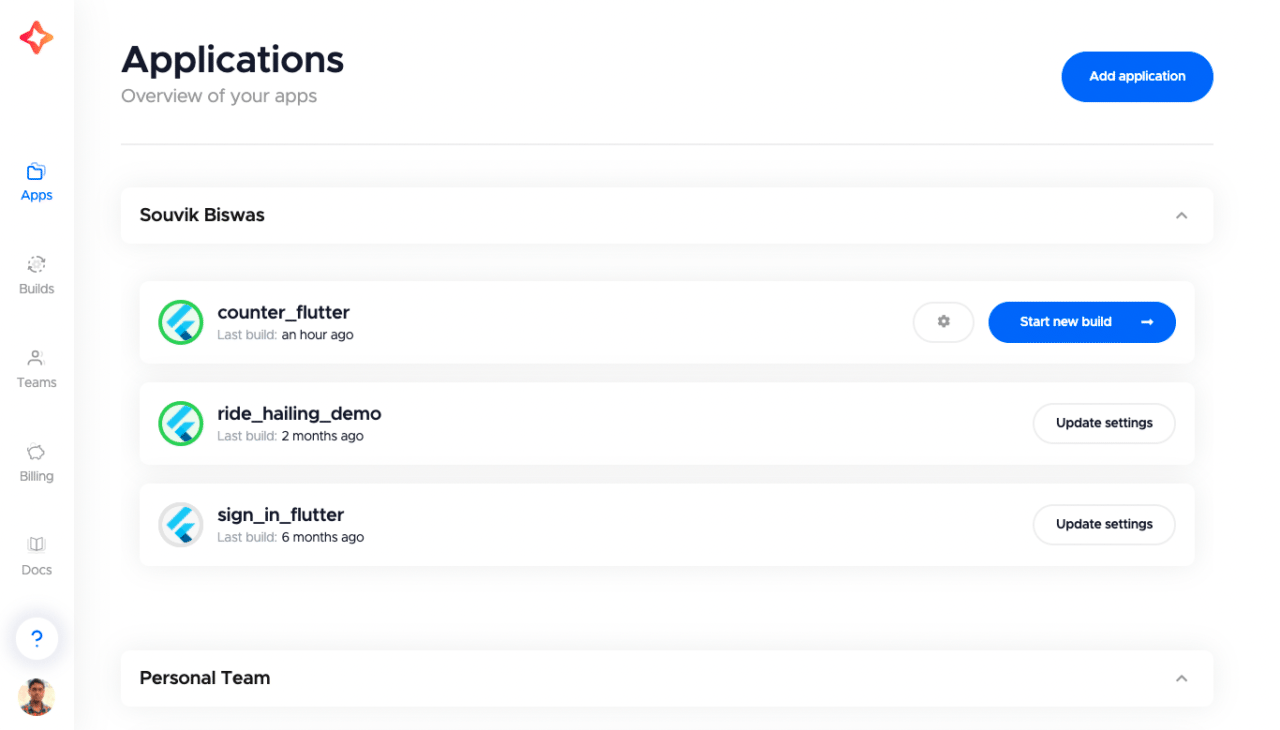
So, if you want to build any of the projects, you just have to go to the Apps page from the left menu, configure the workflow and start the build. Also, you can connect Codemagic to multiple cloud-based version control services at once, and all the apps will show up in one place on the Apps page.
Bitrise onboarding
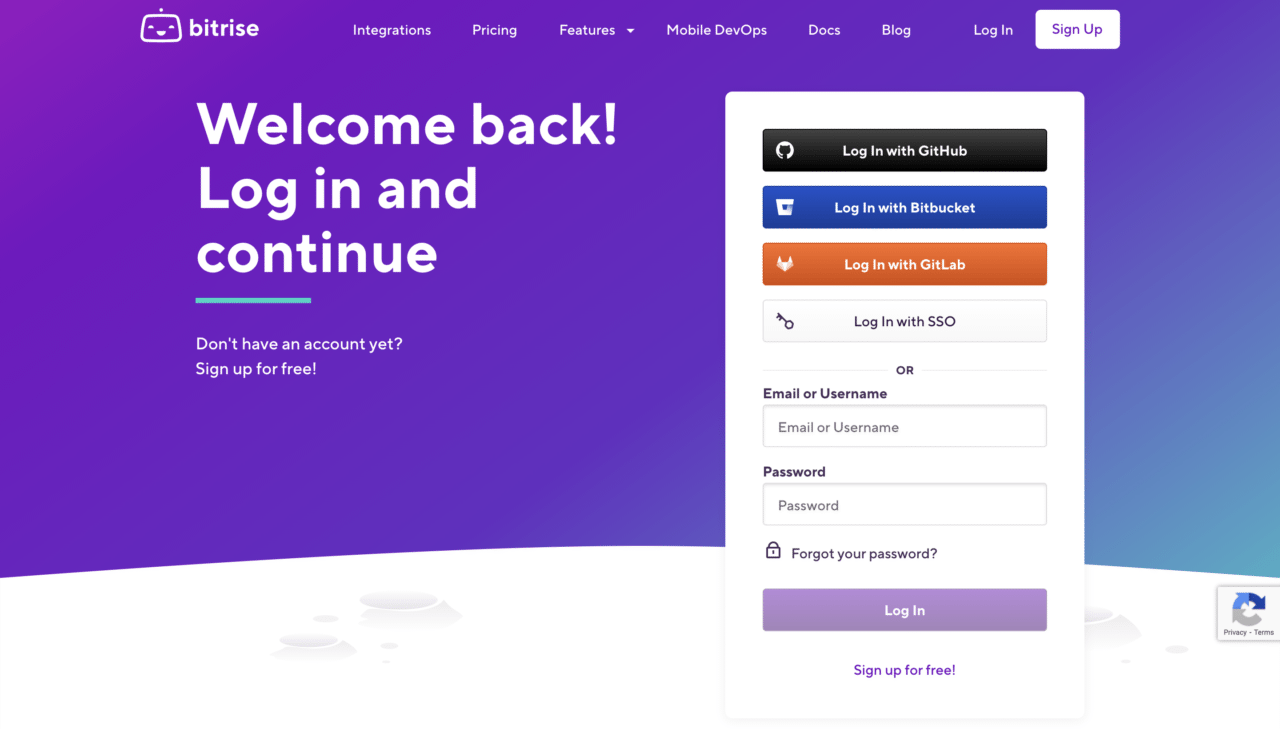
As for Bitrise, you can get started by logging in with any of the version control accounts by using SSH, by directly providing read/write access or by logging in with SSO. After connecting to any account, in order to build any of your apps, you have to add it to Bitrise and complete the initial configuration steps. After detecting the project type, Bitrise will start an initial build with a pre-configured workflow.
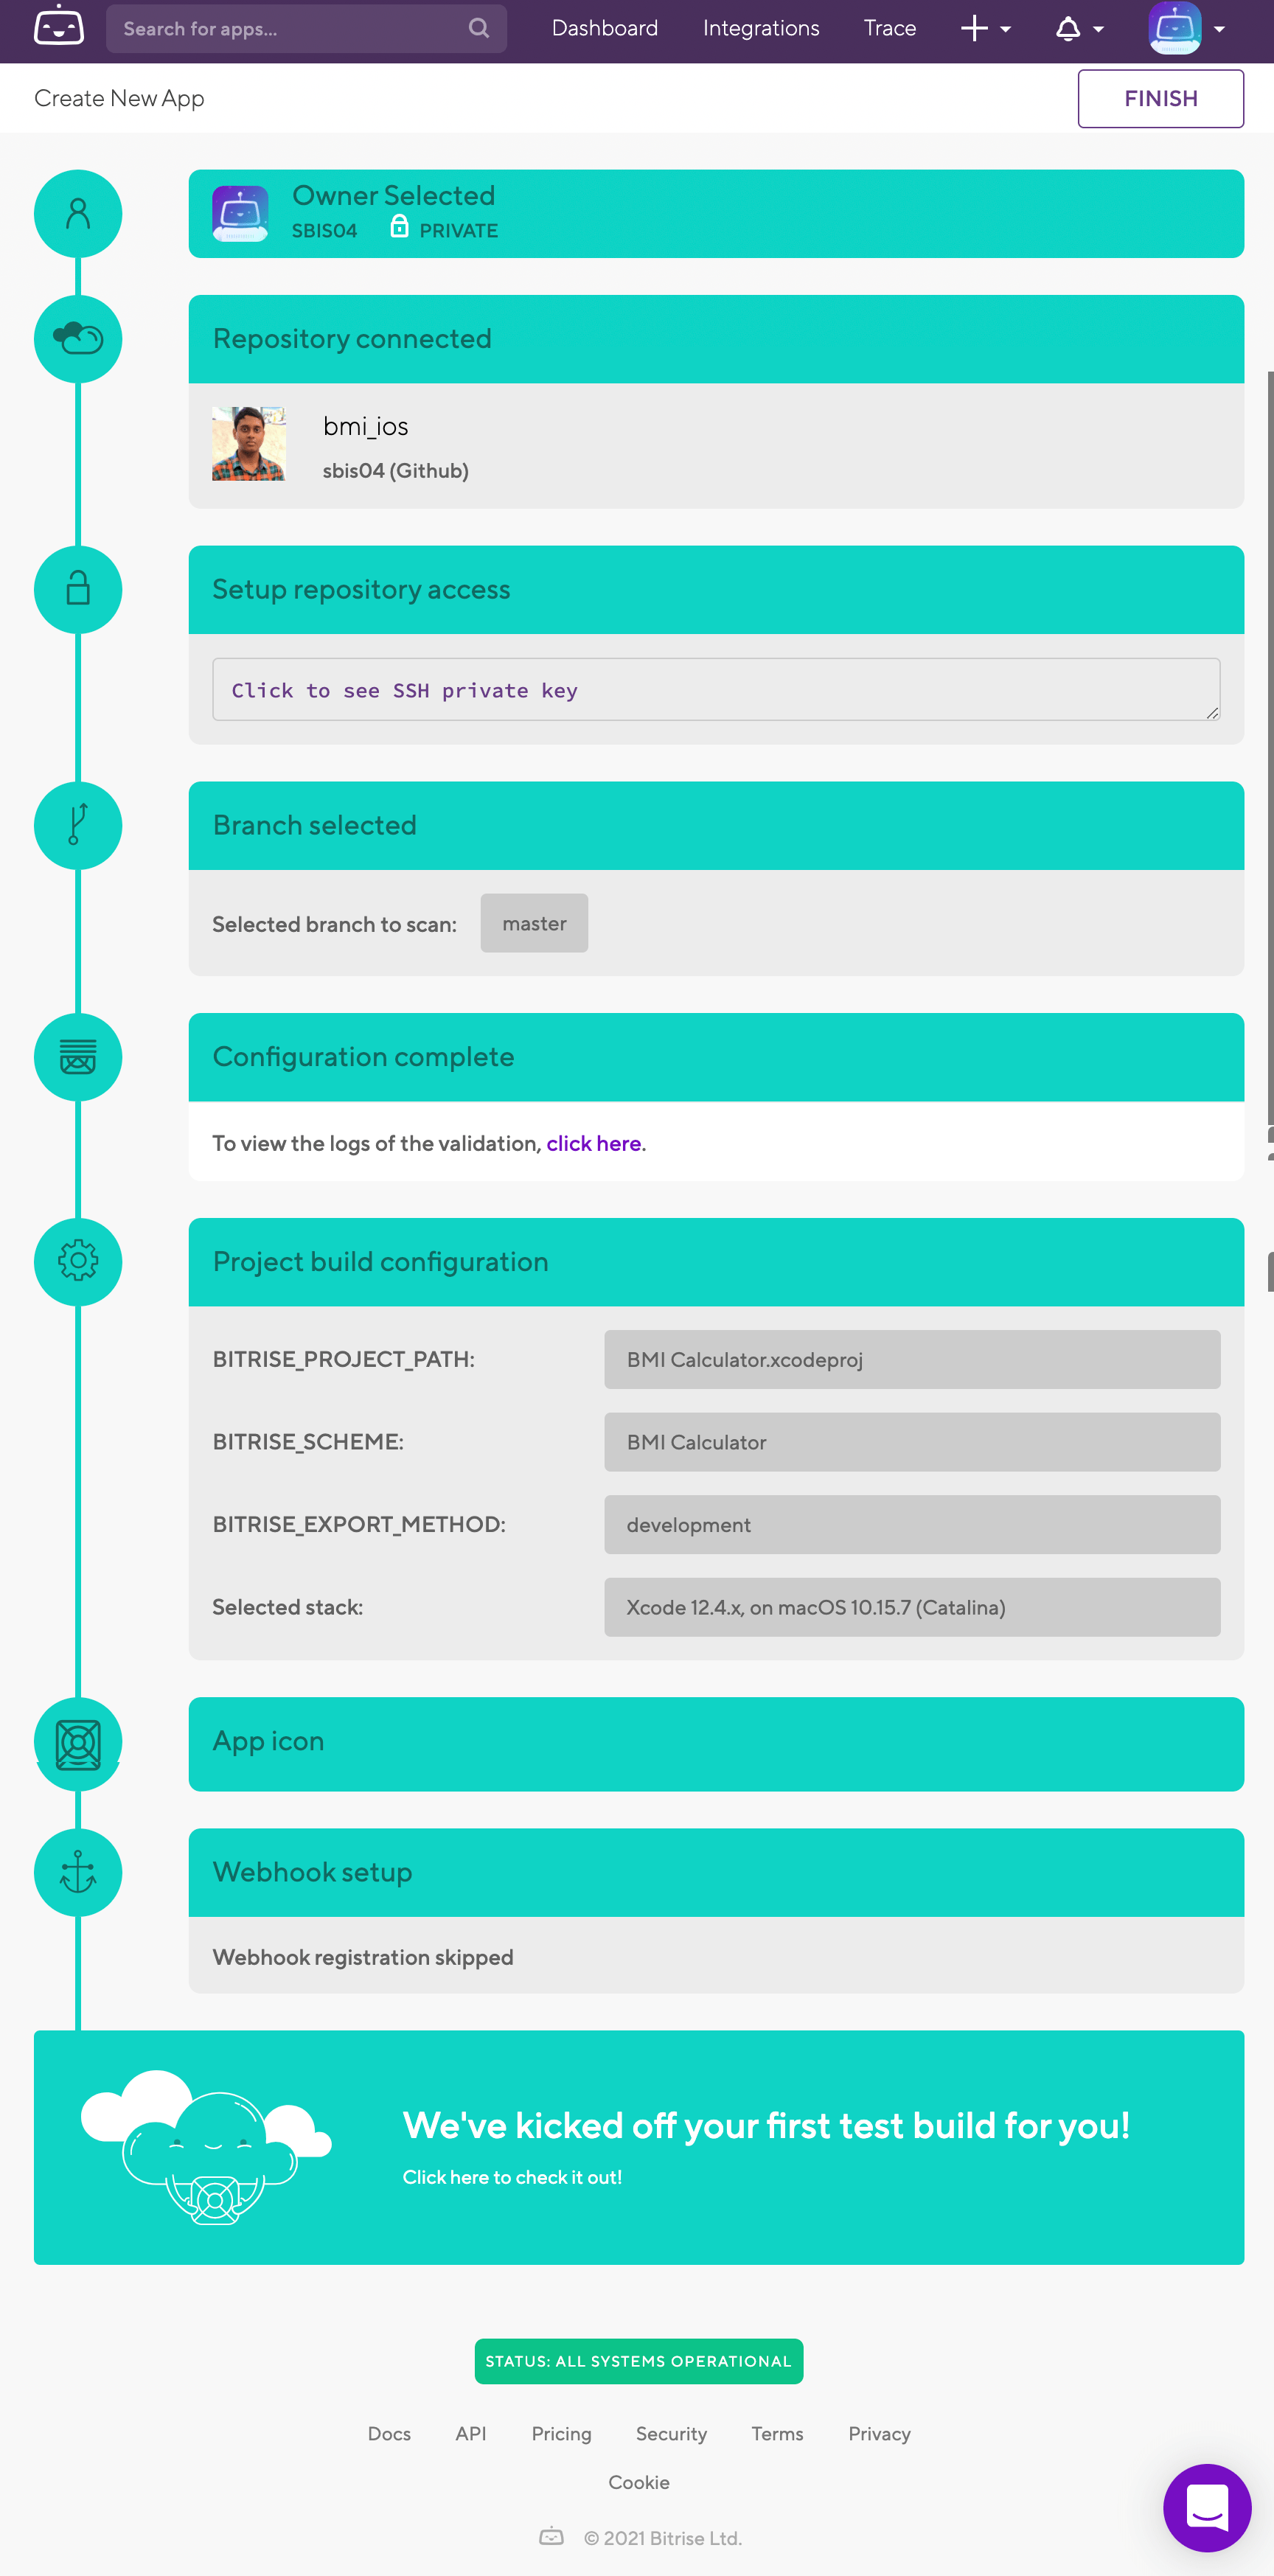
Now, you will get access to configure the workflow and start new builds using Bitrise.
One downside of Bitrise is that every time you want to add a new app to the platform, you have to go through the initial setup process before you can configure and start building the project. If you are really concerned with privacy, then this approach might be advantageous, as you are only allowing access to the repositories that you want to build. Additionally, you have the option to use SSH keys.
Codemagic automatically picks up any project added to your version control account and is ready to configure the workflow and start building. When using GitHub app integration, it only requires read access to the GitHub account, which can also be restricted to certain repositories.
Workflow editor
Codemagic workflow editor
Codemagic provides a workflow editor only for Flutter apps, the UI is quite intuitive and beginner friendly. Extensive customization is also possible with the workflow editor, including support for custom scripts before each step.

You can use the codemagic.yaml file to define workflows and run builds for other frameworks. This is explained in more detail in the next section.
Bitrise workflow editor
Bitrise provides a workflow editor for all types of mobile frameworks, but first-time users might find it a bit overwhelming, as the editor tries to provide a lot of customization options up front in each step. You can add steps to the workflow by clicking on the plus (+) button located between any two steps to insert a new one there. But you have to make sure that you select the correct step for the correct framework. (It is possible to add an Android step to an iOS workflow, which will result in build failure.)

YAML configuration
Codemagic YAML configuration
Codemagic stores the build configurations in the codemagic.yaml file, which is to be stored on the root directory of the project in the repository. It gets automatically read from the repository when starting a build. You can choose whether to use the configurations defined in the workflow editor (only applicable for Flutter) or use the YAML file present in the project repository.

Bitrise YAML configuration
Bitrise stores the build configurations in the bitrise.yml file. By default, this file is managed by bitrise.io, but you can choose to save the configuration file to your app’s repository, which is maintained by Git. If you store the YAML file in the repository, you won’t be able to modify the configuration in the online workflow editor.

If you compare the codemagic.yaml file with the bitrise.yml file, you will see that the YAML configuration of Bitrise is not only lengthy but also very complex and challenging to understand and modify for the exact same workflow. This is because Bitrise stores some of the commands in pre-defined scripts known as Steps. These are nice to have, but you should have prior knowledge of the syntax for each of them in order to define them in the YAML file.
Here is an example of a bitrise.yml file for building the flutter_counter_app project:
format_version: '8'
default_step_lib_source: https://github.com/bitrise-io/bitrise-steplib.git
project_type: flutter
trigger_map:
- push_branch: "*"
  workflow: primary
- pull_request_source_branch: "*"
  workflow: primary
workflows:
  deploy:
    steps:
    - activate-ssh-key@4:
        run_if: '{{getenv "SSH_RSA_PRIVATE_KEY" | ne ""}}'
    - git-clone@4: {}
    - script@1:
        title: Do anything with Script step
    - certificate-and-profile-installer@1: {}
    - flutter-installer@0:
        inputs:
        - is_update: 'false'
    - cache-pull@2: {}
    - flutter-analyze@0:
        inputs:
        - project_location: "$BITRISE_FLUTTER_PROJECT_LOCATION"
    - flutter-test@0:
        inputs:
        - project_location: "$BITRISE_FLUTTER_PROJECT_LOCATION"
    - flutter-build@0:
        inputs:
        - project_location: "$BITRISE_FLUTTER_PROJECT_LOCATION"
        - platform: both
    - xcode-archive@3:
        inputs:
        - project_path: "$BITRISE_PROJECT_PATH"
        - scheme: "$BITRISE_SCHEME"
        - export_method: "$BITRISE_EXPORT_METHOD"
        - configuration: Release
    - deploy-to-bitrise-io@1: {}
    - cache-push@2: {}
  primary:
    steps:
    - activate-ssh-key@4:
        run_if: '{{getenv "SSH_RSA_PRIVATE_KEY" | ne ""}}'
    - git-clone@4: {}
    - script@1:
        title: Do anything with Script step
    - flutter-installer@0:
        inputs:
        - version: 2.0.4
        - is_update: 'false'
    - cache-pull@2: {}
    - flutter-test@0:
        inputs:
        - project_location: "$BITRISE_FLUTTER_PROJECT_LOCATION"
    - flutter-build@0: {}
    - deploy-to-bitrise-io@1:
        inputs:
        - notify_email_list: ''
    - cache-push@2: {}
app:
  envs:
  - opts:
      is_expand: false
    BITRISE_FLUTTER_PROJECT_LOCATION: "."
  - opts:
      is_expand: false
    BITRISE_PROJECT_PATH: ios/Runner.xcworkspace
  - opts:
      is_expand: false
    BITRISE_SCHEME: Runner
  - opts:
      is_expand: false
    BITRISE_EXPORT_METHOD: development
On the other hand, in the codemagic.yaml file, you can directly define the normal CLI commands in the scripts. This makes it much easier to understand and maintain, as you have to use the same commands that you use while building locally.
Here is an example of a codemagic.yaml file for building the same flutter_counter_app project with a very similar workflow:
workflows:
  default-workflow:
    name: Default Workflow
    max_build_duration: 60
    environment:
      flutter: stable
      xcode: latest
      cocoapods: default
    scripts:
      - |
        # set up debug keystore
        rm -f ~/.android/debug.keystore
        keytool -genkeypair \
          -alias androiddebugkey \
          -keypass android \
          -keystore ~/.android/debug.keystore \
          -storepass android \
          -dname 'CN=Android Debug,O=Android,C=US' \
          -keyalg 'RSA' \
          -keysize 2048 \
          -validity 10000
      - |
        # set up local properties
        echo "flutter.sdk=$HOME/programs/flutter" > "$CM_BUILD_DIR/android/local.properties"
      - cd . && flutter packages pub get
      - cd . && flutter test
      - cd . && flutter build apk --debug
      - find . -name "Podfile" -execdir pod install \;
      - cd . && flutter build ios --debug --no-codesign
    artifacts:
      - build/**/outputs/**/*.apk
      - build/**/outputs/**/*.aab
      - build/**/outputs/**/mapping.txt
      - build/ios/ipa/*.ipa
      - /tmp/xcodebuild_logs/*.log
      - flutter_drive.log
    publishing:
      email:
        recipients:
          - sbis1999@gmail.com
Check out the Codemagic YAML cheat sheet to learn more.
Build platforms
Codemagic: build platforms
On Codemagic, if you are using a cross-platform framework, then you can generate artifacts for various platforms. Like for Flutter, you can generate artifacts for Android, iOS, web, macOS and Linux.
Bitrise: build platforms
Bitrise is limited to only the Android and iOS platforms for building apps. So, even if you are using a cross-platform framework like Flutter, you can only generate artifacts for Android and iOS.
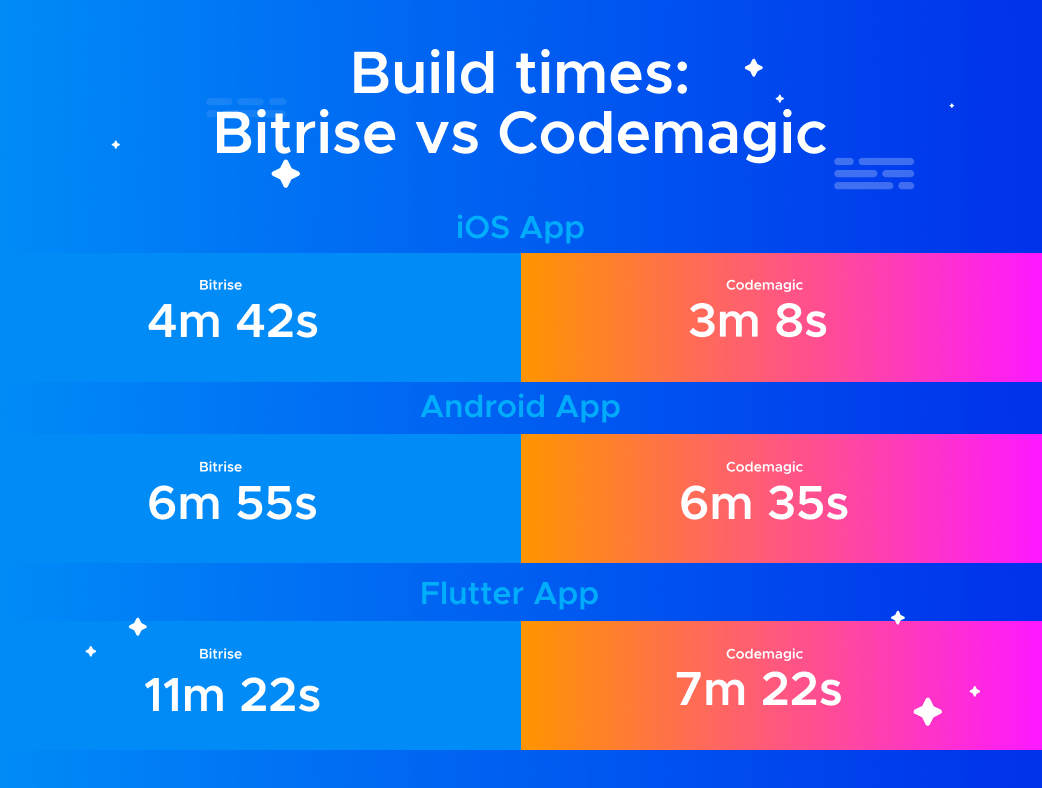
Build time: Bitrise vs Codemagic
The build time of your app is the most important factor to consider when choosing a CI/CD service. With Codemagic new “Magic Actions” you can build your iOS apps faster than with Bitrise or Github Actions. Watch the video:
Here’s a quick comparison between various builds using different frameworks.
The specifications of the machine on which the builds are run along with the plan used on the platform are as follows:
Bitrise
- Plan: Hobby tier (free)
- Machine type: Standard (macOS VM)
- Processor: 2.7 GHz Dual Core
- RAM: 4 GB
Codemagic
- Plan: Free
- Machine type: macOS standard VM
- Processor: 2.3 GHz Quad Core
- RAM: 8 GB
Codemagic is the first CI/CD provider to make Apple M1 Mac mini available for developers. Sign up here to get notified before the public release.
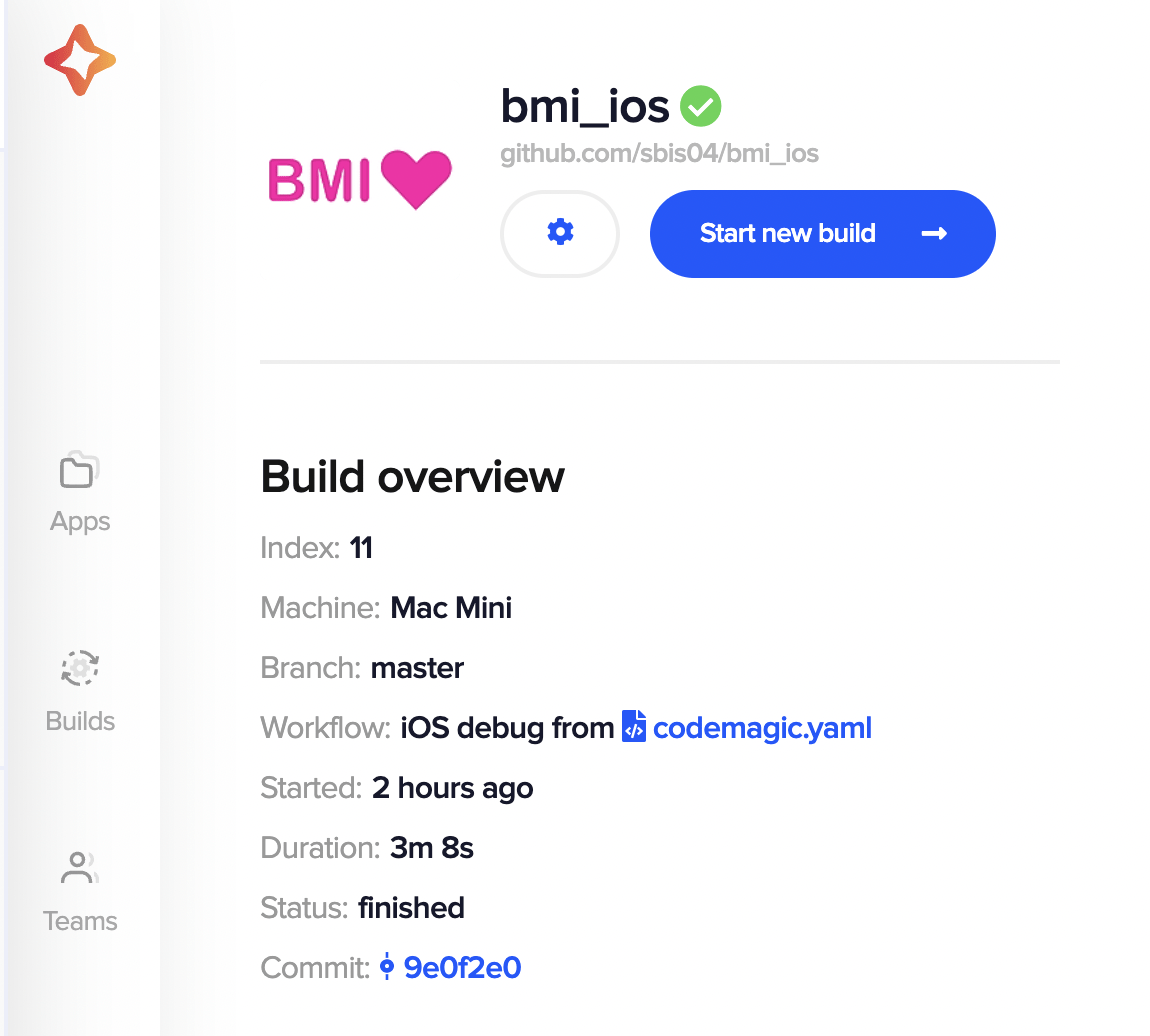
iOS app
The following results were produced by building the same iOS app without code signing. It consisted of some unit tests and had a similar workflow:
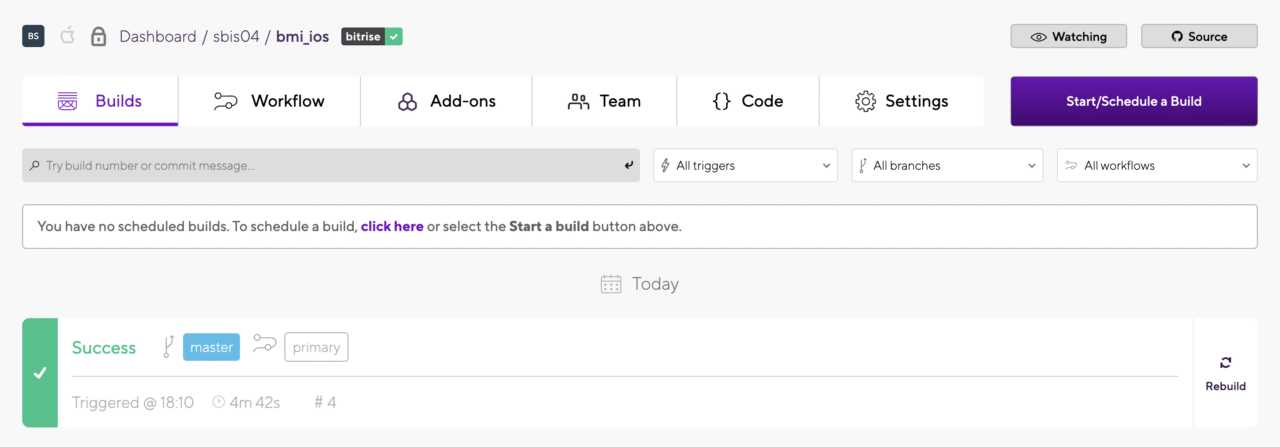
Bitrise took 4m 42s to build the app.
Codemagic took 3m 8s to build the app.
This means that the iOS build on Codemagic was around 40% faster than the build on Bitrise.
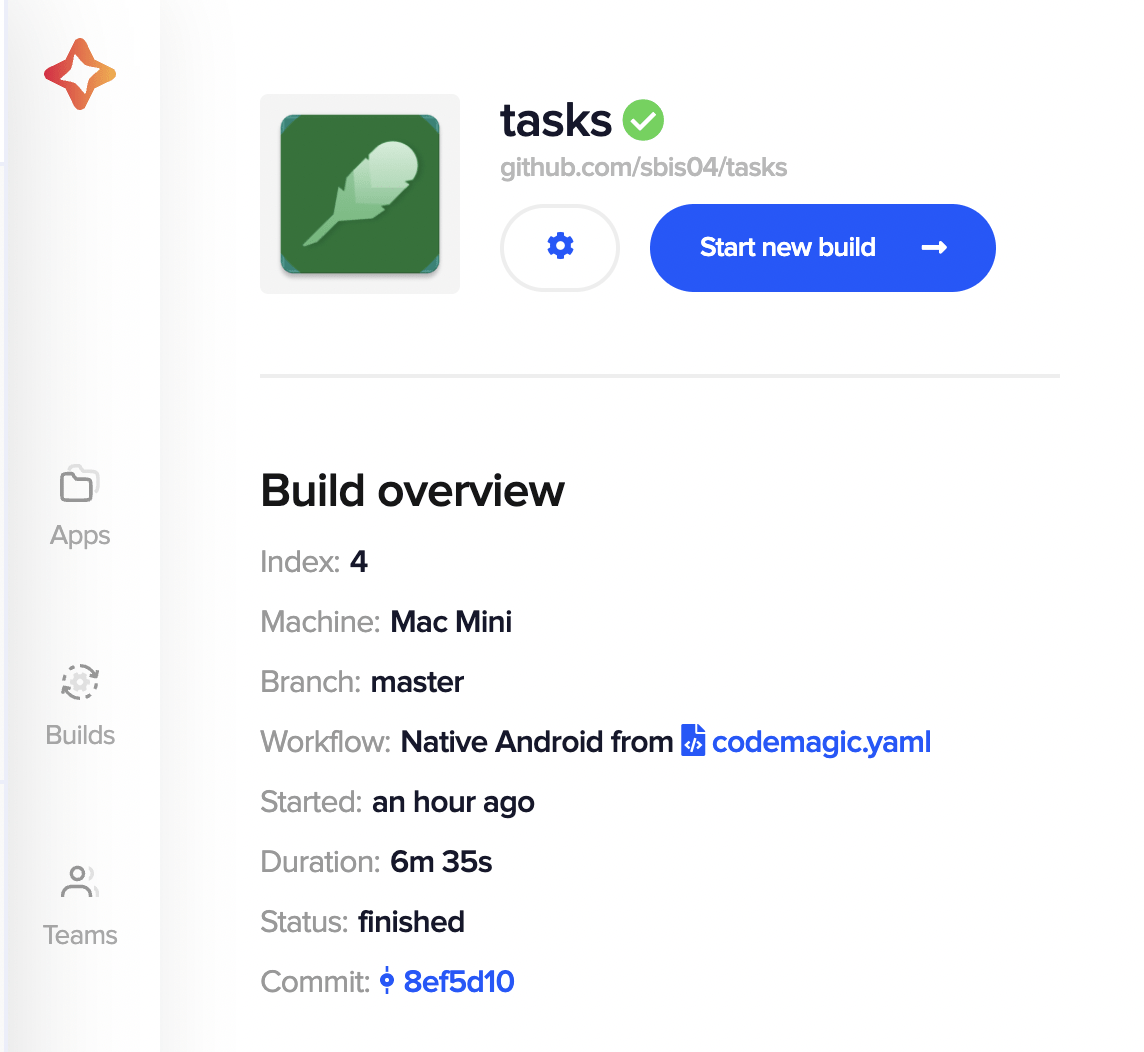
Android app
The following results were produced by building the same Android app in debug mode. It consisted of some unit tests and had a similar workflow:

Bitrise took 6m 55s to build the app.
Codemagic took 6m 35s to build the app.
The Android build took a similar amount of time on Bitrise and Codemagic. Though Codemagic came out on top, various factors could have caused the build time to vary by this small amount.
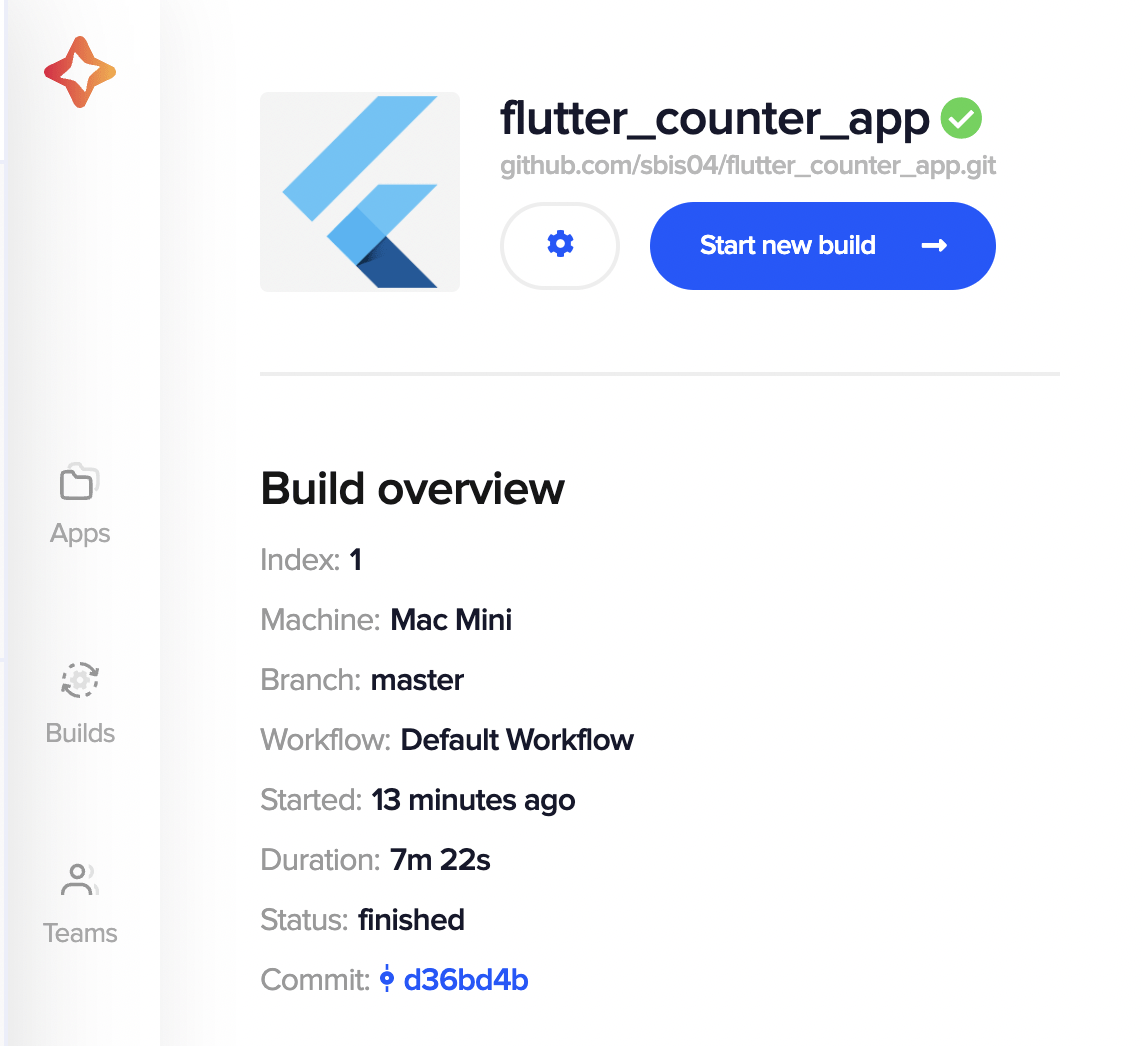
Flutter app
The following results were produced by building the same Flutter app (for the Android and iOS platforms). It consisted of some unit tests and had a similar workflow:

Bitrise took 11m 22s to build the app.
Codemagic took 7m 22s to build the app.
So, the Flutter build on Codemagic was around 43% faster than the build on Bitrise.
Publishing
Both Codemagic and Bitrise allow you to publish Android and iOS build artifacts to the Google Play Store and Apple App Store, respectively. They also support code signing of the artifacts (which is required for them to be eligible for publishing).
The most painful part is iOS code signing, but both platforms support some form of automation to make the process much easier and faster.
Bitrise provides a CLI tool called codesigndoc, which helps in automating the iOS code-signing process.
Codemagic provides an option for automatic code signing of iOS projects by connecting to your Apple Developer Portal account. Codemagic CLI tools contain various utility tools to simplify your builds.
In addition, as Codemagic also supports building cross-platform apps for the web, it allows you to host web apps using Codemagic Static Pages for free.

Remote access
You can get remote access to the build machine on which your app is being tested and built. Both of the platforms give users access to their build machines.
Bitrise
Bitrise provides remote access to the build machines in two ways:
- SSH: available for both Linux/Docker-based machines and macOS machines.
- Screenshare: only available for macOS machines.
Build machines are accessible during the build and for 10 minutes after the build is finished.
Codemagic
Codemagic also provides remote access to the build machines in two ways:
SSH access: only allows you to access the build machine through a terminal and run commands on it.
VNC client: allows you to graphically access the remote build machine.
The SSH or VNC session remains active for a maximum of 20 minutes after all build steps are completed or until the maximum build duration limit is reached, whichever comes first.
You can learn more about remote access on Codemagic here.
Integrations
You can use various third-party integrations with both platforms.
Bitrise
Bitrise integrations are stored as scripts on their platform, which can be inserted into the build workflow as Steps.
The different categories of integrations include OpenVPN, AppCenter, Huawei App Gallery, Firebase App Distribution, Slack, Microsoft Teams, Telegram, Amazon Device Farm, various code signing integrations and a lot more.

Codemagic
Codemagic integrations can be used by defining them in the codemagic.yaml file.
The integrations supported by Codemagic include Codecov, Docker, fastlane, Firebase App Distribution, Jira, Trello, Slack, SonarQube, Firebase Test Lab, AWS Device Farm and many more.

Pricing
Let’s look into the pricing plans offered by these two platforms.
Bitrise pricing

Bitrise provides Public Cloud Plans, which include credit-based monthly plans and yearly plans with a 10% discount. They also have Private Cloud Plans with custom pricing for larger teams.
They also provide a free plan (Hobby tier), which offers the following:
- 300 credits per month (Standard VM - 1 credit/min)
- 90-minute build timeout
- 5 concurrent builds
- 1 team member
Codemagic pricing

Codemagic is free to get started, and then you can opt for their pay-as-you-go plan.
The free plan offers the following:
- 500 build minutes per month (macOS standard VM)
- 120-minute build timeout
- 1 concurrent build
- M1 machines by default
The number of concurrent builds can be increased by opting for their pay-as-you-go plan. With Pay-as-you-go plan, you will never pay more than $299/month – no matter how many build minutes and team seats you use. This plan also includes up to three concurrencies.
Codemagic also has annual plan for teams who need fixed costs.
Learn more about Codemagic pricing plans here.
Conclusion
By comparing Codemagic with Bitrise, we can see that both of these platforms are quite similar and are focused on mobile app development. But there are certain areas where Codemagic comes out on top by providing additional features compared to Bitrise. The free plan provided by Codemagic is very robust, and you can upgrade to the pay-as-you-go plan anytime. With Codemagic, you don’t need to pay to store your configuration or artifacts (with the paid plan), and you are charged only for running your builds. This is a major advantage over Bitrise, which requires you to pay based on the selected tier even if you use a very small amount of build credits. We hope this article will help you to choose the best CI/CD service for you or your team.
References
- Getting Started with Codemagic
- Codemagic Documentation
- Codemagic Integrations
- Codemagic YAML cheat sheet
Souvik Biswas is a passionate Mobile App Developer (Android and Flutter). He has worked on a number of mobile apps throughout his journey. Loves open source contribution on GitHub. He is currently pursuing a B.Tech degree in Computer Science and Engineering from Indian Institute of Information Technology Kalyani. He also writes Flutter articles on Medium - Flutter Community.


