


Written by Souvik Biswas
Editor’s Note: This post was originally published in November 2019 and has been updated in March 2020 and in August 2020. Codemagic YAML is no longer in beta. You can now build native iOS, native Android, Flutter and React Native apps with Codemagic CI/CD.
>> Read more how to build native iOS apps with Codemagic CI/CD.
>> Read more how to build native Android apps with Codemagic CI/CD.
>> Read more how to build React Native apps with Codemagic CI/CD.
What is Codemagic YAML?
You can now download the configurations saved in your Codemagic UI in a YAML file format. Using this file you can customize the workflow pipelines used while building the app on Codemagic. You can just keep this file in your project repository and it will get detected automatically.
How to get the YAML file?
You can easily download the codemagic.yaml file from the Codemagic UI.
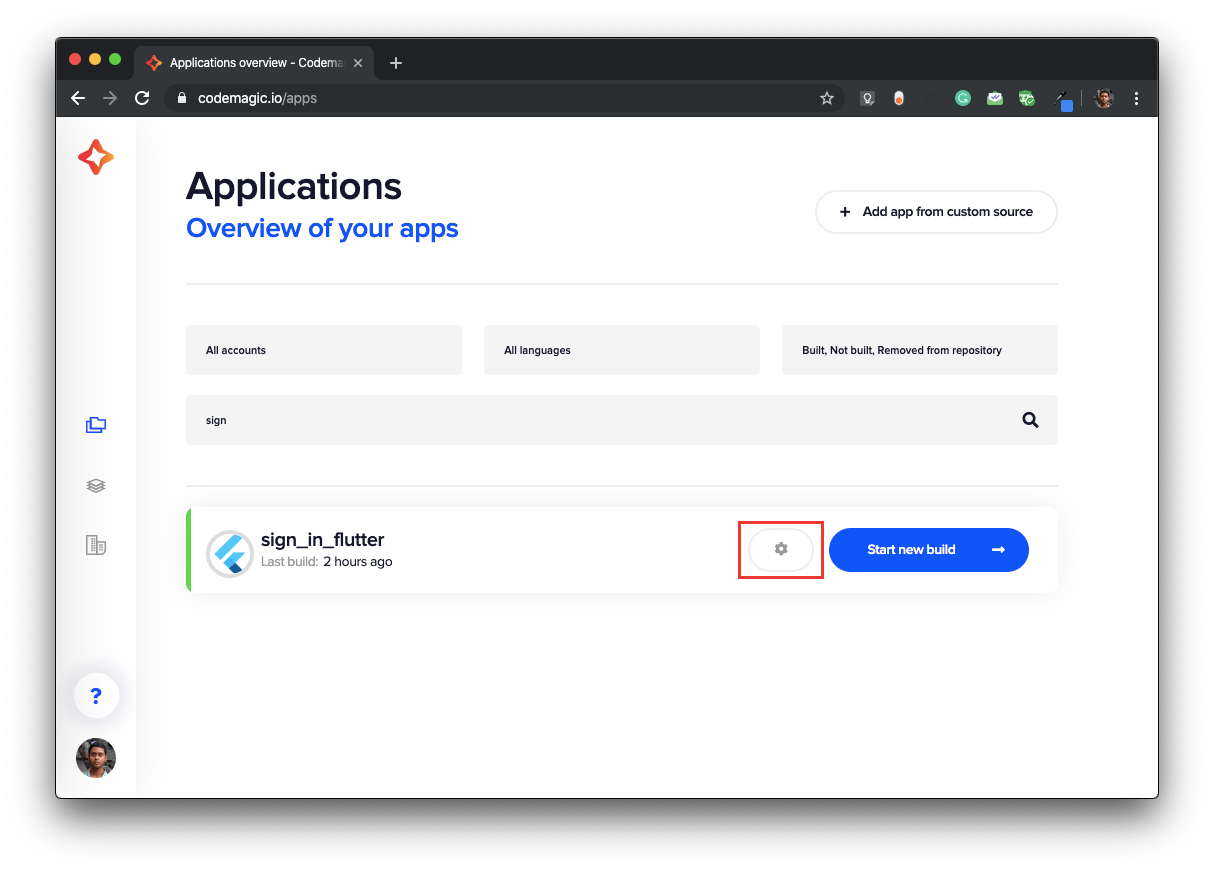
Log in in to Codemagic.
In the Applications dashboard, search for your project and go to its Settings.
Now, go to the tab Advanced configuration .
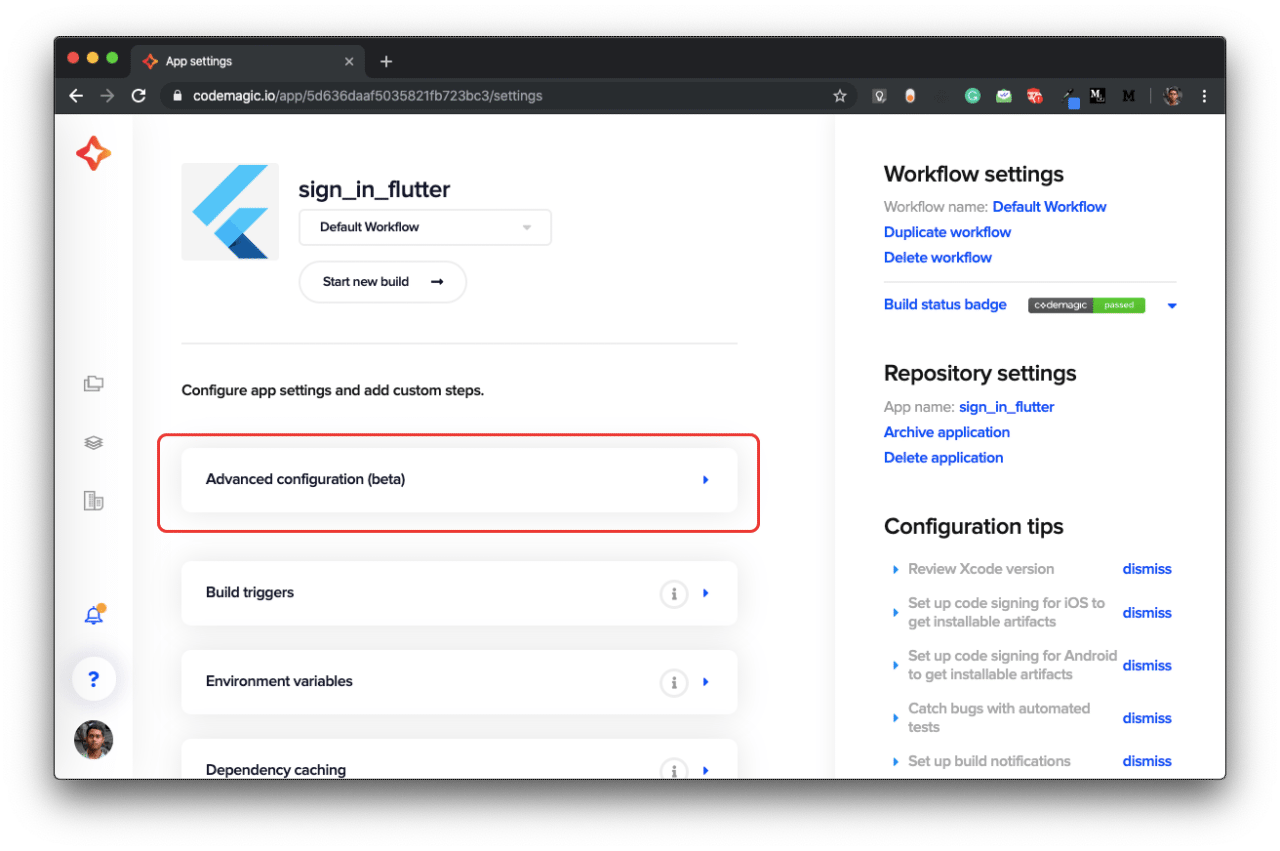
From here you can download the
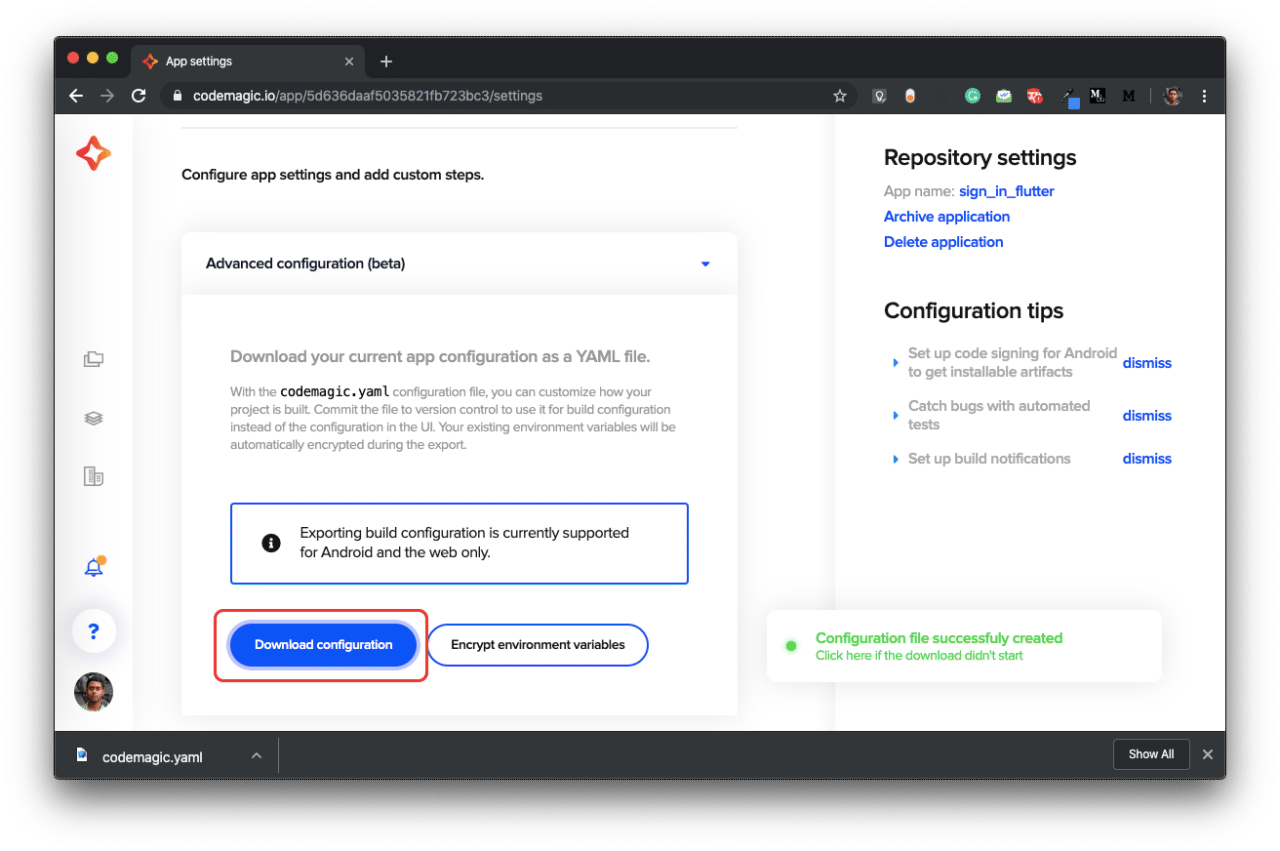
codemagic.yamlfile for this project by clicking on the Download configuration button.
NOTE: As the Advanced configuration is still in beta, so exporting build configuration is currently supported for Android and the web only.
The YAML feature is currently in beta and has the following limitations:
Exporting configuration from UI is supported for Flutter-based Android, iOS and web apps.The exported configuration is not identical to the settings in UI and lacks the configuration for some features, such as Stop build if tests fail and publishing to Codemagic Static Pages.
>> Read more how to add Flutter to your new or existing native Android project.
>> Read more how to add Flutter to your new or existing native iOS project.
If you want the file to get automatically detected by Codemagic UI next time, then just place the file in your project repository.
Understanding the YAML file
Now let’s take a look what’s inside the codemagic.yaml file.
In this example, I will be using the
codemagic.yamlfile of the project sign_in_flutter.
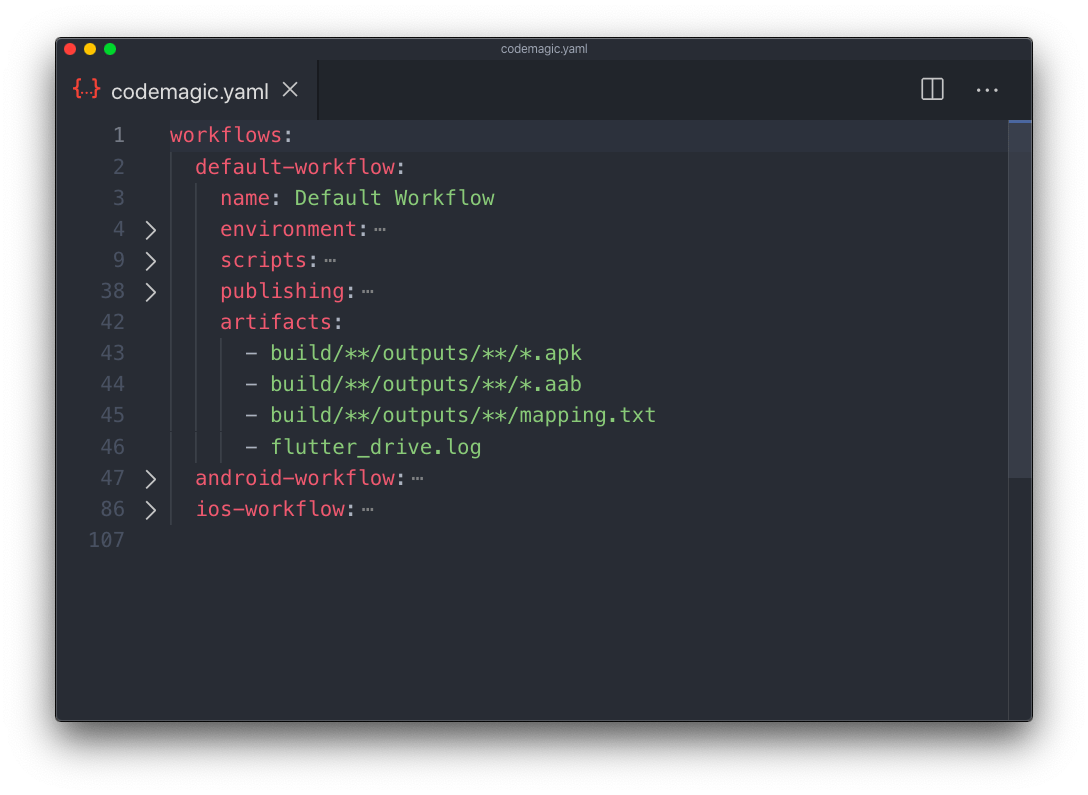
First of all, if you collapse all the inner sections of the code in your code editor, you will see that the main heading is the workflows which contains all the workflows present in the project (defined in the Codemagic UI).
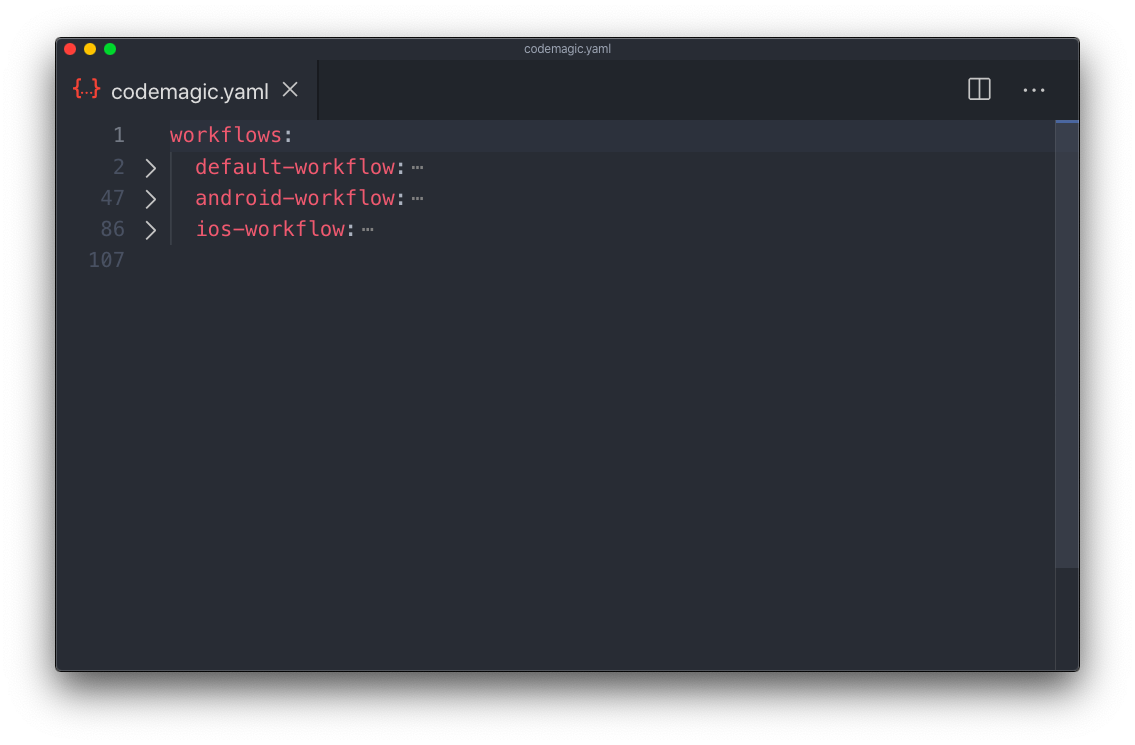
There are three workflows:
- Default Workflow
- Android Workflow
- iOS Workflow
If you want to know how to create multiple workflows, take a look at this article here.
Now, if you expand the default-workflow, you will see that it contains five sub-headings:
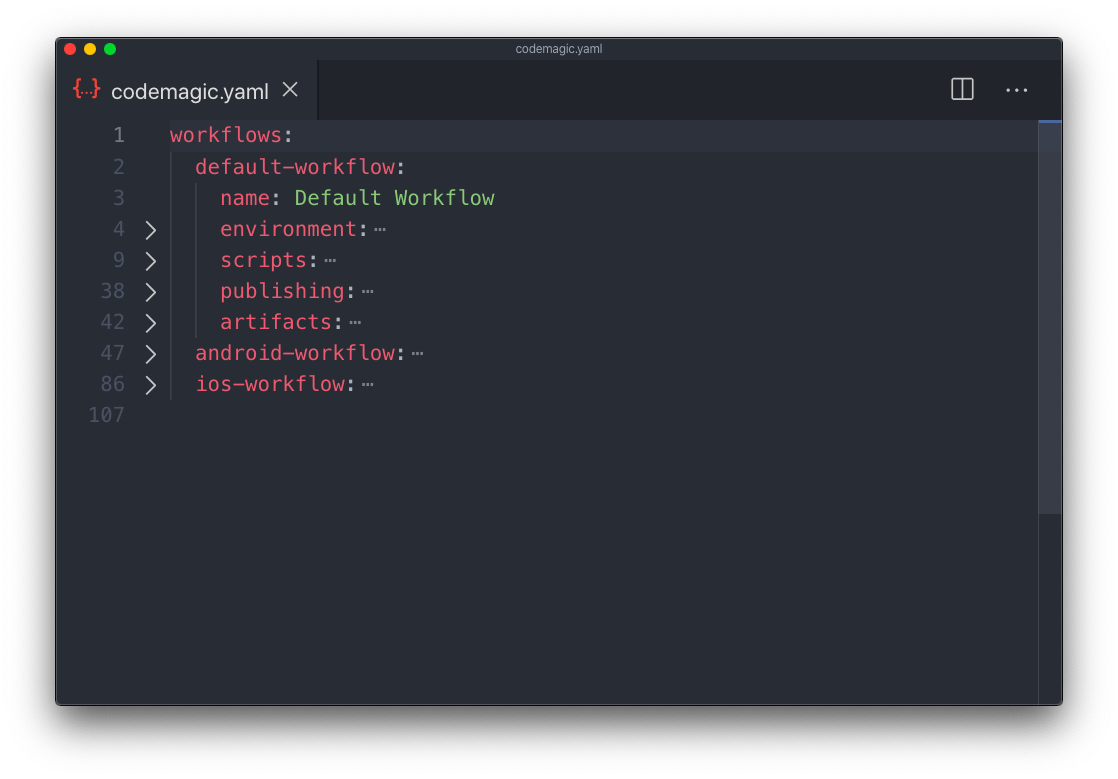
- name: Name of the workflow defined in the Codemagic UI
- environment: It contains all the environment variables and the Flutter channel.
- scripts: It contains the whole pipeline configuration for this workflow.
- publishing: This contains description for where the app would be published after building.
- artifacts: This contains the location of output files created after building.
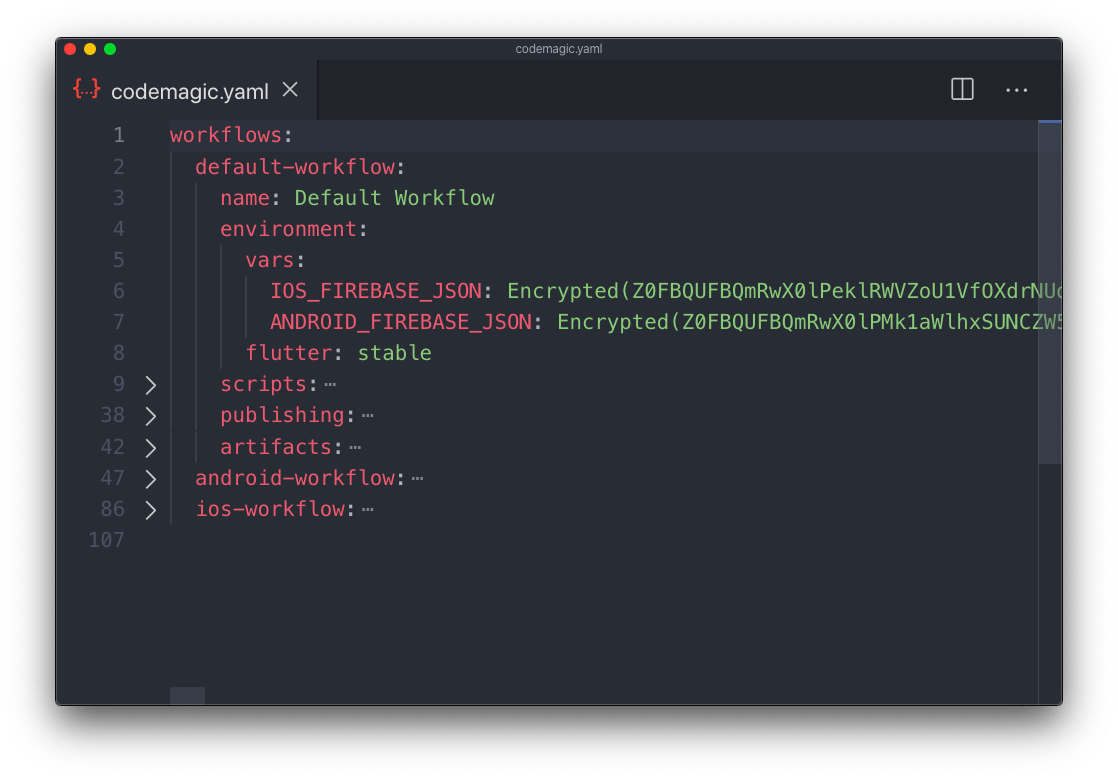
If you look into the environment section, you will see that it contains two environment variables:
- IOS_FIREBASE_PLIST: This contains the encrypted version of iOS configuration file for Firebase,
GoogleService-Info.plist. - ANDROID_FIREBASE_JSON: This contains the encrypted version of the Android configuration file for Firebase,
google-services.json.
The environment tab also contains the Flutter channel that you want to use while building the app, here it is set to stable branch.
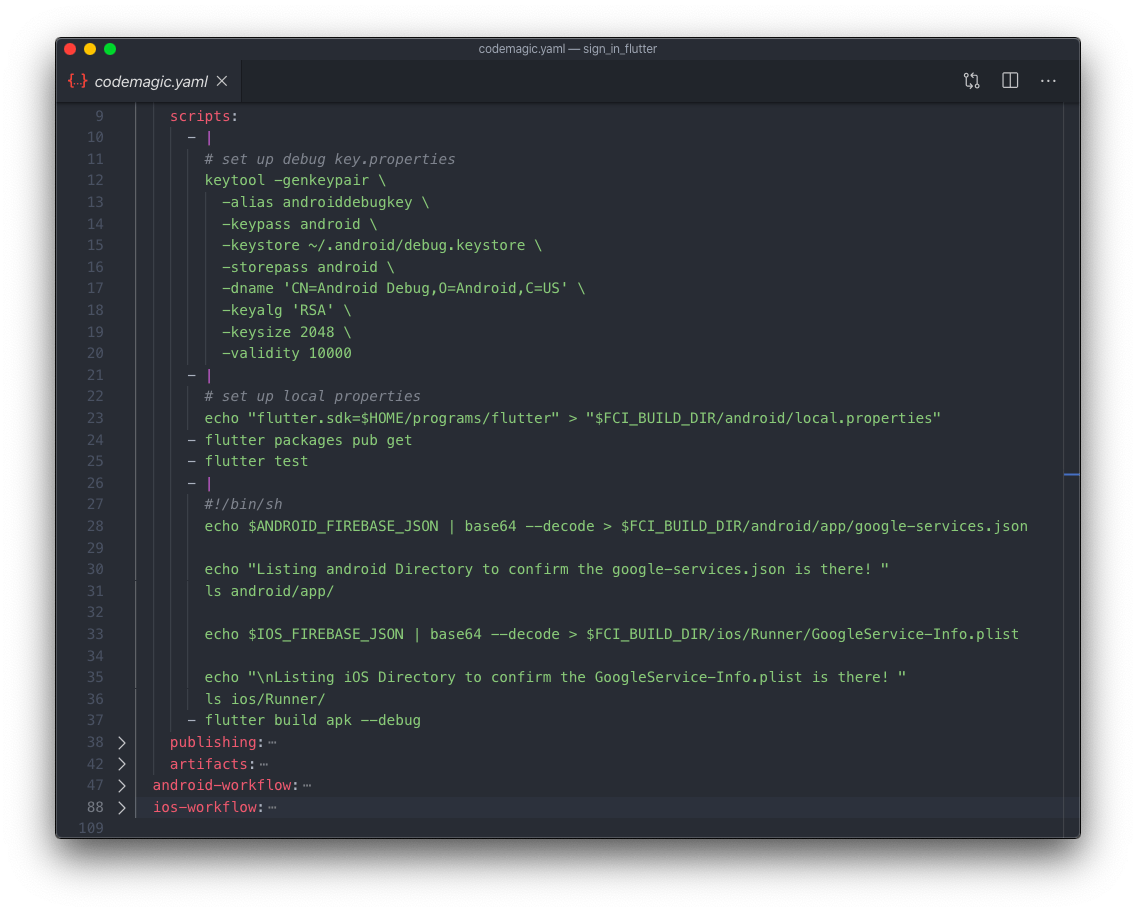
The scripts tab contains the whole pipeline for the build.
The script contains certain commands for the following:
- Generating the debug key for Android
- Get Flutter packages
- Run Flutter tests
- Pre-build script
- Build debug apk of the app
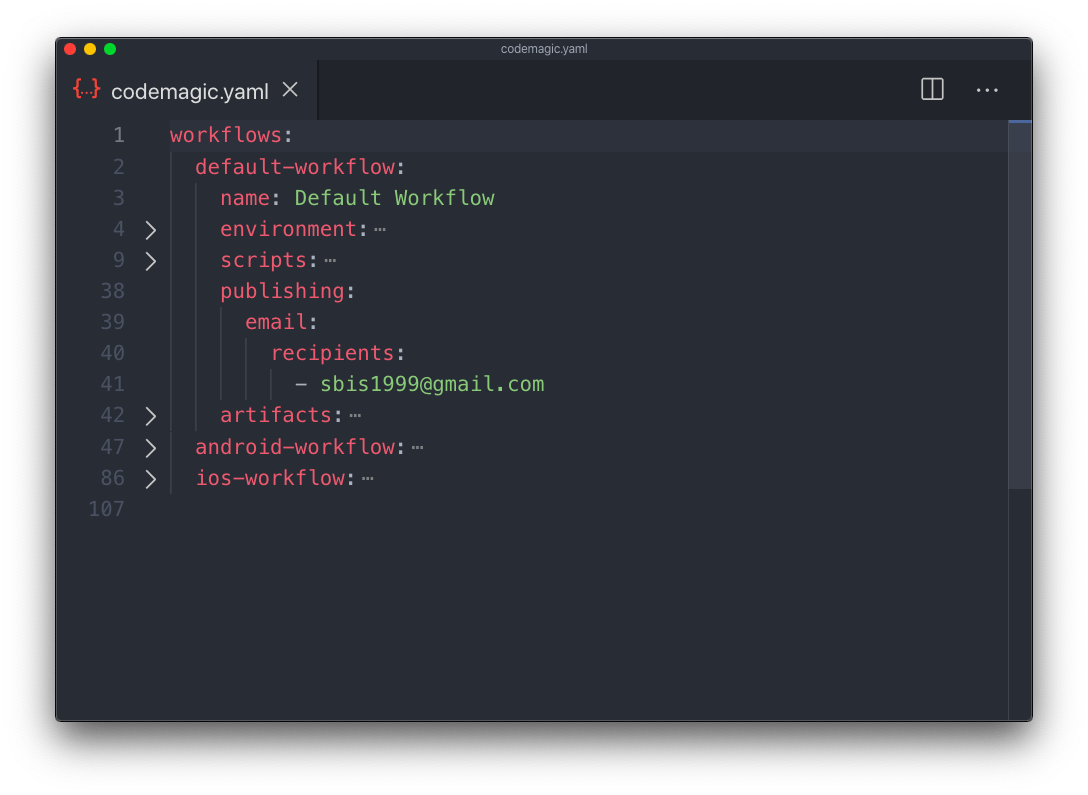
The publishing section contains information to specify where the app should be published after building.
Here, only email is used for publishing. You can add other publishing methods that Codemagic supports, like Slack, Google Play Store, App Store Connect.
The artifacts section contains all the output files that will be created after the build process.
How to use the YAML file?
Now, I will show you how to use codemagic.yaml from Codemagic Web UI during build.
First of all, you have to place the
codemagic.yamlfile in the root directory of the project.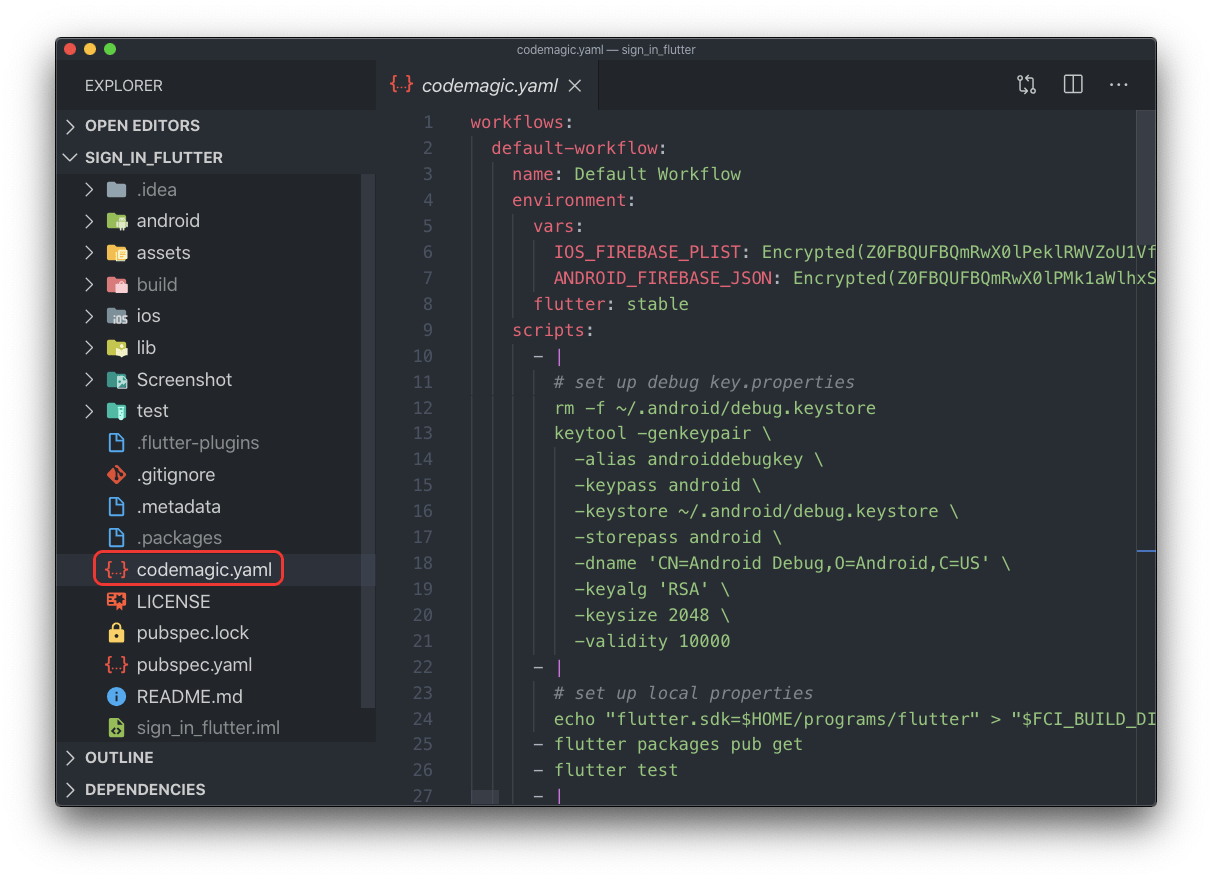
Then, commit the file to git and push it.
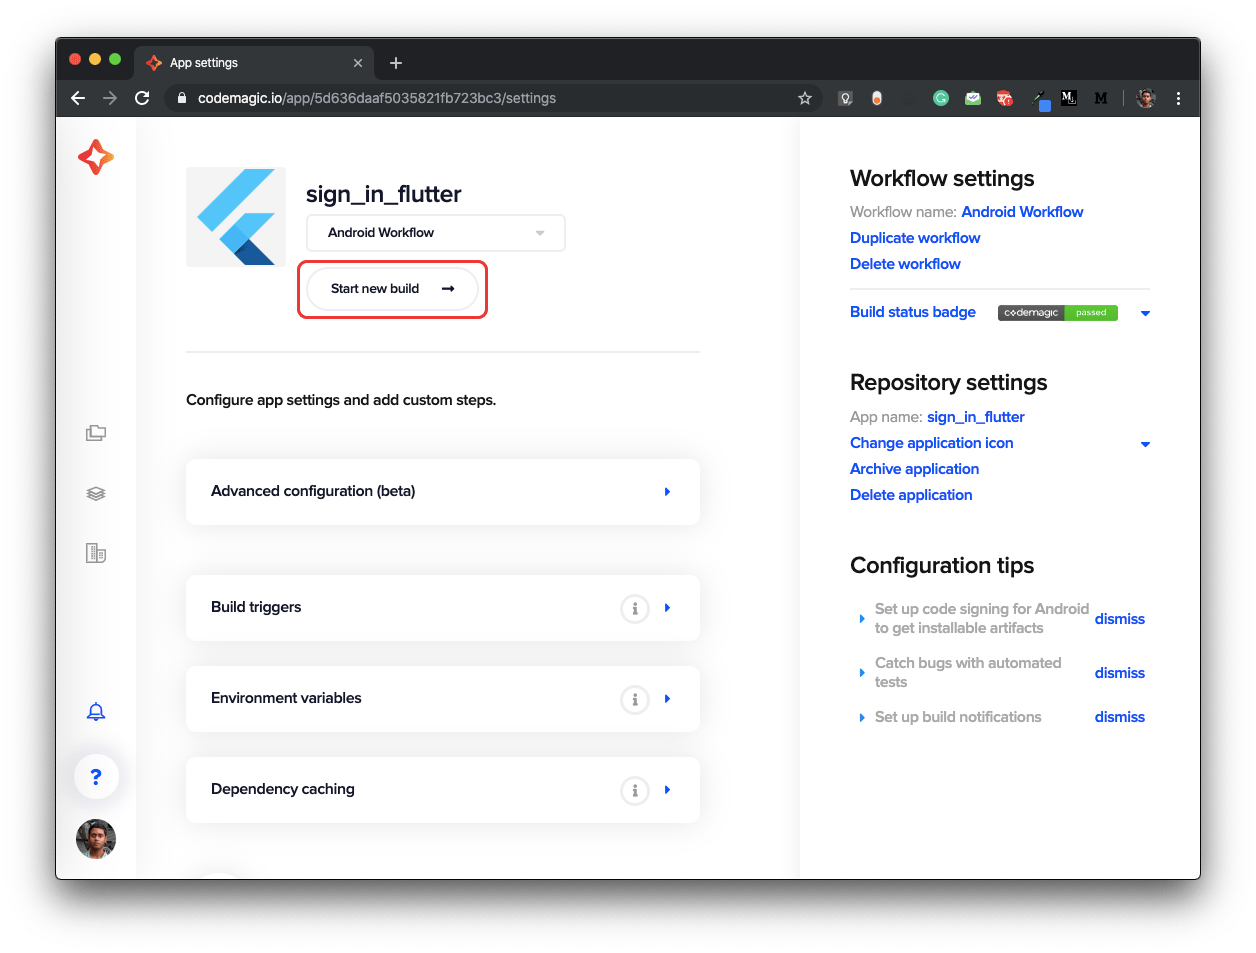
Now, go to the Settings of the project from Codemagic UI.
Click on Start new build.
Then click on Select workflow from codemagic.yaml.
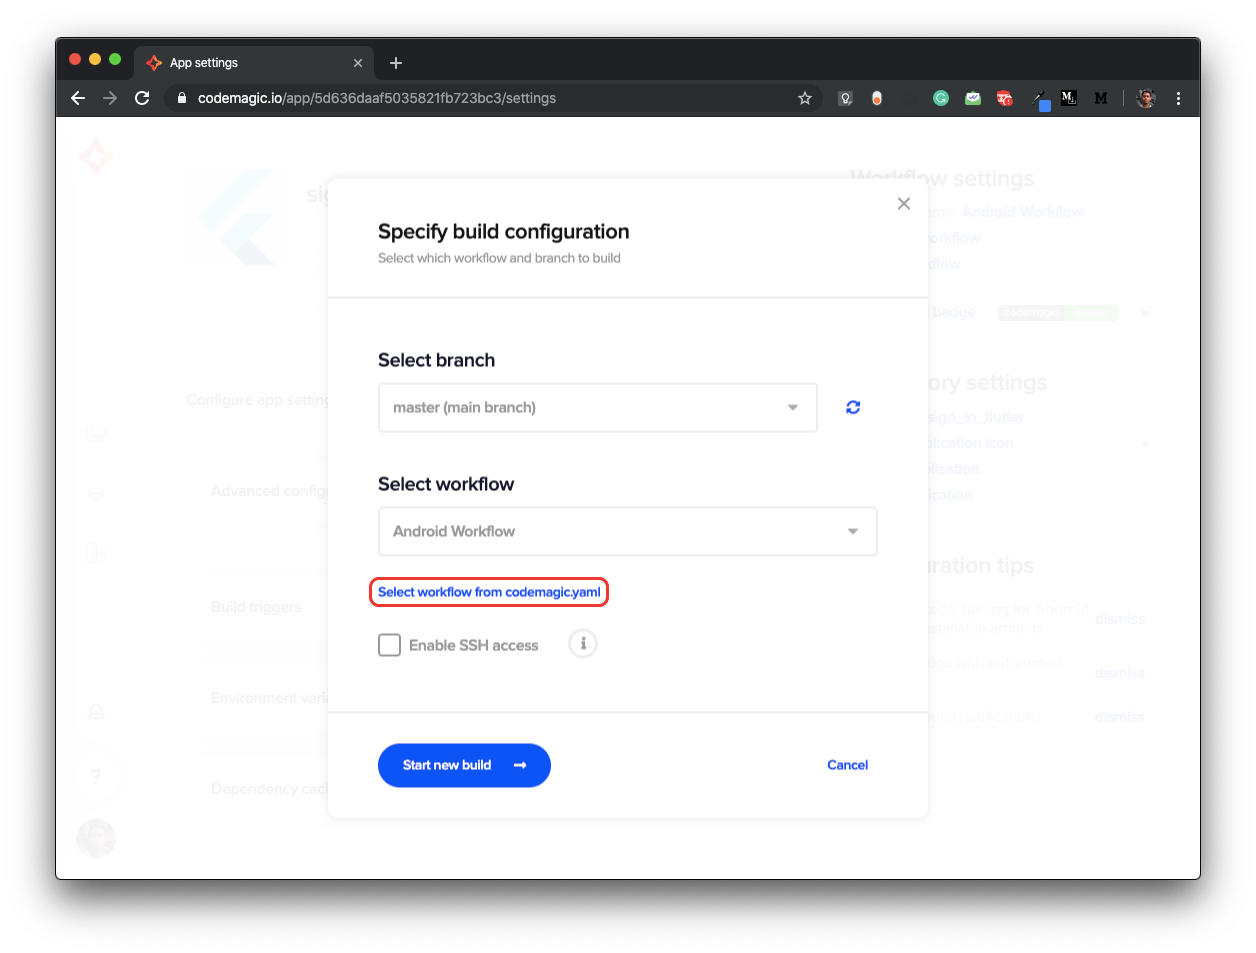
So, now you can select the workflow that you want to use for the build.
Here, I have used the Android Workflow for the build.
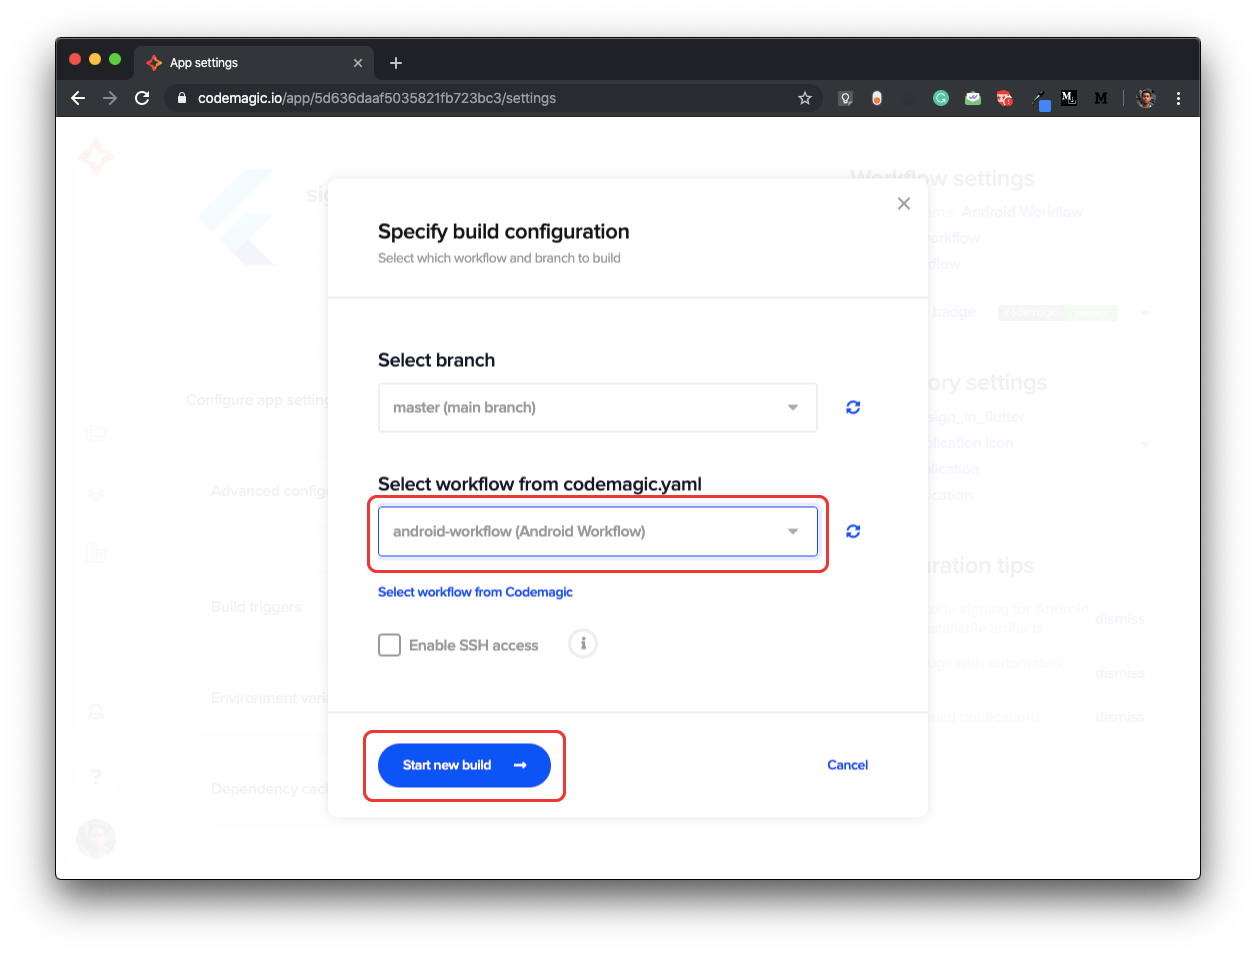
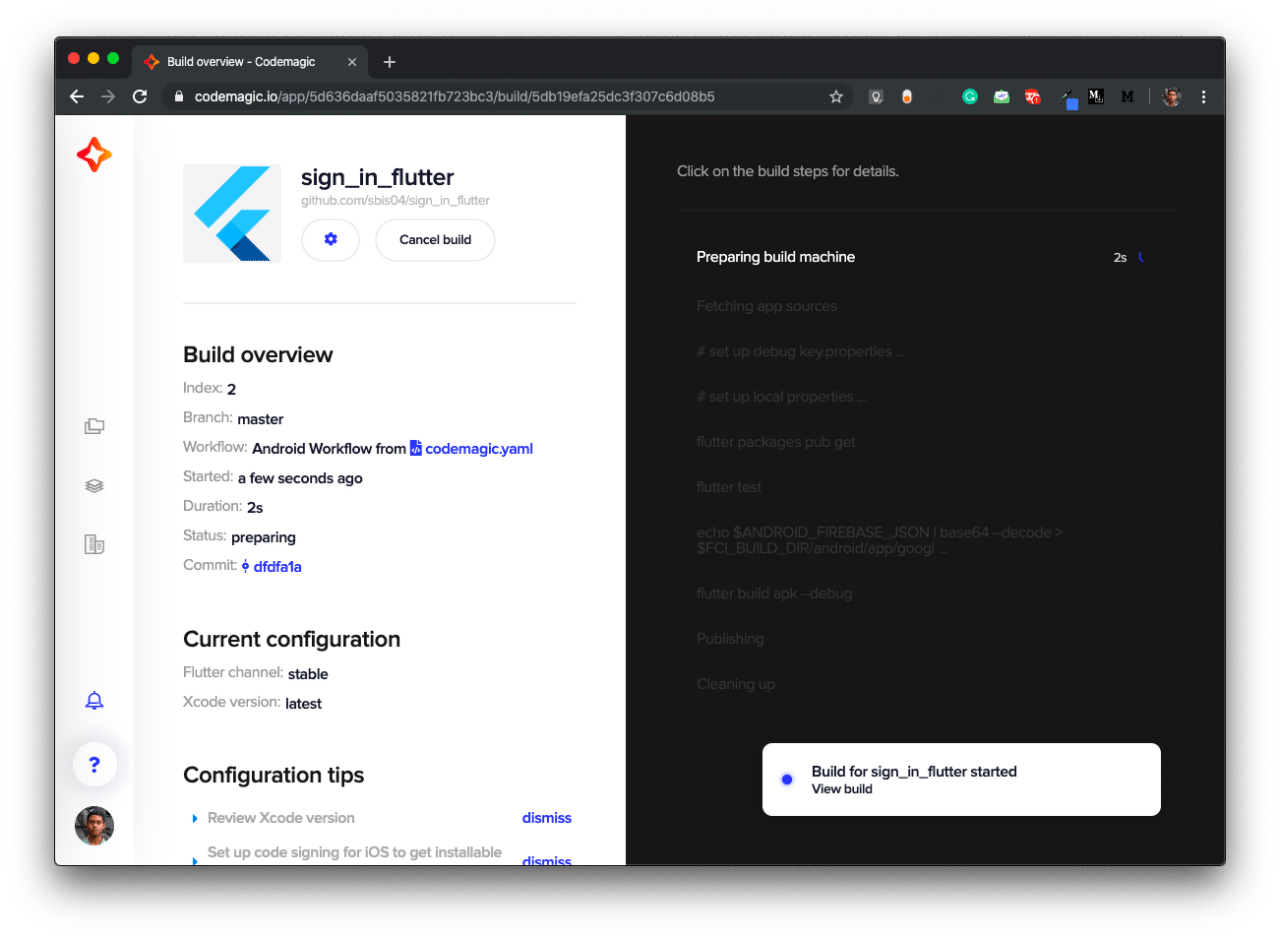
Click on Start new build to start the building process.
Advantages of using Codemagic YAML
Though the Codemagic YAML file is still in the beta version, there are a number of advantages of using the YAML file.
- You can now create and modify workflows directly from the scripts without going to the Codemagic UI.
- The pipeline can be defined really easily with the help of this YAML file.
- Environment variables can be added directly within this file.
- You will always have access to this file and can modify the YAML file, even when you are offline.
- Just place the YAML file in your root project directory and it will get automatically detected by the Codemagic UI while building.
Conclusion
The Codemagic YAML file will really help you improve your development speed and keep you organized as you do not have to go to the Codemagic UI everytime for making any changes to the pipeline. Just make the changes to codemagic.yaml file and commit it to version control system, and you are good to go.


