


Written by Souvik Biswas
In this article, I will be showing how to set up and deploy your Flutter app to Firebase App Distribution with the help of fastlane.
What is fastlane?
Fastlane is an open source continuous delivery (CD) tool that helps to automate the building and deployment of Android and iOS apps to Play Store and App Store. You can customize the lanes as you need and they also help you to automate the code signing process for both platforms.
Fastlane also has CD support for Flutter apps, though you need to set it up separately for Android and iOS platforms.
What is Firebase App Distribution?
Firebase App Distribution makes it easy to distribute pre-release apps to testers so that you can get feedback from the early users quickly. It can also be combined with Crashlytics which will give you reports about any crash that occurs on the tester’s device.
Combining Firebase App Distribution with fastlane makes automated distribution even more seamless.
Now, let’s look into the setup process of fastlane and integrate Firebase App Distribution with it.
Install Firebase CLI
You will need Firebase Command-Line interface tool in order to communicate with Firebase with the help of fastlane from your terminal directly.
For installing Firebase CLI, just run the following command from the terminal:
curl -sL https://firebase.tools | bashThen log in to Firebase to get access to your Firebase projects:
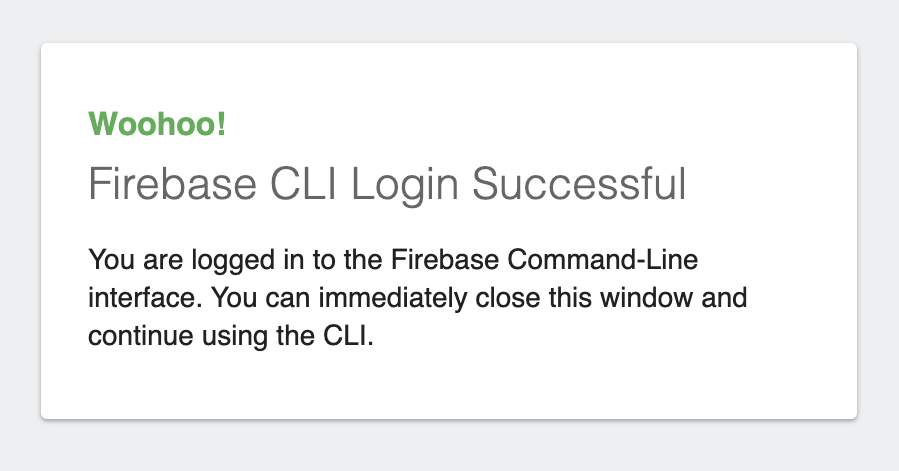
firebase loginThis command will open a webpage from where you can log in to Firebase using your Google account.
You will get a confirmation message after a successful login to Firebase CLI.
Install fastlane
To install fastlane using RubyGems, just run this command from the terminal:
sudo gem install fastlane -NV
Alternatively, you can also use this command to install it using Homebrew:
brew install fastlane
Set up fastlane for Android
Navigate to the Android directory (FlutterProj/android/) of your Flutter project, and initialize fastlane using the following command:
fastlane init
After running this command, it will ask for two things:
- Package name
- Secret JSON file location
Both of them are optional (and can be skipped) but we will not be able to deploy without some of the information. If you decide to skip it for now, you can also add them later by going to the Appfile present inside the folder
android/fastlane.
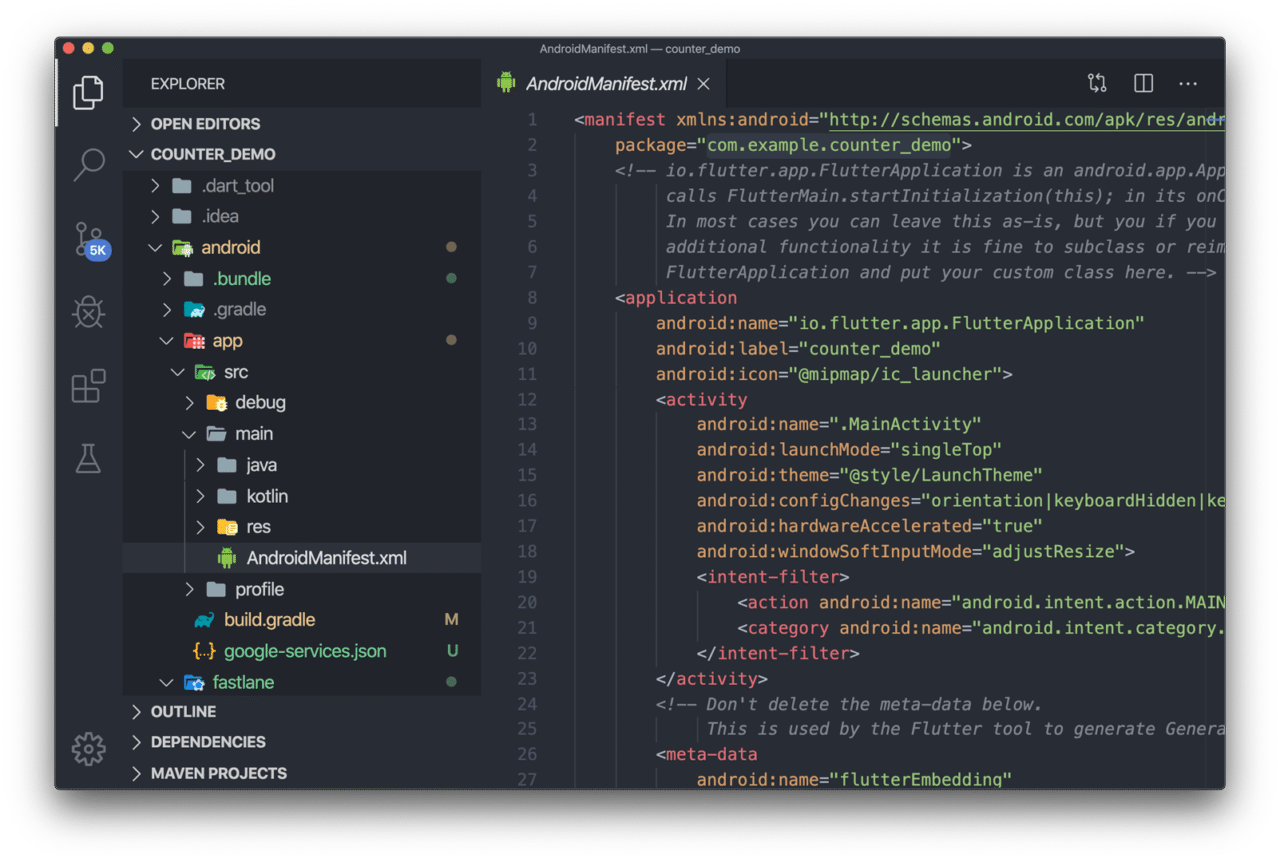
Enter the package name of the Android part of your Flutter project.
You can find the package name by going to: FlutterProj –> android –> app –> scr –> main –> AndroidManifest.xml
It is not needed to add the secret JSON file location, as we will be distributing the pre-release version of the app to testers only and the JSON file is not needed by Firebase App Distribution.
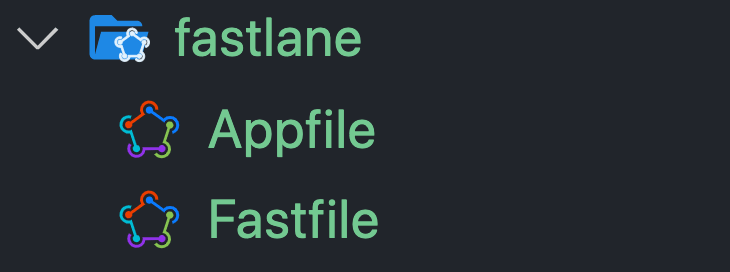
This will generate a fastlane folder inside the android directory containing two files:
- Appfile (which contains the package name and secret JSON file path)
- Fastfile (which contains the commands for building and uploading the app)
Set up fastlane for iOS
We have to follow similar steps also for iOS. Navigate to the iOS directory (FlutterProj/ios/) of your Flutter project, and initialize fastlane by using the command:
fastlane init
After running this command, it will ask for two things:
- App Identifier
- Apple ID
Both of them are optional (and can be skipped) but we will not be able to deploy without some of the information. If you decide to skip it for now, you can also add them later by going to the Appfile present inside the folder
ios/fastlane.
This will generate a fastlane folder inside the ios directory containing two files:
- Appfile (which contains the app identifier and apple id)
- Fastfile (which contains the commands for building and uploading the app)
Add the Firebase App Distribution plugin
To add the Firebase App Distribution plugin for fastlane, run the following command from the android directory:
fastlane add_plugin firebase_app_distribution
Now, you can use this plugin inside your Fastfile to upload your app to Firebase App Distribution.
Before moving on to customizing the Fastfile, we have to create a Firebase project for using the Firebase App Distribution.
Creating a Firebase project
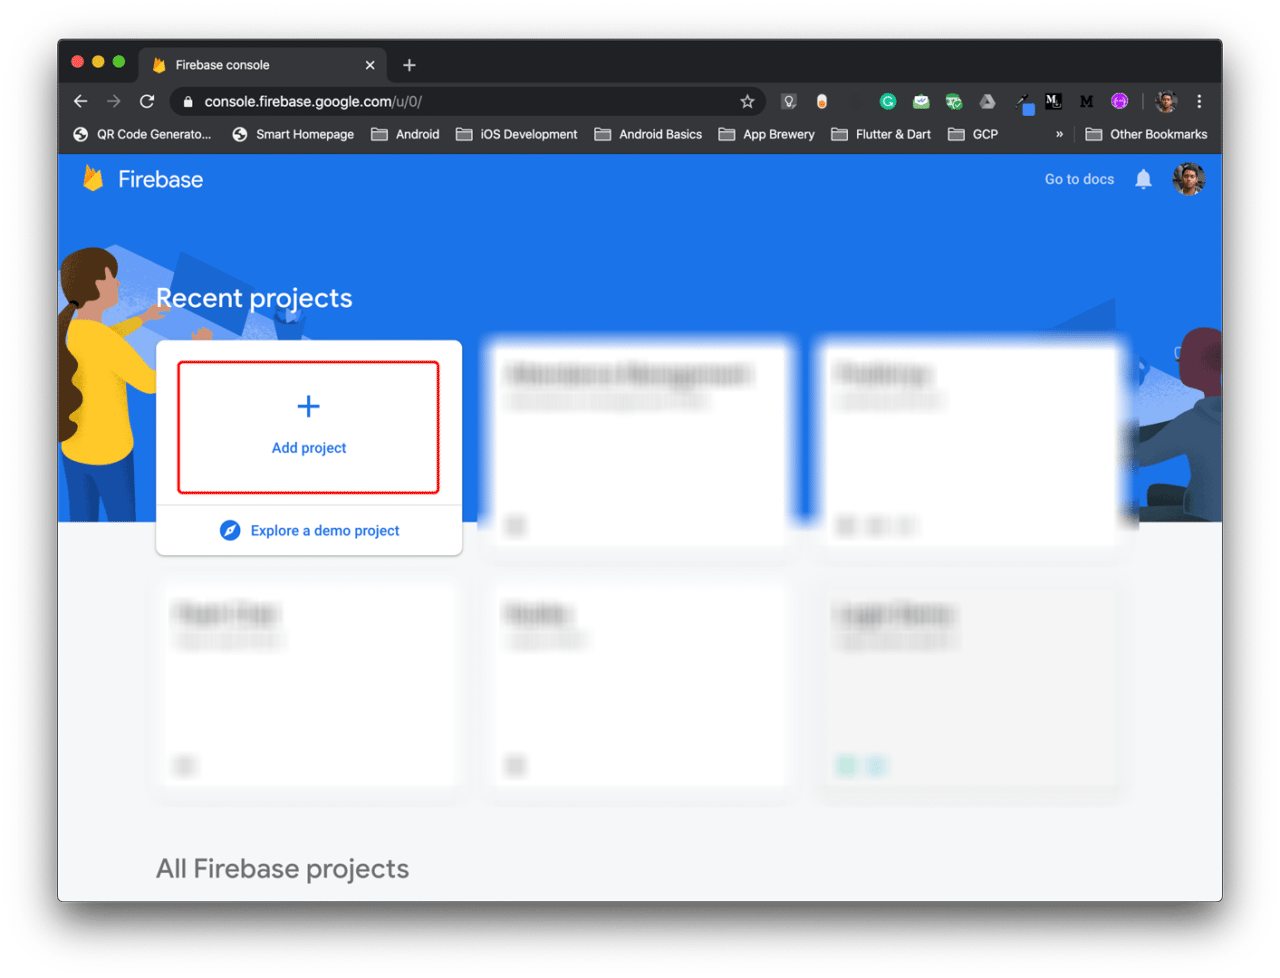
- Go to the Firebase Console.
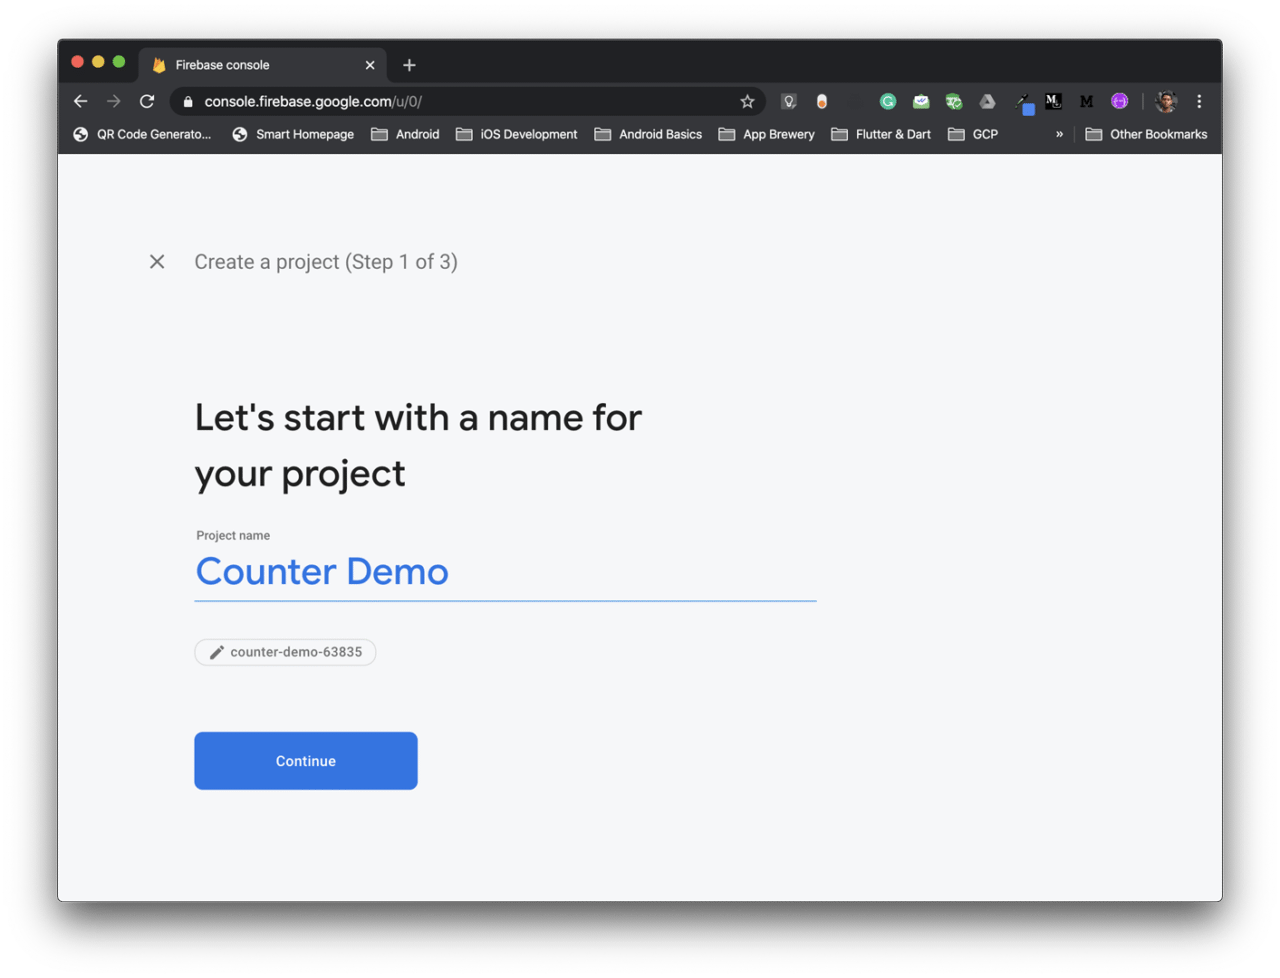
- Click on Add project.
- Add a name of the project and click on Continue.
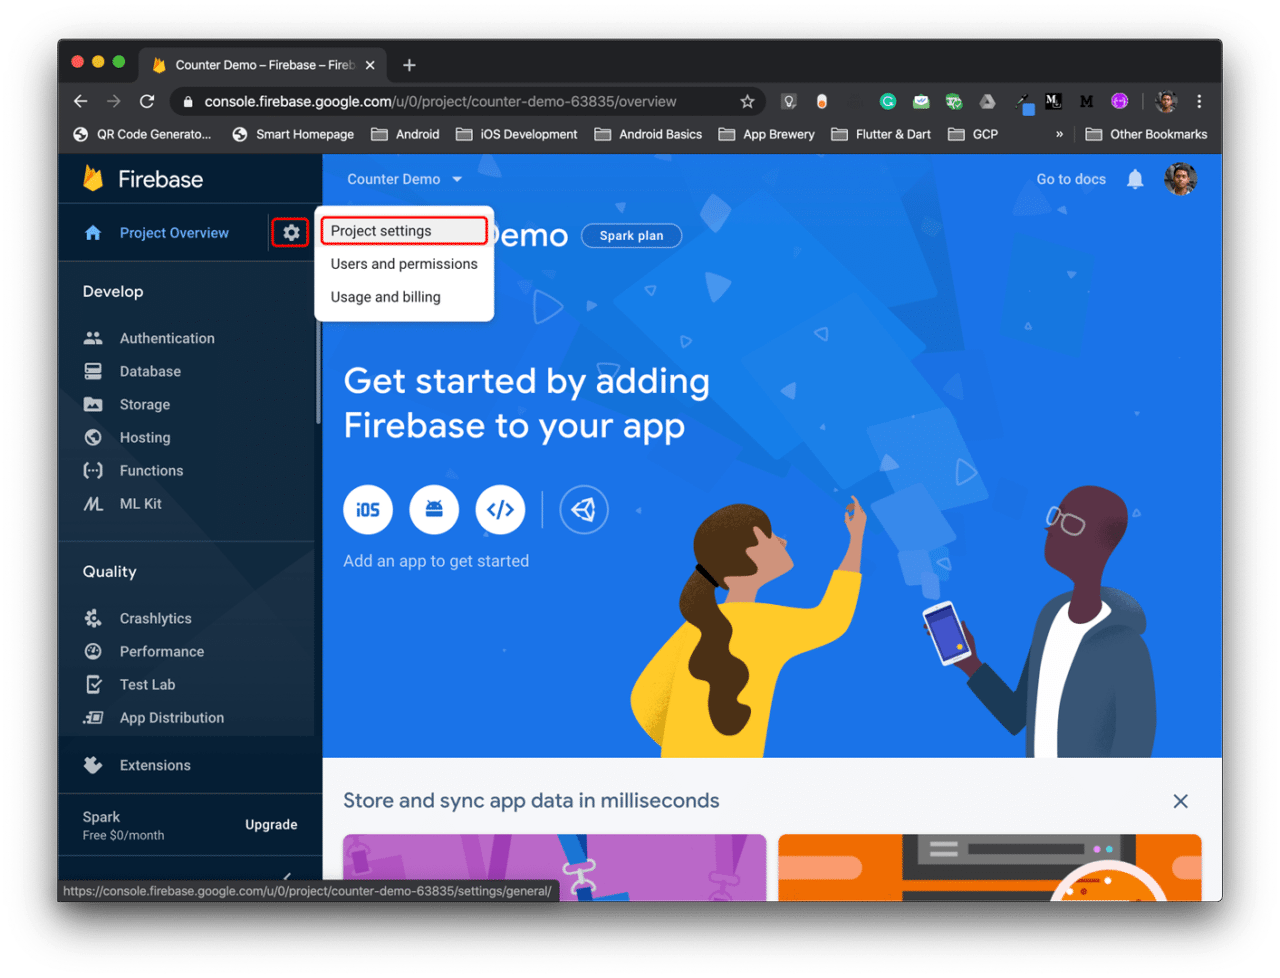
- Go to Settings –> Project settings.
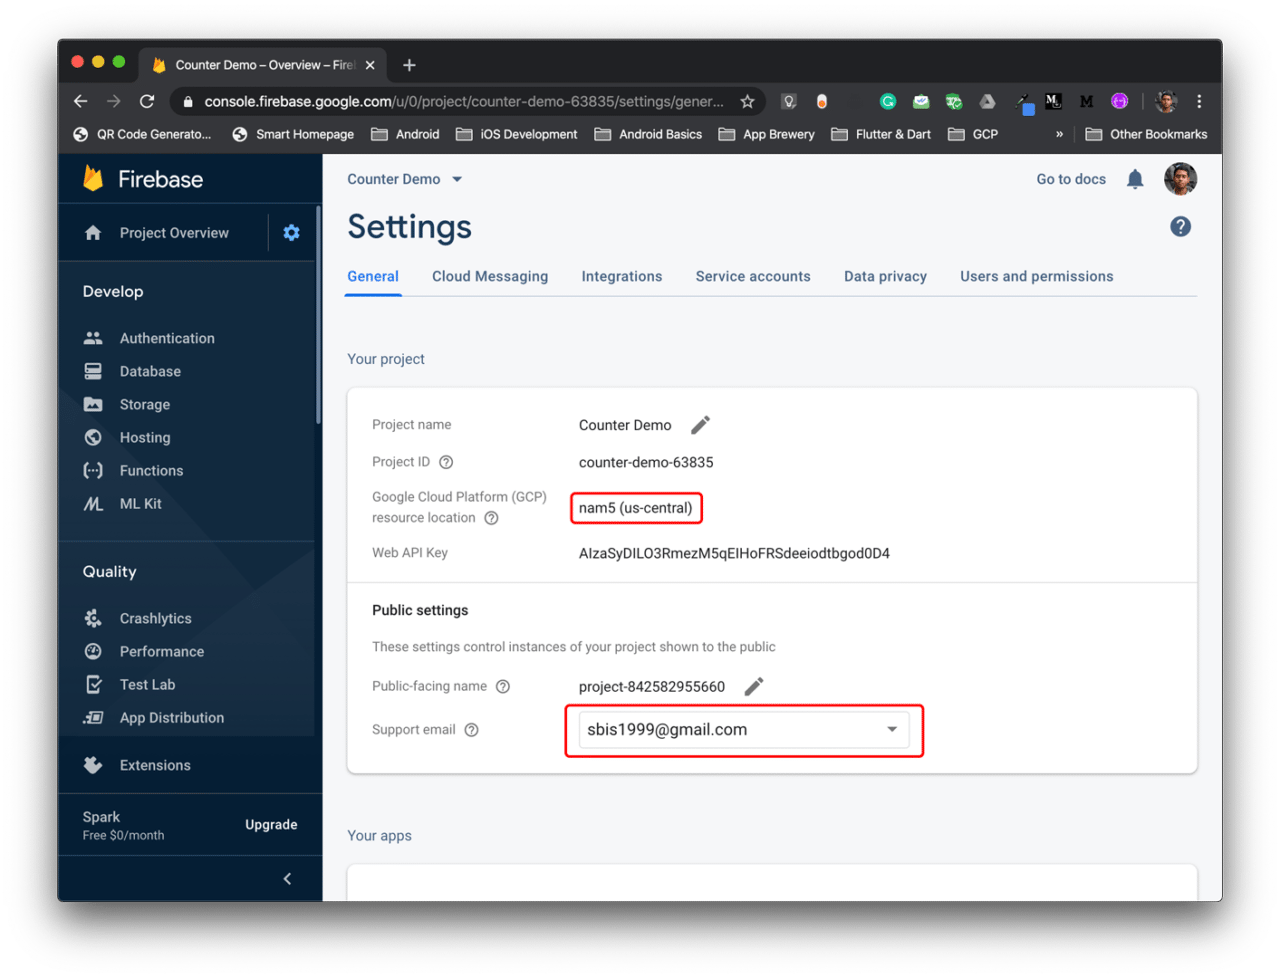
- Now, enter the Support email and the GCP resource location.
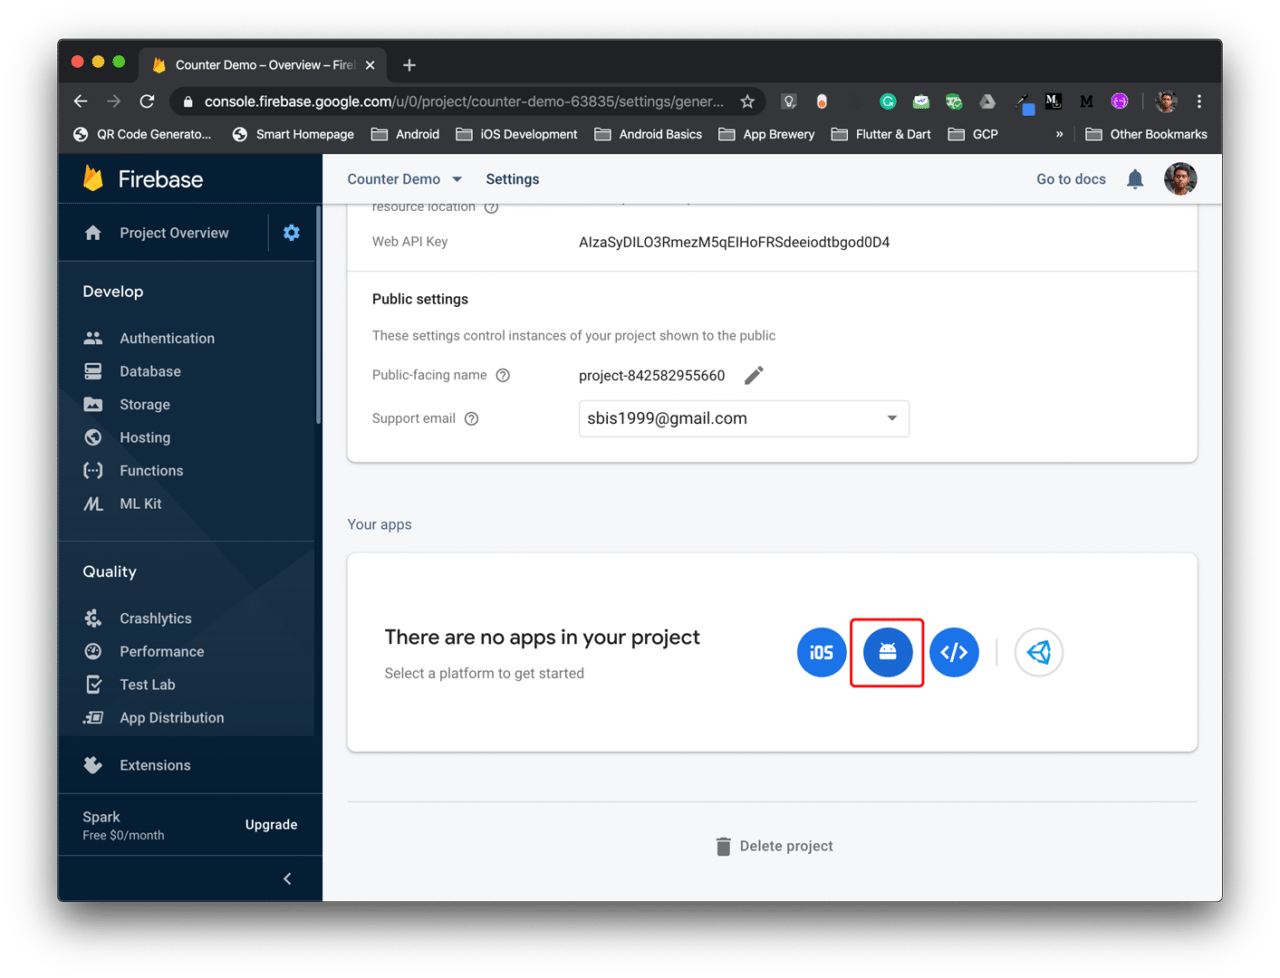
Adding Android project
Scroll down and click on the Android icon to add your Android project.
Enter the Android package name, App nickname and SHA-1, then click on Register app.
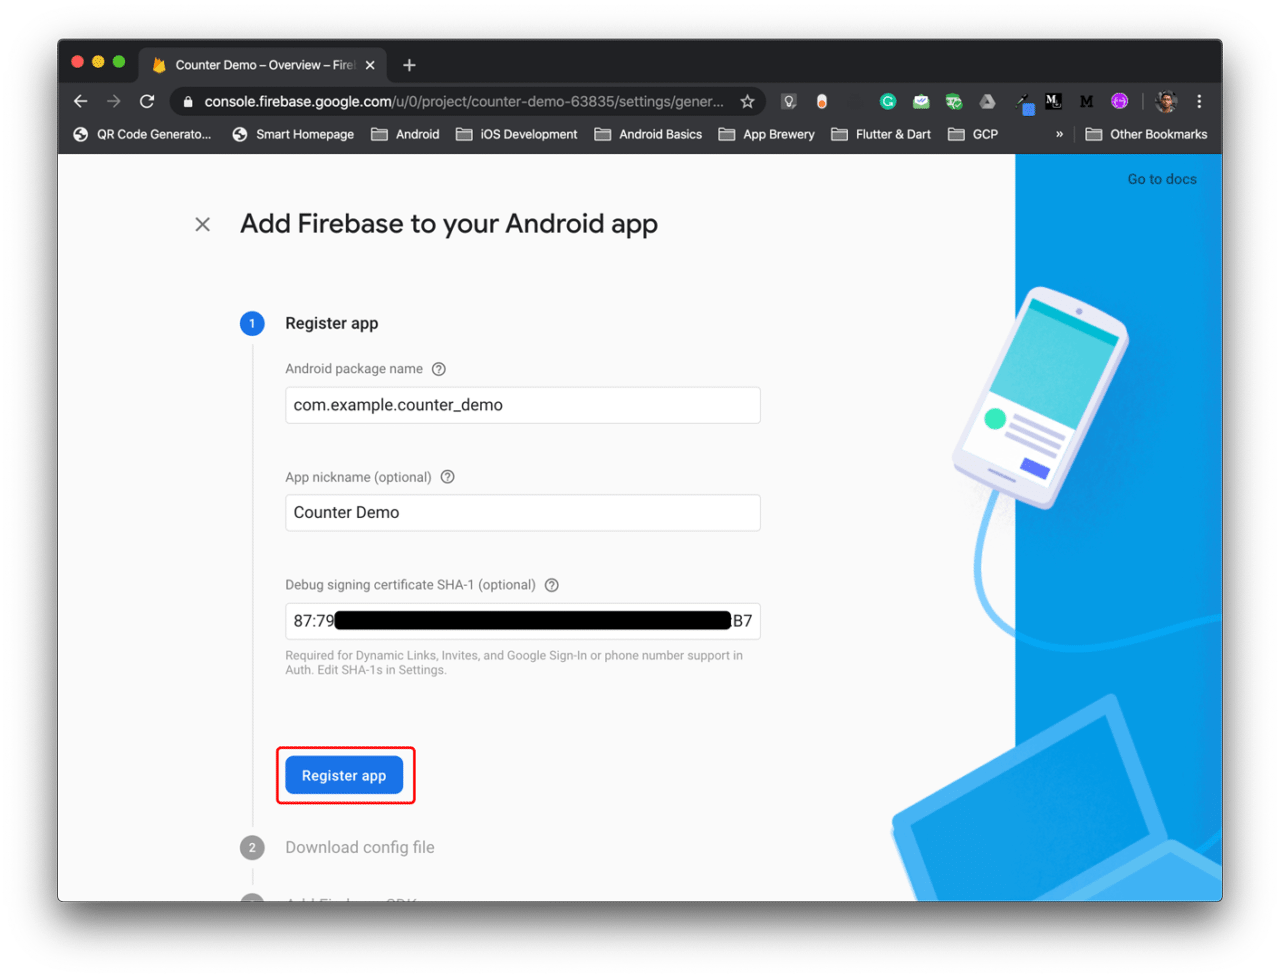
To generate SHA-1, you have to run the following command from the root Flutter app directory:
 bash
 keytool -list -v \
 -alias androiddebugkey -keystore ~/.android/debug.keystore
The password for the Android keystore is empty by default, so just press Enter when it asks for password.
Download the
google-services.jsonfile and place it in the desired folder, then click on Next.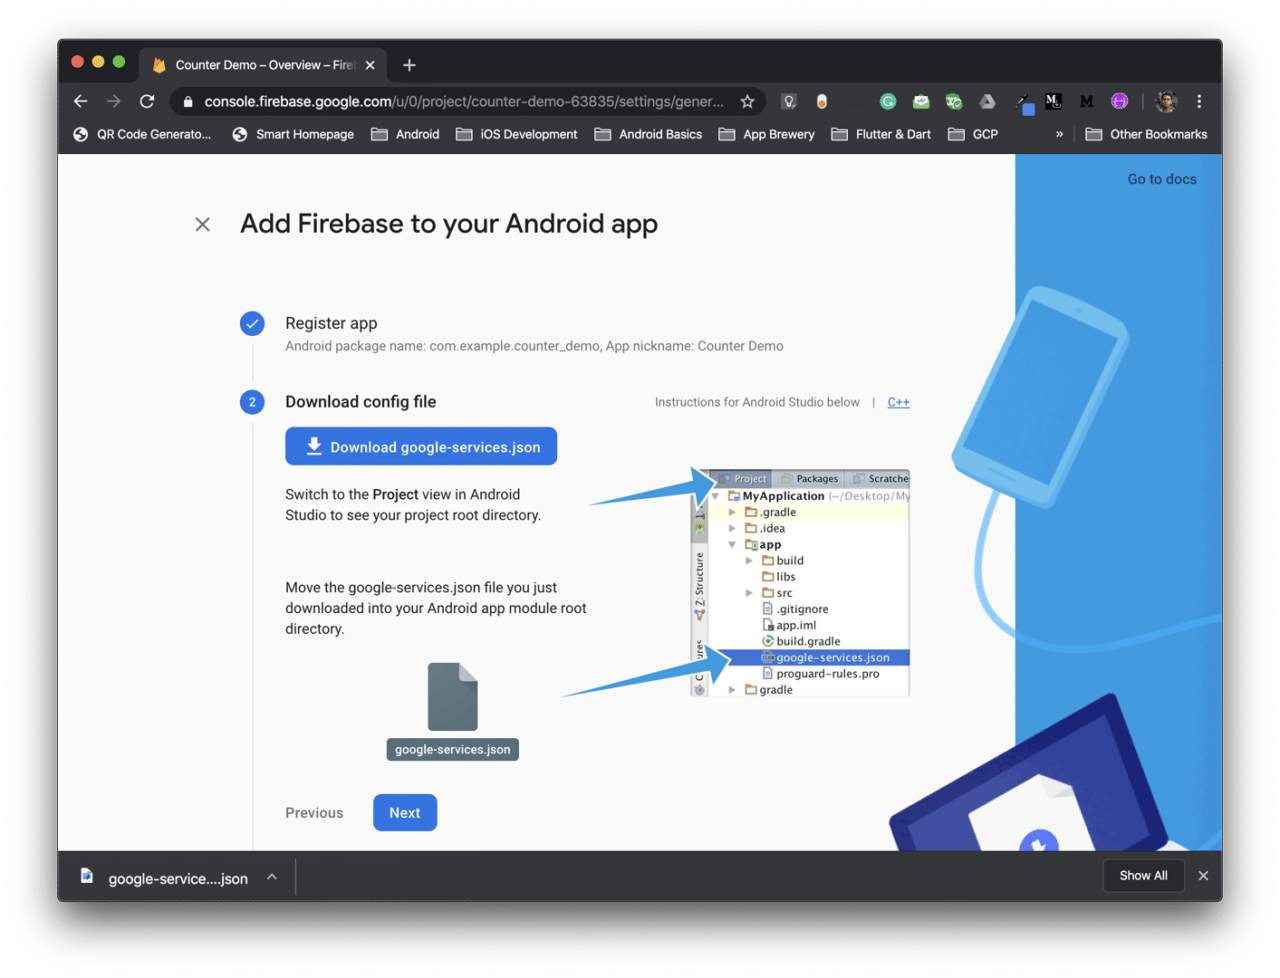
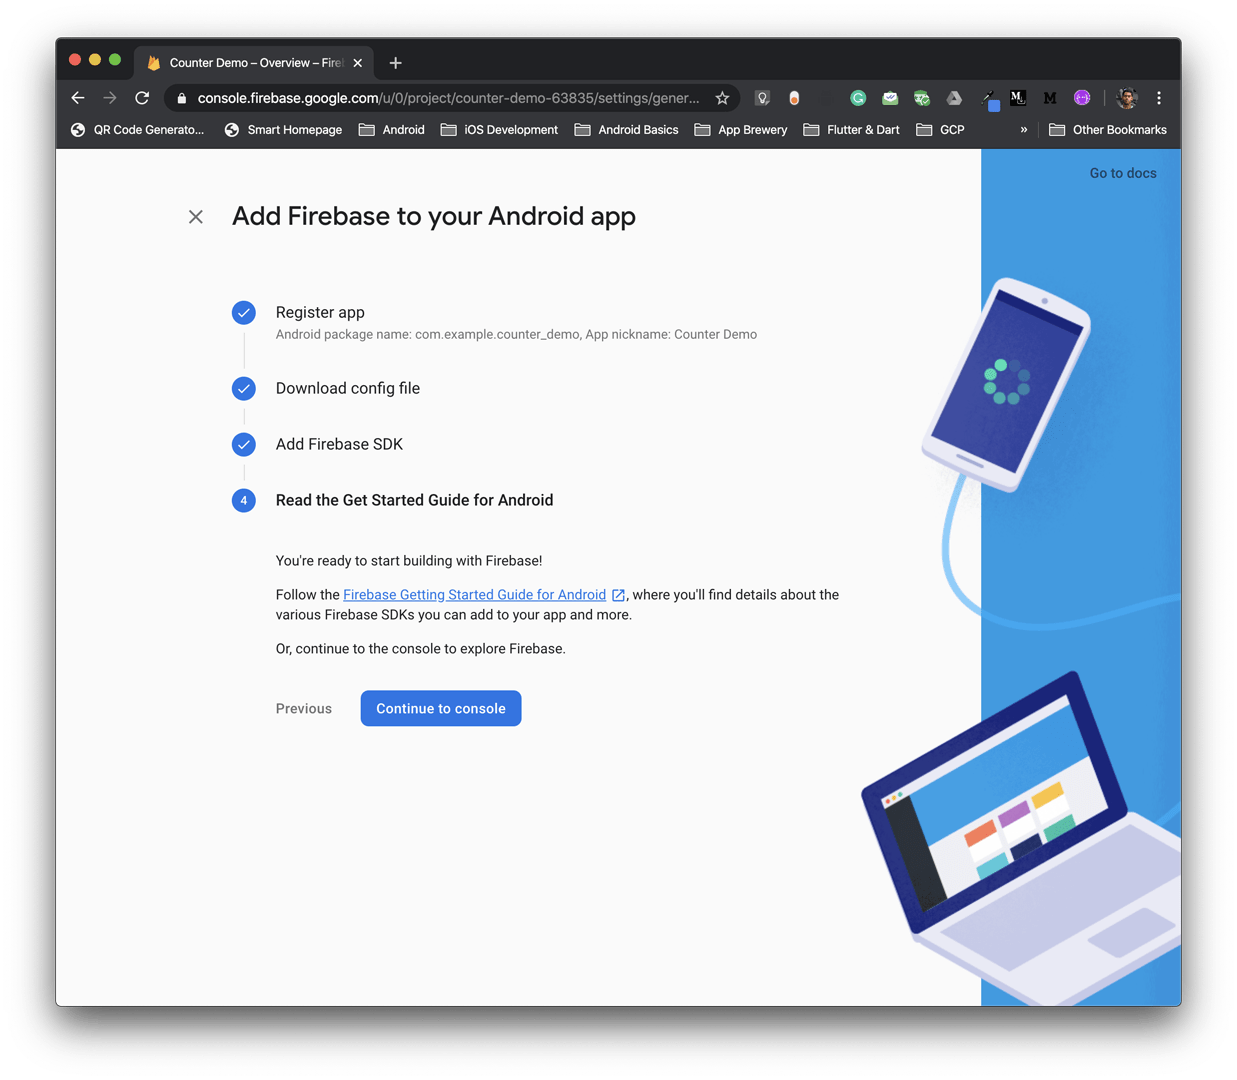
Add the Firebase SDK as per the instruction.
Click on Continue to console.
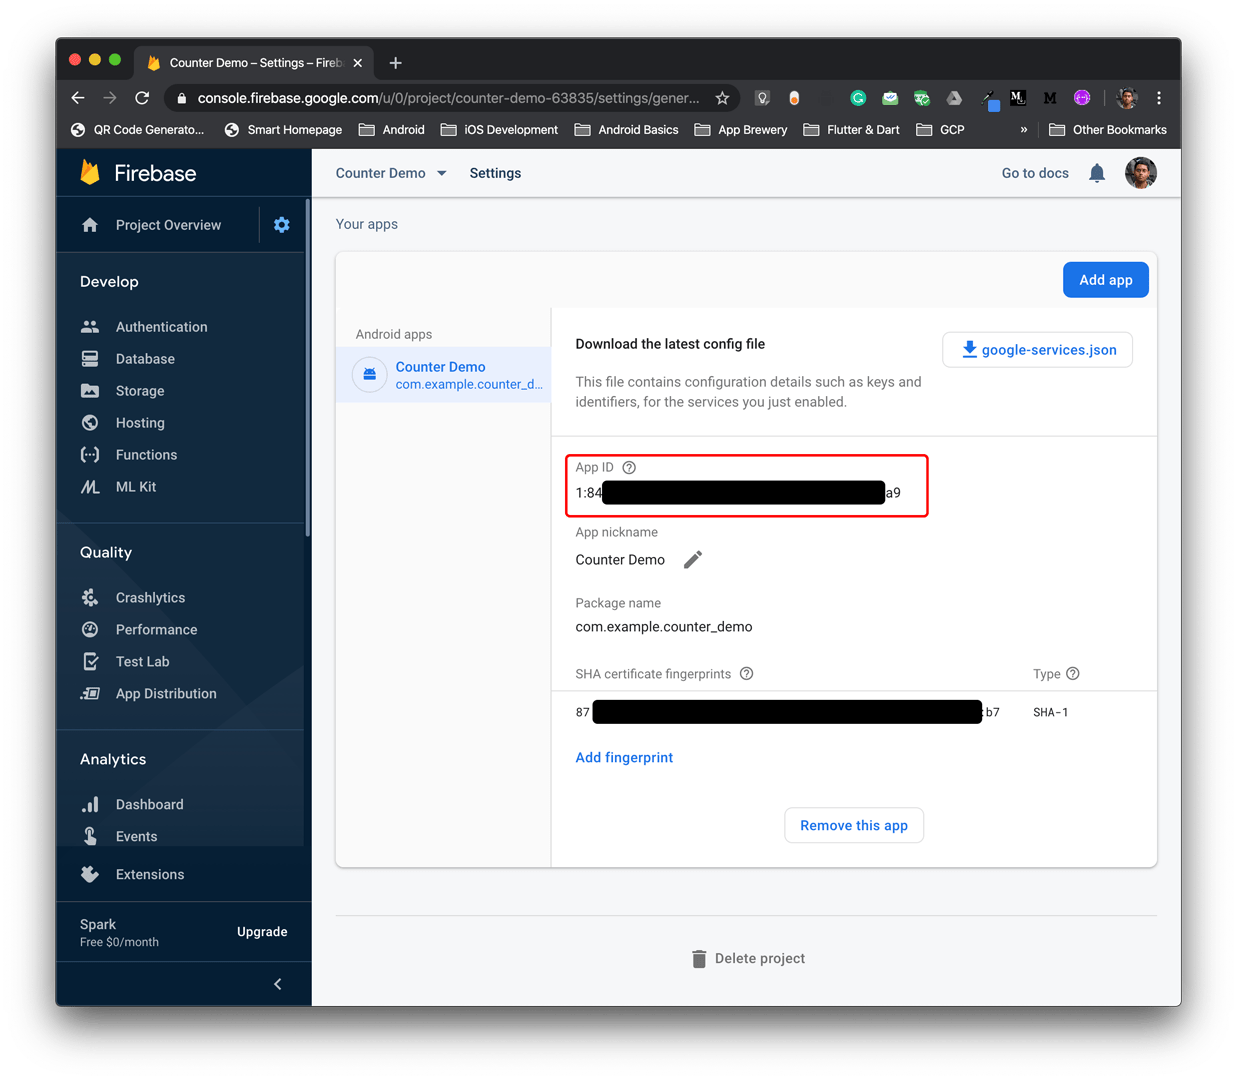
You will find the App ID for the Android app in this page. We will need this App ID in the future for configuring fastlane.
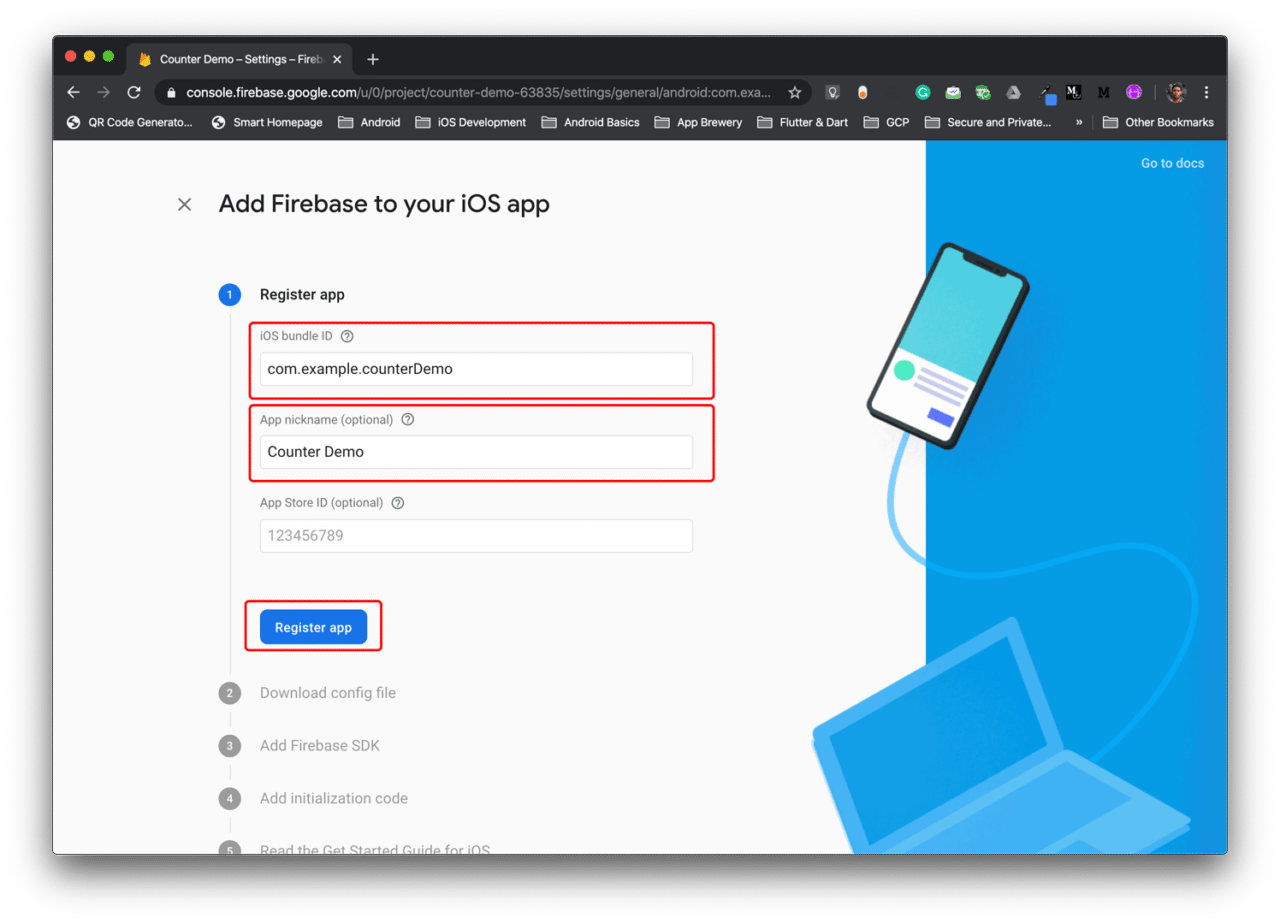
Adding iOS project
Similarly, we also have to add the iOS project.
- Click on Add app from the same page and select the iOS icon.

- Enter the iOS bundle ID and an App nickname, then click on Register app.
- Download the
GoogleService-Info.plistfile and place it in the desired folder. Click on Next.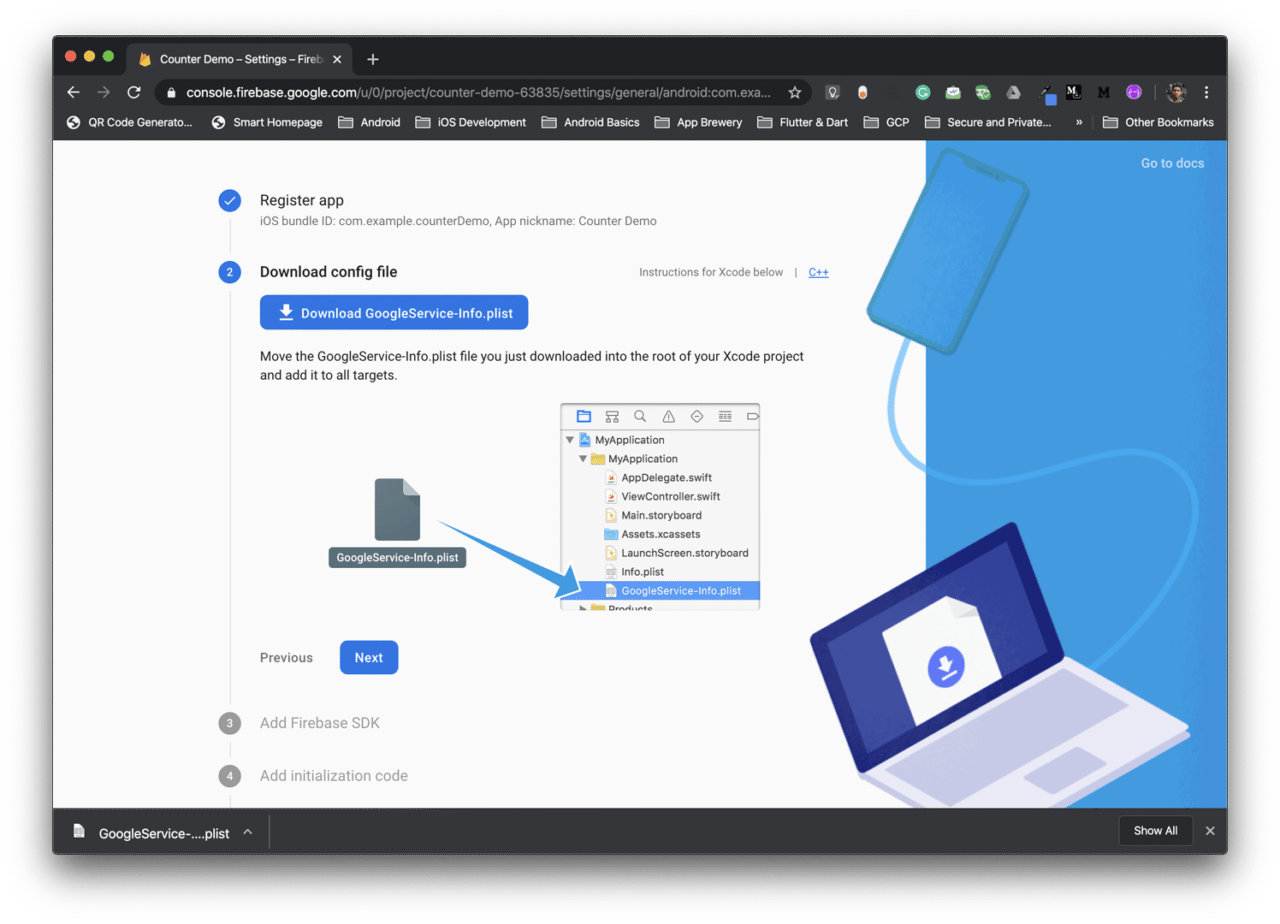
- You can skip Step 3 & 4, because they are already generated while creating the Flutter project.
- Click on Continue to console.
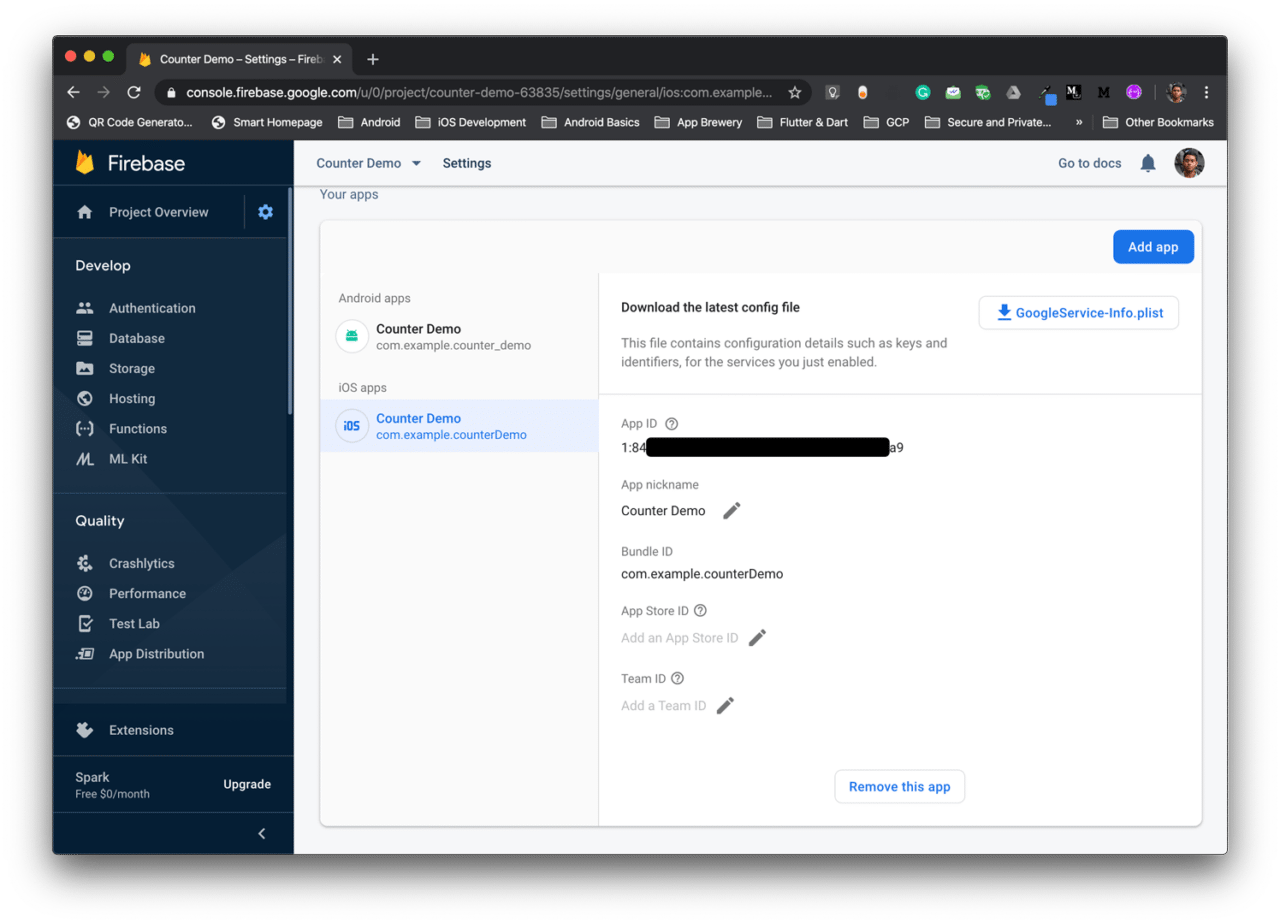
Here, you will find the App ID for the iOS project. We will need this App ID in the future for configuring fastlane.
Customizing the Android Fastfile
Navigate to the Fastfile in android directory using your preferred code editor.
You can find it inside the folder: FlutterProj –> android –> fastlane.
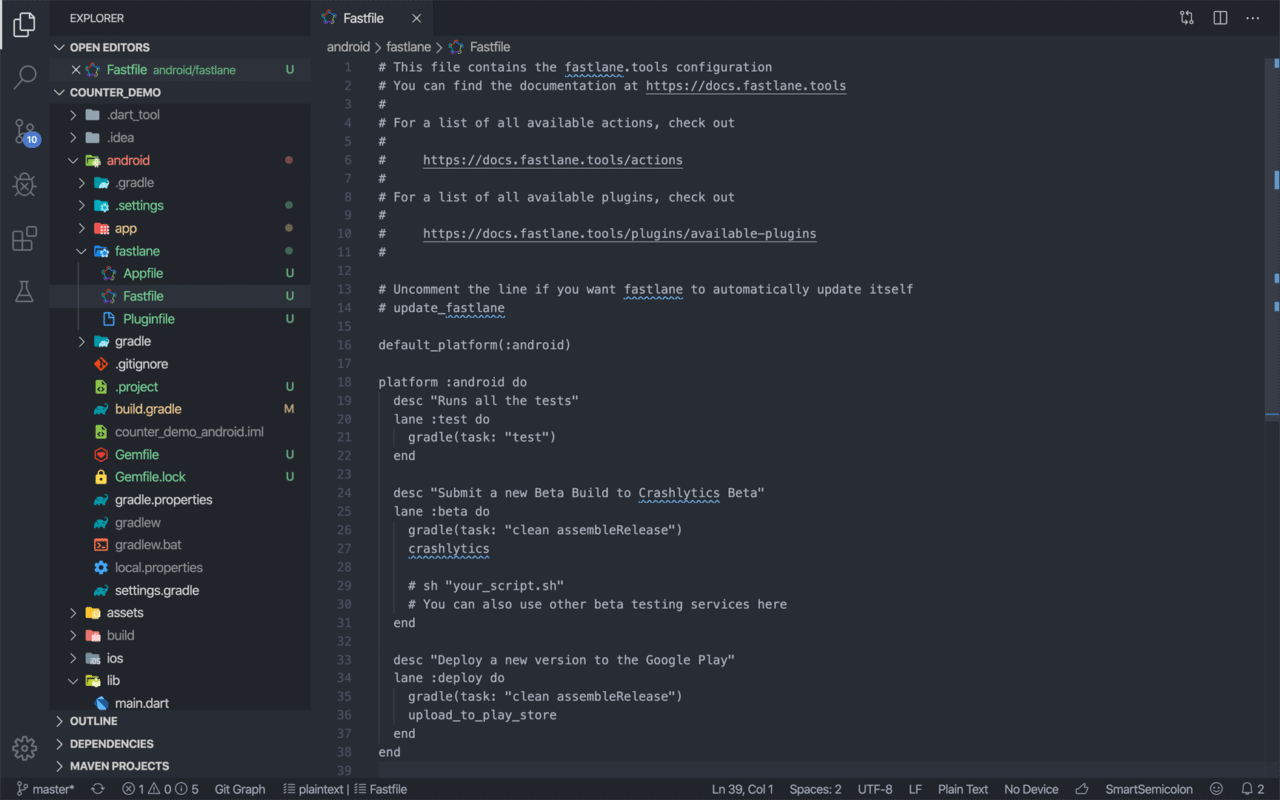
The Fastfile is written using Ruby language.
Here, you will see that there are three lanes specified:
- test
- beta
- deploy
We will be using our custom lane for building and deploying the Android .apk file of our Flutter project.
So, delete the whole platform block along with all the lanes and add the following:
platform :android do
    desc "<Enter a description>"
    gradle(
        task: 'assemble',
        build_type: 'Release'
    )
    lane :android_beta_app do
        firebase_app_distribution(
            app: "<Enter the App ID from Firebase>",
            testers: "***@gmail.com, ***@gmail.com",
            release_notes: "<Enter the release notes>",
            firebase_cli_path: "/usr/local/bin/firebase",
            apk_path: "../build/app/outputs/apk/release/app-release.apk"
        )
    end
end
Replace the angle brackets with proper information.
Let’s understand what this build and deploy script contains.
First of all, we are defining the platform to be android and then we have three properties:
- desc
- gradle()
- lane
- desc: General description of the script
- gradle: This contains the build type of the
.apk, here it is set to release build - lane: At the beginning we have to define the lane name, here it is
android_beta_appand then we have to define thefirebase_app_distributionsettings- firebase_app_distribution: We have defined here five properties:
- app: Enter the unique App ID generated by Firebase
- testers: Enter the email of the people to whom you want to send the test version of the app
- release_notes: Here you can add some notes which will be displayed while the testers download the app on their device
- firebase_cli_path: Path to the Firebase CLI tool
- apk_path: Path to the generated
.apkfile
- firebase_app_distribution: We have defined here five properties:
Customizing the iOS Fastfile
Navigate to the Fastfile in iOS directory using your preferred code editor.
You can find it inside the folder: FlutterProj –> ios –> fastlane.
Delete the whole platform block along with the lanes and add the following:
platform :ios do
  desc "New iOS build for Counter Demo app"
    lane :ios_beta_app do
        build_app(
            scheme: "Runner",
            archive_path: "./build/Runner.xcarchive",
            export_method: "development",
            output_directory: "./build/Runner"
        )
        firebase_app_distribution(
            app: "<Enter the App ID from Firebase>",
            testers: "***@gmail.com, ***@gmail.com",
            release_notes: "Initial test version of the app",
            firebase_cli_path: "/usr/local/bin/firebase",
            ipa_path: "./build/Runner/Runner.ipa"
        )
    end
end
Replace the angle brackets with proper information.
Deploying to Firebase App Distribution
The project is now ready to be deployed to Firebase App Distribution using the fastlane configuration we have defined.
Before running the fastlane script, make sure the Firebase project is properly added by running the following command:
firebase projects:list
This should generate an output like this:

Deploying Android app
To deploy the Android .apk file to Firebase App Distribution, follow the steps below:
Go to your project from the Firebase console.
Then, from the options on the left of the page, select App Distribution.
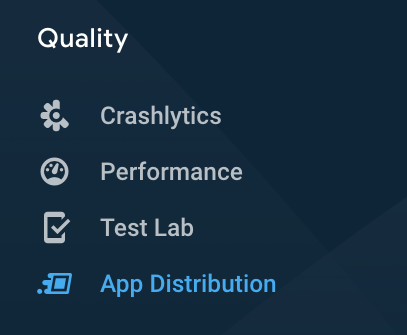
Click on Get started.
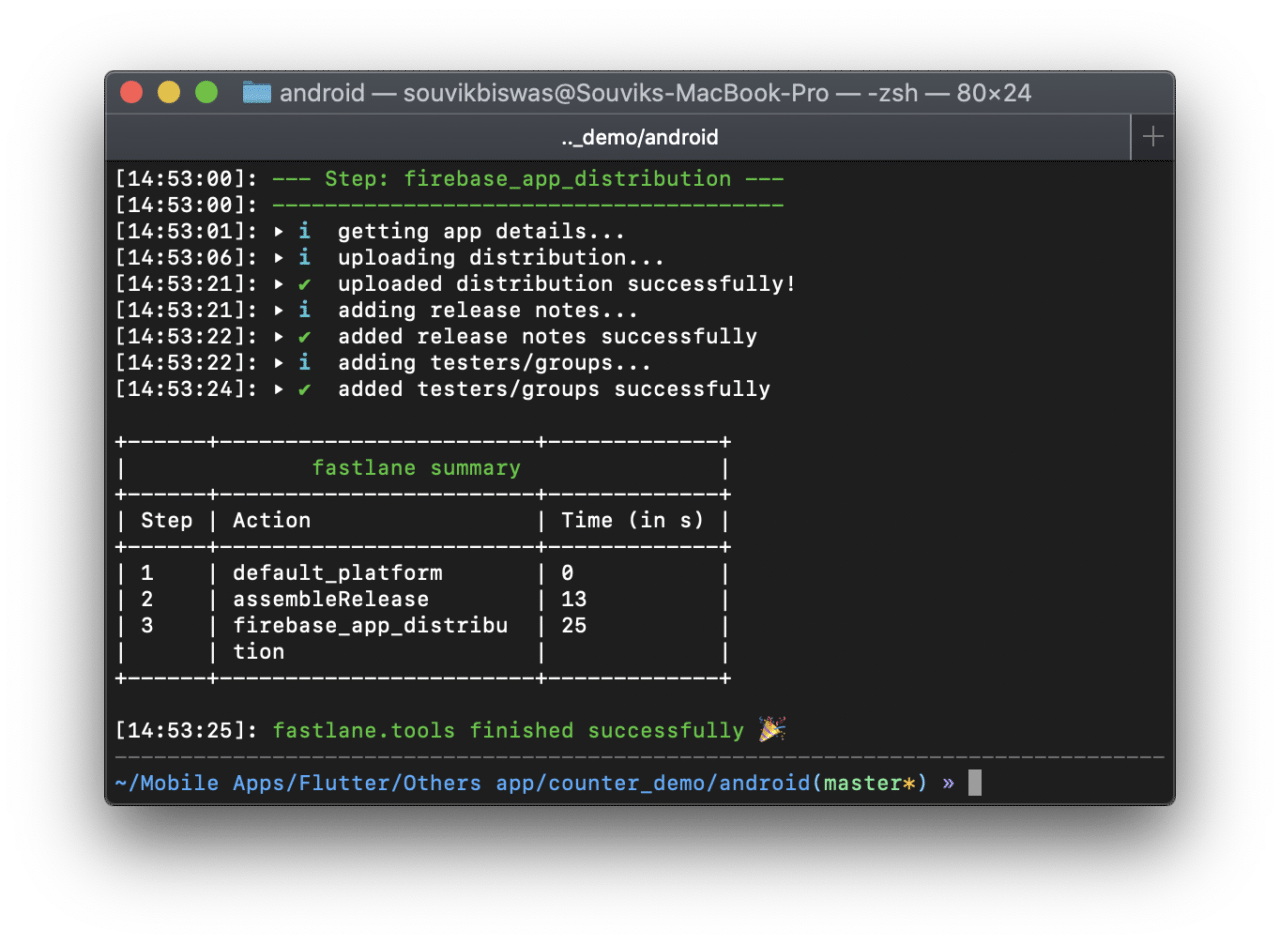
Now, you can run the script from terminal to publish the app to Firebase App Distribution. Run this command from the
androidfolder:bundle exec fastlane <name_of_lane>Replace the
<name_of_lane>with the lane that you want to run. In my script the lane is android_beta_app.
If the lane gets successfully deployed, then you will get a terminal output like this:
If the command stops or generates any error, then run this command from the terminal:
bundle install --path vendor/bundle
Now, restart the terminal any try to deploy it again using the command specified in Step 4.
Deploying iOS app
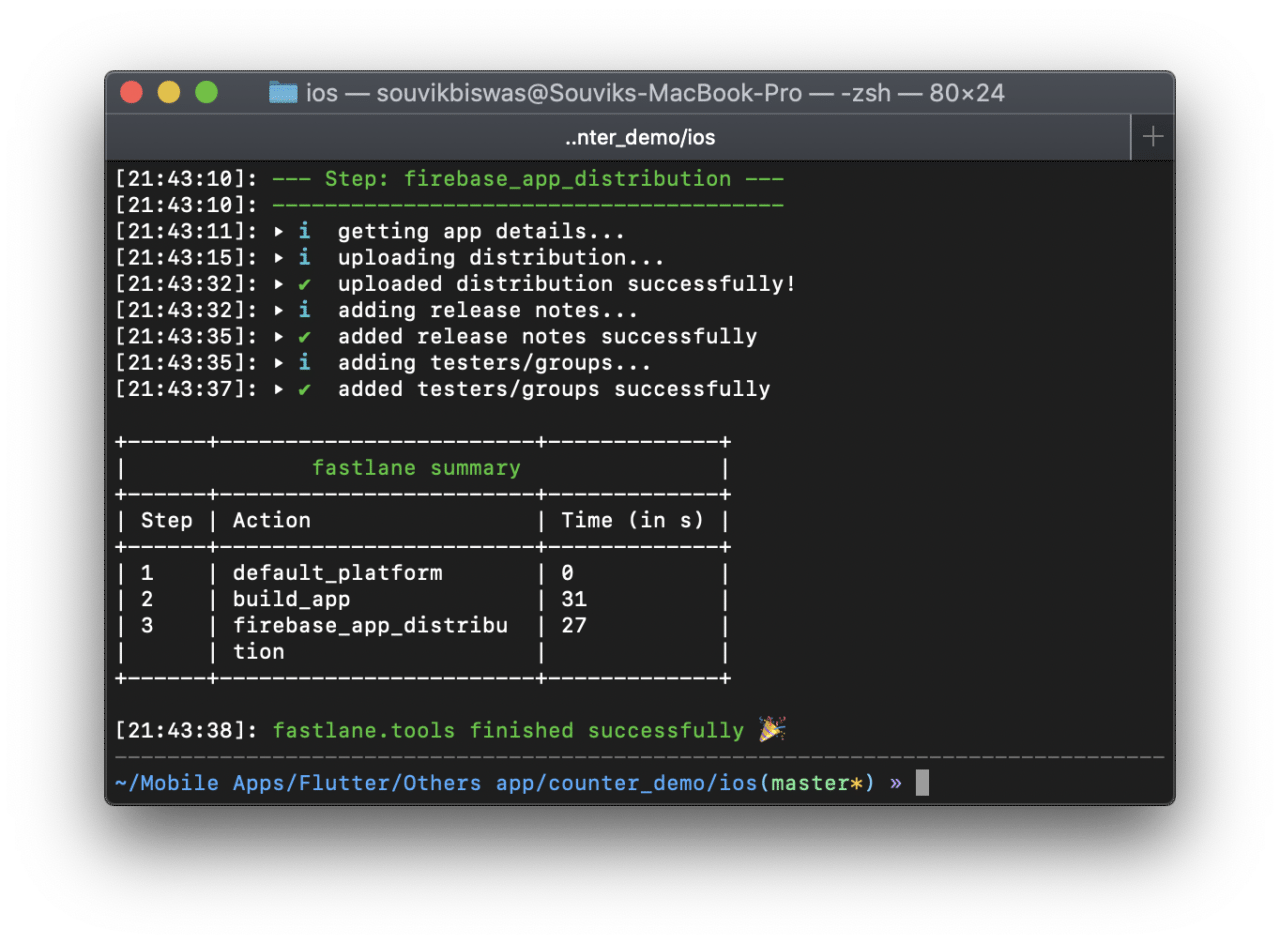
To deploy the iOS .ipa file to the Firebase App Distribution, run the following script from the ios folder of the Flutter project:
bundle exec fastlane <name_of_lane>
Replace the
<name_of_lane>with the lane that you want to run. In my script the lane is ios_beta_app.
If the lane gets successfully deployed, then you will get a terminal output like this:
If you get any code-signing error like this,
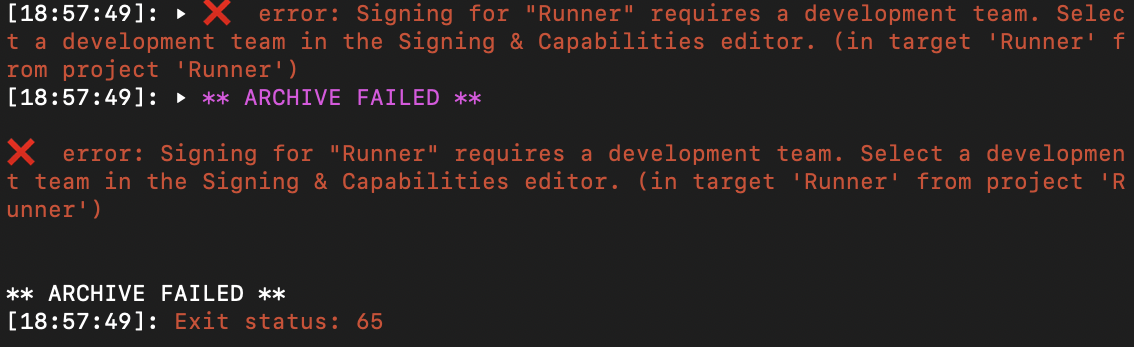
open the ios folder of the Flutter project using Xcode and complete the code-signing process.
Conclusion
You can now go to the App Distribution option of the project from Firebase console to find the deployed version of the app.
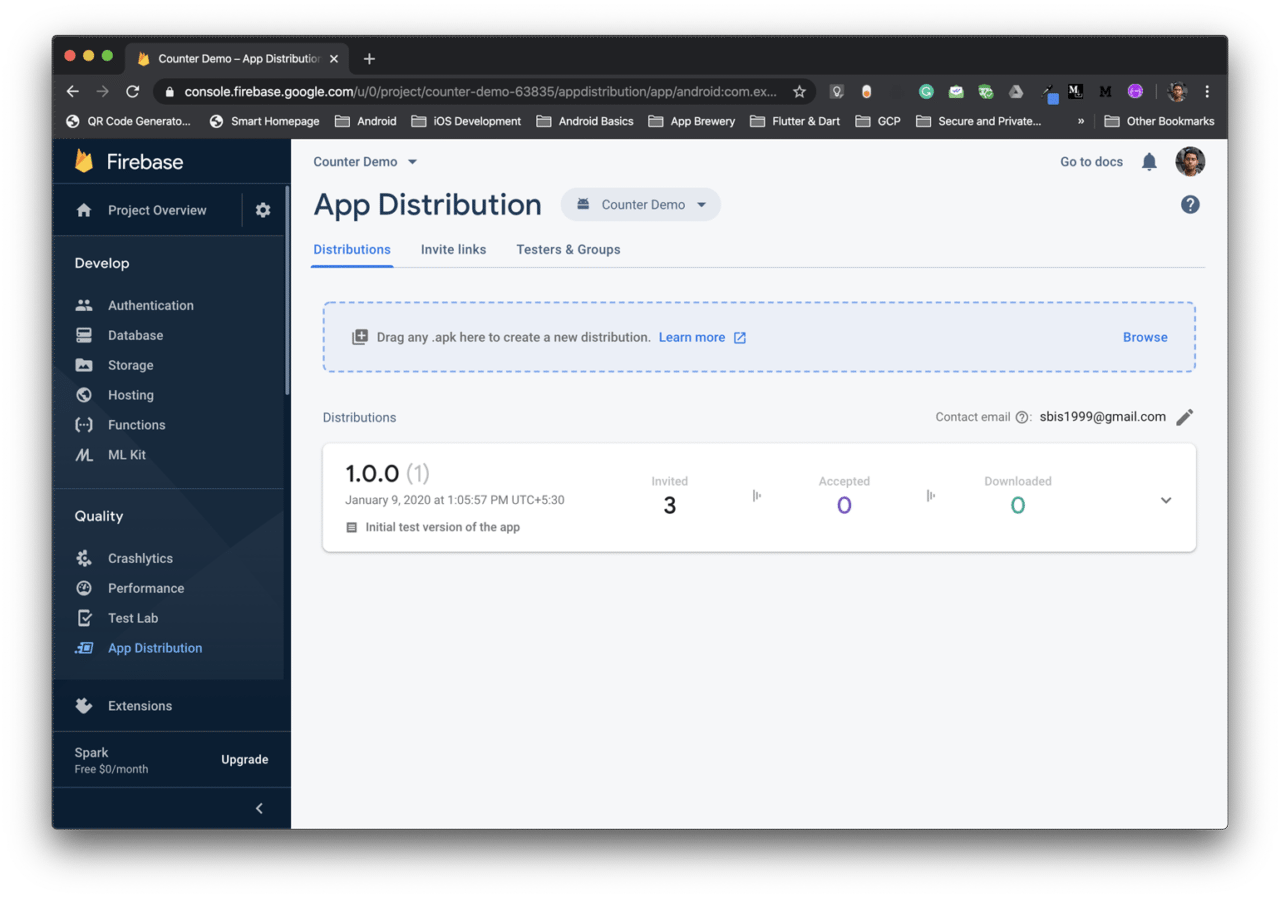
Here, you can also track how many of the users have accepted the invitation or downloaded the app.
Fastlane with Firebase App Distribution makes a great combination for building, testing & distributing Flutter apps without any hassle.
The official documentation for using fastlane as a continuous delivery platform for Flutter apps is available here.
You can also integrate fastlane with Codemagic CI/CD, check out this article for more information.
Souvik Biswas is a passionate Mobile App Developer (Android and Flutter). He has worked on a number of mobile apps throughout his journey. Loves open source contribution on GitHub. He is currently pursuing a B.Tech degree in Computer Science and Engineering from Indian Institute of Information Technology Kalyani. He also writes Flutter articles on Medium - Flutter Community.
More articles by Souvik:


