


Written by Souvik Biswas
You can now configure your builds using environment variables and software versions dynamically with Codemagic API. If you have multiple similar workflows for the same project, you can now combine them into one and create parametrized API calls. This way, you can run your workflows without having to change the settings in the UI or codemagic.yaml. This can be quite a useful feature for white-label apps.
In this article, I will show you how to make calls to Codemagic REST API for starting a build, getting updated status information and canceling a build.
First of all, let’s go through the features of the API.
Overview
The Codemagic API endpoints are under the domain api.codemagic.io.
All data is sent and received in the JSON format.
Authentication
While making any calls to the Codemagic REST API, an access token must be included as an HTTP header for the call to be successful.
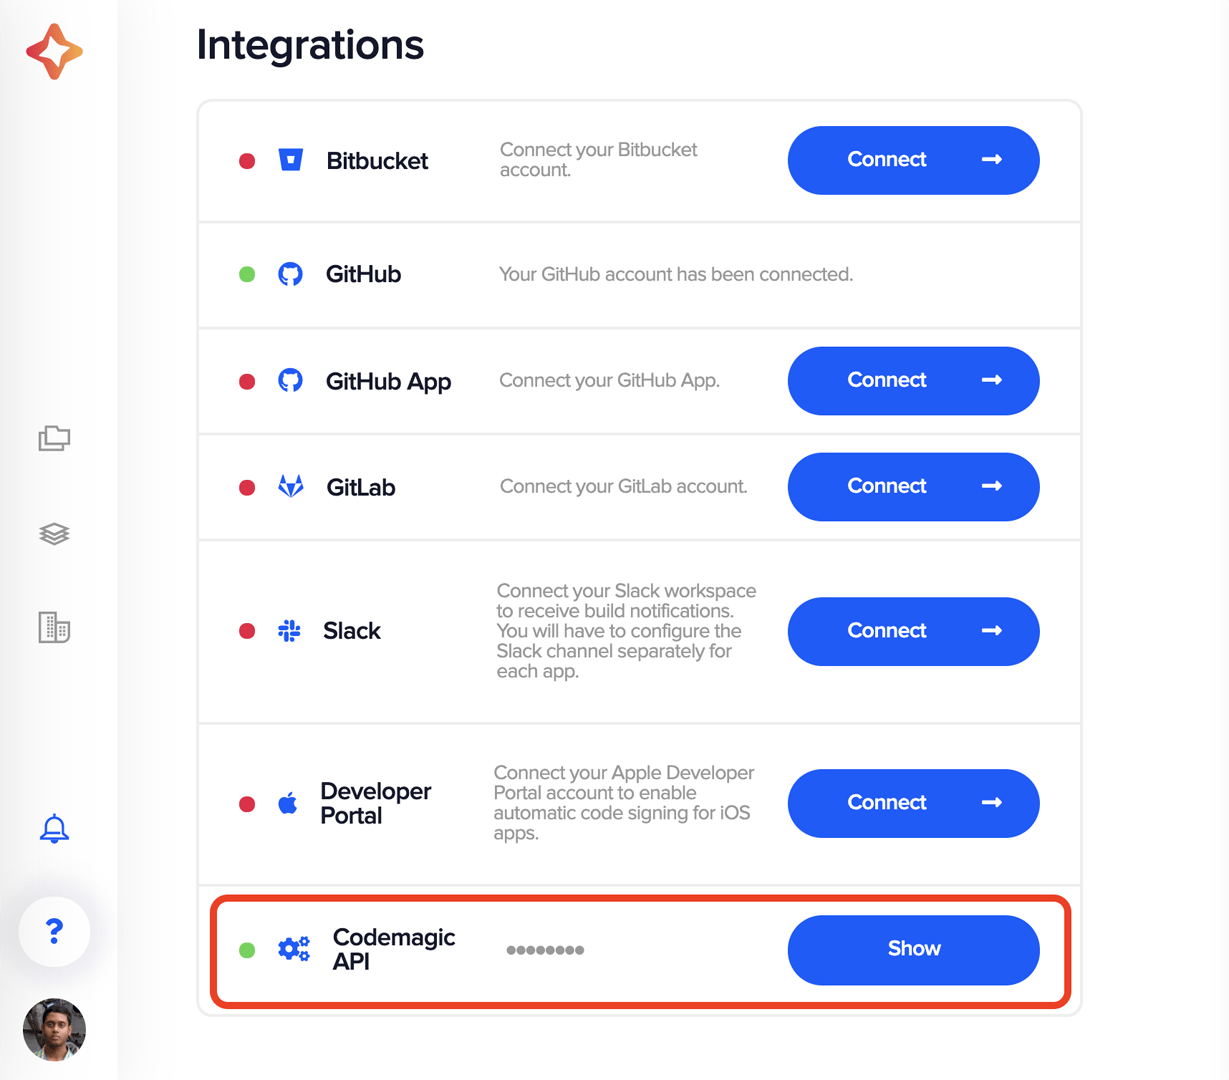
You can get the access token from the Codemagic UI by going to User Settings -> Integrations -> Codemagic API -> Show.
Retrieving applications
You can get information about all the applications present on Codemagic by sending a GET request to the following endpoint:
GET /apps
Some of the important parameters that you can retrieve from the response are App IDs, Workflow IDs, Branches, etc.
An example of the curl request for retrieving applications is as follows:
curl -H "Content-Type: application/json" -H "x-auth-token: <API Token>" --request GET https://api.codemagic.io/apps
Replace the angle brackets with appropriate values.
Start a new build
For starting a new build using the Codemagic API, you have to send a POST request to the following endpoint:
POST /builds
The required parameters are: appId, workflowId and branch. There is also an optional parameter environment for passing environment variables and software versions.
You can pass the version of Flutter/Xcode/CocoaPods used for the build. Any environment variables can also be passed as a key-value pair.
If you have multiple workflows that have small differences, like software versions or separate git branches, you can merge them and use Codemagic API to dynamically change their values.
The variables passed via API have higher priority and will override the values defined in the UI.
For more information refer to the Official Docs.
An example of curl request for starting a new build is as follows:
curl -H "Content-Type: application/json" -H "x-auth-token: <API Token>" --data '{"appId": "<app_id>","workflowId": "<workflow_id>","branch": "<git_branch_name>"}' https://api.codemagic.io/builds
Replace the angle brackets with their appropriate values.
Get build status
While a build is running on Codemagic CI/CD, you can check its status using the Codemagic API by sending a GET request to the following endpoint:
GET /builds/:id
Here, replace the
:idwith the build id returned as a response of the POST request.
An example of curl request for getting the build status is as follows:
curl -H "Content-Type: application/json" -H "x-auth-token: <API Token>" --request GET https://api.codemagic.io/builds/<build_id>
Replace the angle brackets with their appropriate values.
Cancel a build
If you want to cancel a build that is currently running on Codemagic CI/CD, you can send a POST request to the following endpoint:
POST /builds/:id/cancel
Replace the
:idwith the build id returned as a response of the POST request while starting the build.
An example of curl request for cancelling a build is as follows:
curl -H "Content-Type: application/json" -H "x-auth-token: <API Token>" --request POST https://api.codemagic.io/builds/<build_id>/cancel
Replace the angle brackets with their appropriate values.
Use cases
You can use Codemagic REST API for better integration with other tools so that you can take advantage of the Dynamic Workflows.
As a fun project, let’s create a Flutter app using Codemagic API.
The app will be pretty simple, having features to:
- Start a build with supplied software versions
- Get build status while it is running
- Cancel the build running on Codemagic CI/CD
Let’s get started building the app.
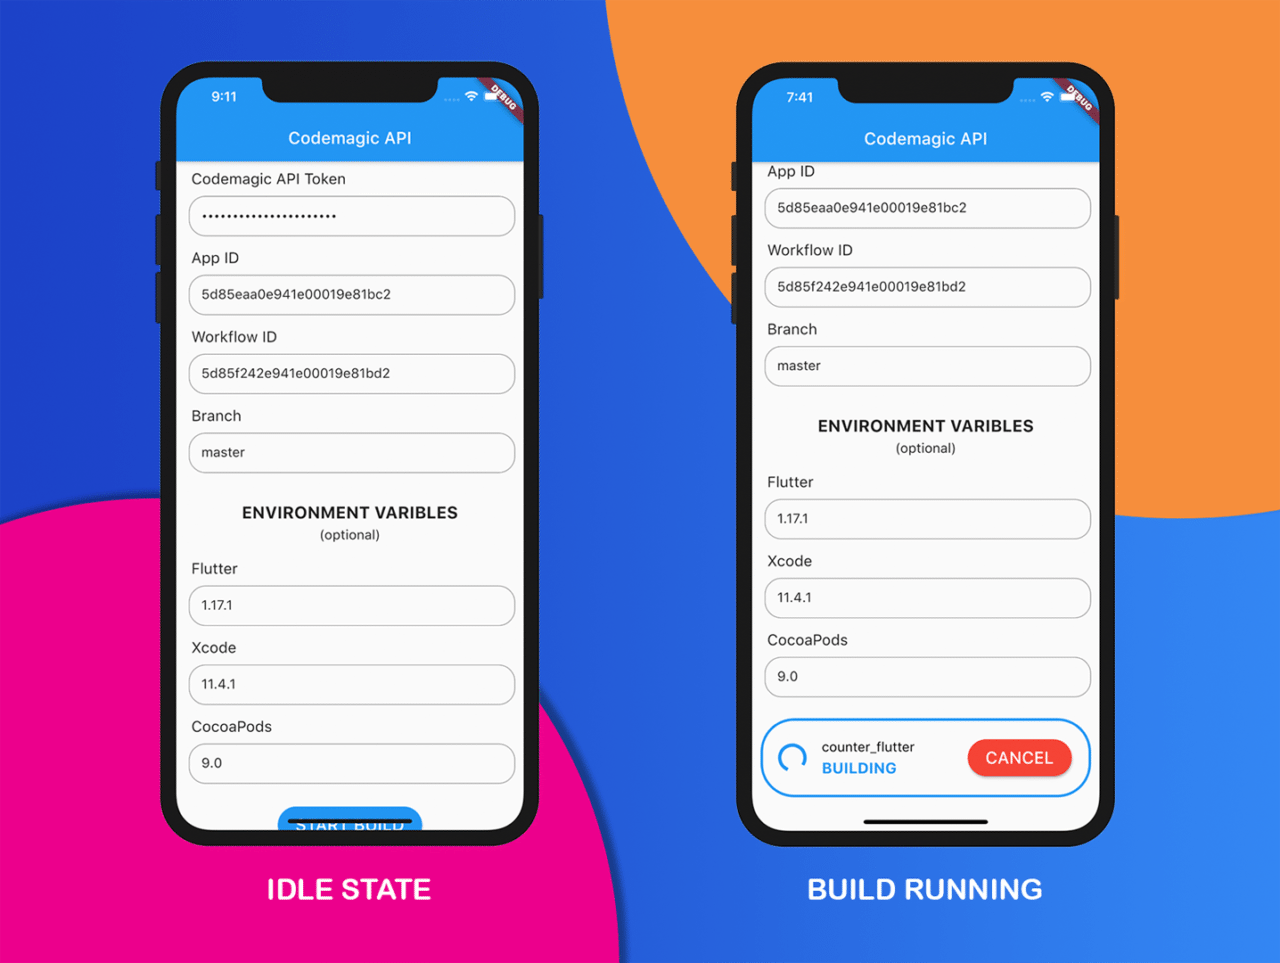
App screenshots
The final app design will be like this:
Getting started
Create a new Flutter project with the command:
flutter create codemagic_api
The only plugin required for this project is:
- Dio (A powerful HTTP client for Dart)
Open the project in your favorite IDE and import the dio package using pubspec.yaml.
Initializing Dio
You can initialize Dio with some base options like URL, Headers, etc. Here, I have defined a connectTimeout & receiveTimeout in milliseconds.
I have stored the API token in a Map and accessing it form there.
BaseOptions options = new BaseOptions(
    baseUrl: 'https://api.codemagic.io',
    connectTimeout: 5000,
    receiveTimeout: 3000,
    headers: {
      "Content-Type": "application/json",
      "x-auth-token": _map['token'],
    });

_dio = new Dio(options);
Start a build
As I have described earlier, to start a build you have to send a POST request to the API endpoint /builds.
For this you can use the Dio post() method with the endpoint and proper parameters.
Response response = await _dio.post(
  "/builds",
  data: {
    "appId": _map['appId'],
    "workflowId": _map['workflowId'],
    "branch": _map['branch'],
  },
);
NOTE: Here, I have stored the values in a map and I am accessing them from there.
From the response received from the POST request, you can retrieve the build ID which we will require later for getting the build status and cancelling the build.
// Checking if the request was successful
if (response.statusCode == 200) {

  setState(() {
    _isBuilding = true;
  });

  // Retrieve the build id from response
  Map buildMap = response.data['build'];
  String id = buildMap['_id'].toString();

  setState(() {
    _buildId = id;
  });

  print('BUILD ID: $_buildId');
}
Build status
To get the build status, you have to send a GET request to the API endpoint /builds/:id.
You have to use the Dio get() method with the proper endpoint.
Response response = await _dio.get(
  "/builds/$_buildId",
);
// Checking if the request was successful
if (response.statusCode == 200) {

  // Retrieve build status from response
  Map buildMap = response.data['build'];
  String status = buildMap['status'].toString();

  setState(() {
    _status = status;
  });

  print('BUILD STATUS: $status');
}
Now, you can define a stream, which will run it indefinitely and get the updated build status until the build finishes or canceled.
Stream<int> _stream() {
  Duration interval = Duration(seconds: 1);

  // It will call the method to get response
  // after every 1 second
  Stream<int> stream = Stream<int>.periodic(interval, response);

  // Checking it the build is finished
  // or canceled
  if (_status == 'finished') {
    setState(() {
      _isFinished = true;
      _isBuilding = false;
    });
  } else if (_status == 'canceled') {
    setState(() {
      _isBuilding = false;
      _isFinished = false;
    });
  }

  return stream;
}

int response(int value) {
  // The method containing the dio get call
  _getResponse();
  return value;
}
Cancel a build
If you want to cancel a build, you have to perform a Dio post() method call using the endpoint /builds/:id/cancel.
Response response = await _dio.post(
  "/builds/$_buildId/cancel",
);
// Checking if the request was successful
if (response.statusCode == 200) {
  setState(() {
    _isBuilding = false;
  });
}
Building the UI
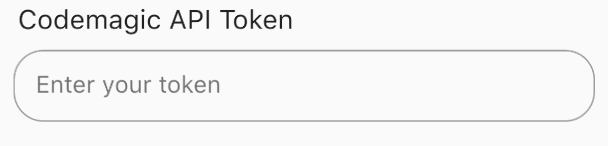
The UI of the app will be quite simple, containing mainly a TextFormField for taking user inputs and a Button for starting/canceling a build.
The TextFormField design will be as follows:
Code for each TextFormField is as follows:
TextFormField(
  initialValue: initialValue,
  cursorColor: Colors.black,
  obscureText: obscure,
  onChanged: (value) {
    // To store the updated values as they are
    // entered in the field
    setState(() {
      _map[entryList[index].key] = value;
    });
  },
  decoration: new InputDecoration(
    enabledBorder: OutlineInputBorder(
      borderRadius: BorderRadius.all(Radius.circular(20.0)),
      borderSide: BorderSide(color: Colors.grey, width: 1),
    ),
    focusedBorder: OutlineInputBorder(
      borderRadius: BorderRadius.all(Radius.circular(20.0)),
      borderSide: BorderSide(color: Colors.blue, width: 2),
    ),
    contentPadding:
        EdgeInsets.only(left: 15, bottom: 11, top: 11, right: 15),
    hintText: hint,
  ),
)
If there is no build currently running, a RaisedButton will be displayed. This button can be used for starting a new build.

RaisedButton(
  onPressed: () {
    setState(() {
      _status = 'Initializing';
    });
    // Checking whether all the required
    // parameters are passed
    if (_map['token'] != null &&
        _map['appId'] != null &&
        _map['workflowId'] != null)
      _postData();
    else {
      print('Required parameters are not supplied');
    }
  },
  color: Colors.blue,
  child: Padding(
    padding: const EdgeInsets.only(
        left: 5.0, right: 5.0, top: 10.0, bottom: 10.0),
    child: Text(
      'START BUILD',
      style: TextStyle(color: Colors.white, fontSize: 20.0),
    ),
  ),
  shape: RoundedRectangleBorder(
    borderRadius: BorderRadius.circular(30.0),
  ),
);
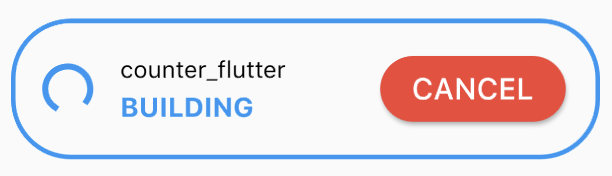
When there is a build running, the build status along with a CANCEL button will be displayed. The UI design will be as follows:
The whole app code is available on GitHub.
Conclusion
I hope this article will help you get started with the Codemagic REST API and take advantage of the Dynamic Workflows for building your apps.
Codemagic API Docs: https://docs.codemagic.io/rest-api/overview
Souvik Biswas is a passionate Mobile App Developer (Android and Flutter). He has worked on a number of mobile apps throughout his journey. Loves open source contribution on GitHub. He is currently pursuing a B.Tech degree in Computer Science and Engineering from Indian Institute of Information Technology Kalyani. He also writes Flutter articles on Medium - Flutter Community.


