


This article is written by Sneh Pandya and talks about React Native firebase authentication
Firebase is a Backend-as-a-Service (BaaS) from Google that provides a number of advantages to React Native developers. With Firebase and React Native, you can quickly build mobile applications, keeping costs low without having to worry about backend solutions. Firebase provides a suite of great products, such as:
In this article, you will learn how to:
Let’s see how we can achieve this step by step.
So, let’s get started, but first, let us know what’s your relationship with CI/CD tools?
Prerequisites
To start integrating Firebase into our app, we require the following:
Access to the Firebase Console linked with a Google account
A React Native project in which Firebase services will be added
A completed environment setup for the React Native project
Set up a new React Native application
React Native creates directories for both Android and iOS that are labeled as android and ios, respectively.
To create a new application, run the commands as follows:
npm install -g expo-cli // To add Expo CLI on your machine

npx react-native init ReactNativeFirebaseApp // To set up a new React Native app

cd ReactNativeFirebaseApp
To complete the Firebase setup for a React Native app, you need to follow platform-specific steps. There are two ways to add Firebase to a React Native project:
Using Firebase Web SDK
Using react-native-firebase
We will continue with the second option, which is an awesome open-source project for linking React Native apps with Firebase.
To install the Firebase Authentication dependency in the React Native app, execute the command below:
# Install & set up the app module
yarn add @react-native-firebase/app

# Install the authentication module
yarn add @react-native-firebase/auth

# If you're developing your app using iOS, run this command
cd ios/ && pod install
Set up a new project in Firebase Console
Follow the steps below to create a new project in the Firebase Console:
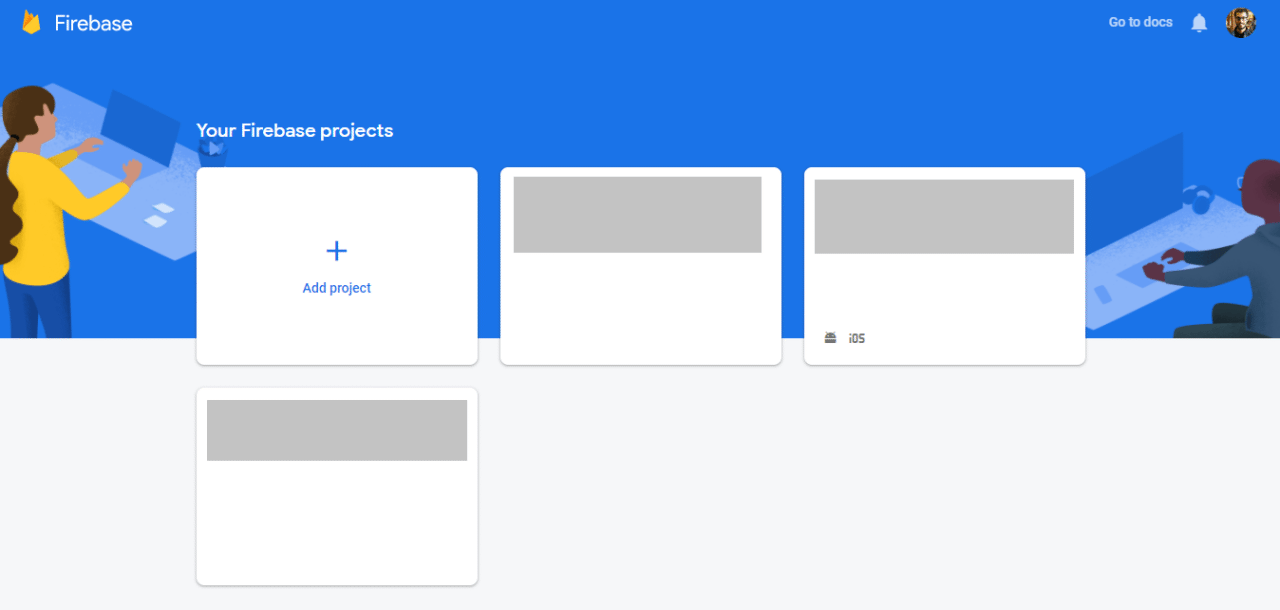
Go to the Firebase Console, and log in with your preferred Google account.
Click on the Add project button.
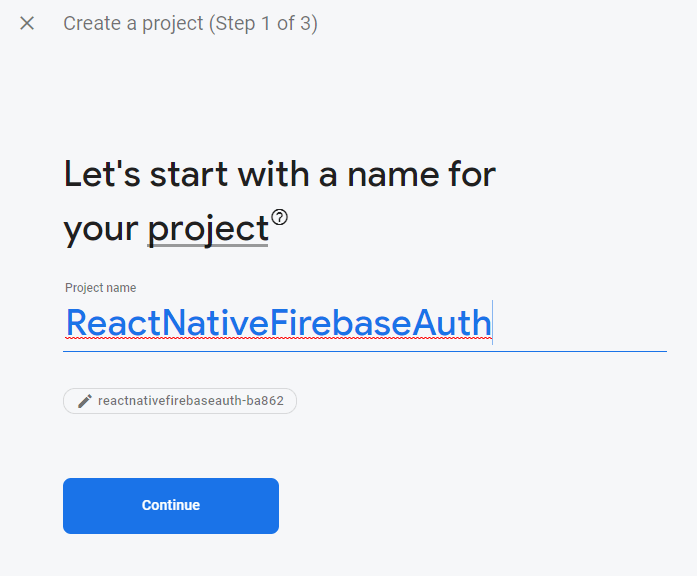
- Enter your preferred Project name, and click on Continue.
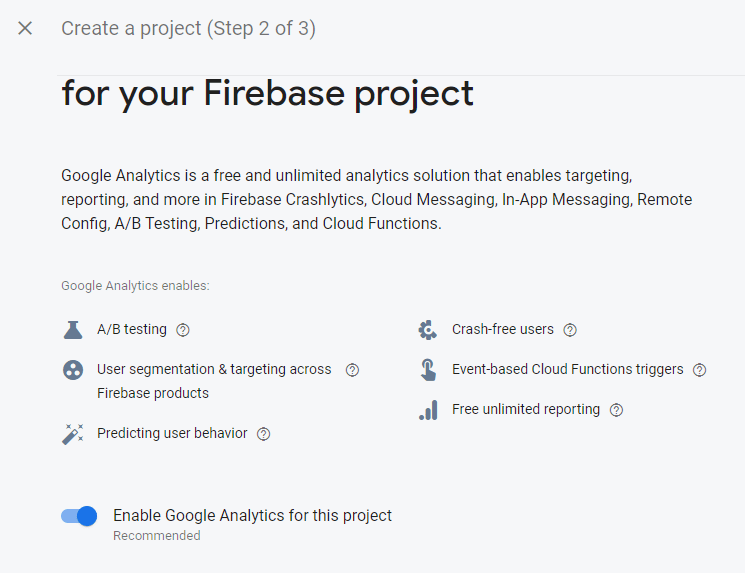
- We will set up React Native Authentication for our app in this article. React Native Authentication does not require Google Analytics to be enabled, so keep Enable Google Analytics for this project enabled if you wish to, and click Continue.
- Let the project setup complete. Once it is done, you will see the completion status, as shown below. Click on Continue.
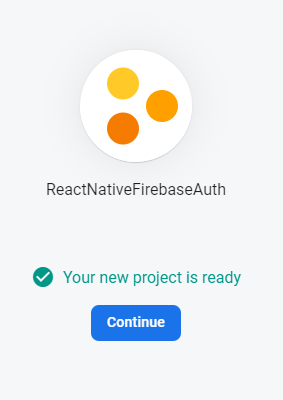
You will be redirected to the Firebase project dashboard.
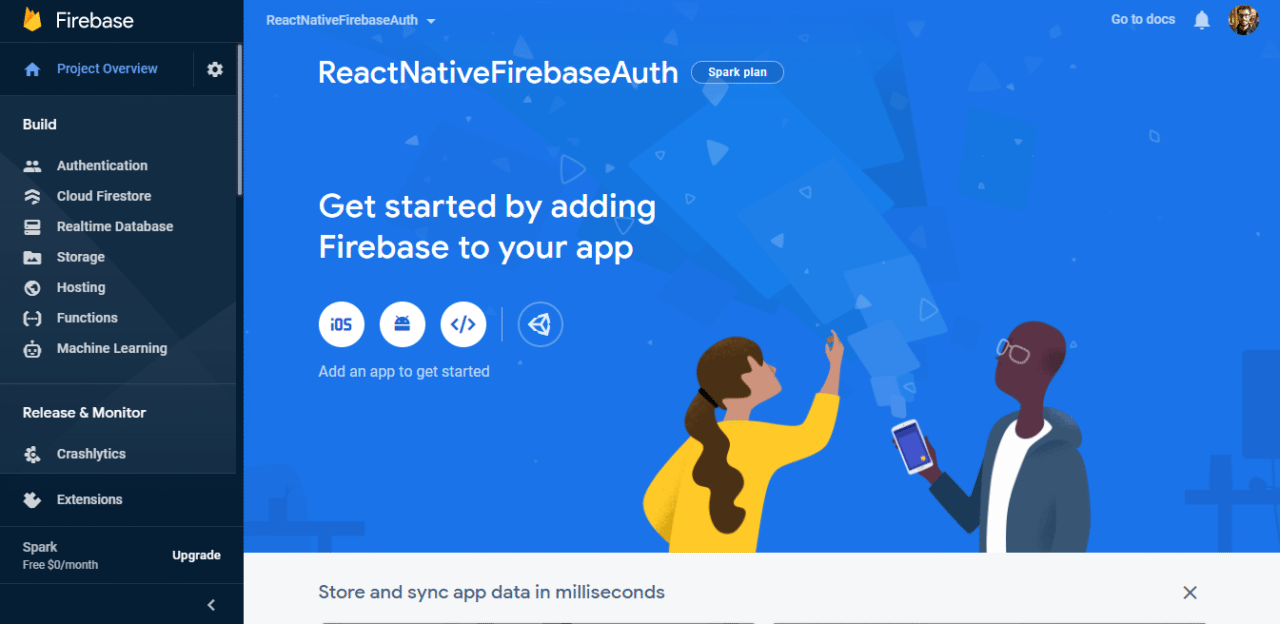
Setup for Android
Now, we will set up Firebase dependencies for Android.
Click on the Android icon visible on the screen.
You will be asked to fill in the details for your app. It is only mandatory to enter the Android package name for now. You can get the package name of the Android app from Android Studio. Open Android Studio and navigate to the
androiddirectory, click on the Project Files section in the top-left corner, navigate to app, and then open thebuild.gradlefile. Copy theapplicationIdfrom the app-levelbuild.gradlefile.
In our case, it’s com.snehpandya.rnfirebaseauth. Enter the details in the Firebase Console, and click on Register app.
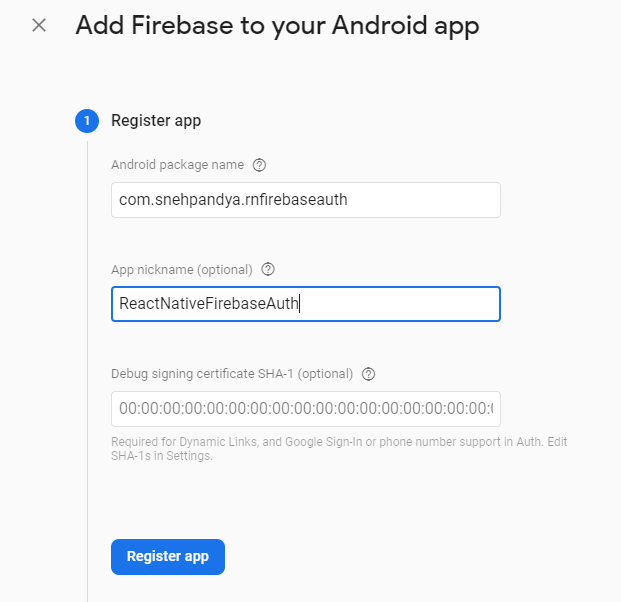
Now, choose the App name. This is optional, and if you leave this field empty, an auto-generated app name will be used.
Now, to generate and provide the SHA-1 hash, navigate to this page. Copy the command to generate the SHA-1 hash, and paste it into your IDE terminal to get the SHA-1 hash. Then copy and paste the generated SHA-1 into the Firebase Console.
cd android && ./gradlew signingReport
This generates two variant keys. You can copy the SHA1 that belongs to the debugAndroidTest variant key option.
Then click on Register app.
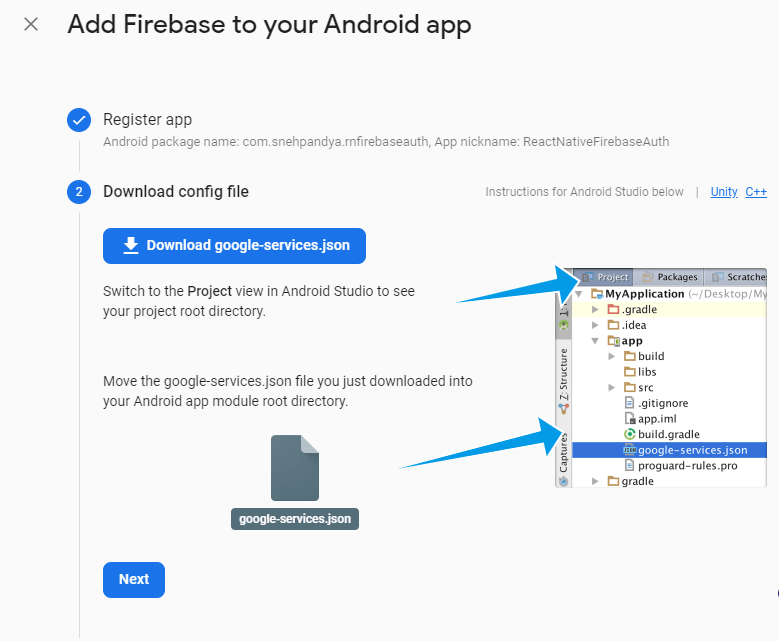
In the next step, download the
google-services.jsonfile provided by Firebase, and put it in the Androidappdirectory.
- For the Android app setup, Firebase walks you through a few more steps. In the
/android/build.gradlefile, add the Google Services dependency:
buildscript {
  repositories {
    // Check that you have the following line (if not, add it):
    google()  // Google's Maven repository
  }
  dependencies {
    ...
    // Add this line
    classpath 'com.google.gms:google-services:4.3.5'
  }
}

allprojects {
  ...
  repositories {
    // Check that you have the following line (if not, add it):
    google()  // Google's Maven repository
    ...
  }
}
- In the
/android/app/build.gradlefile, add the Firebase and Google Services dependencies:
apply plugin: 'com.android.application'
// Add this line
apply plugin: 'com.google.gms.google-services'

dependencies {
  // Import the Firebase BoM
  implementation platform('com.google.firebase:firebase-bom:26.6.0')

  // Add the dependency for the Firebase SDK for Google Analytics
  // When using the BoM, don't specify versions in Firebase dependencies
  implementation 'com.google.firebase:firebase-analytics'

  // Add the dependencies for any other desired Firebase products
  // https://firebase.google.com/docs/android/setup#available-libraries
}
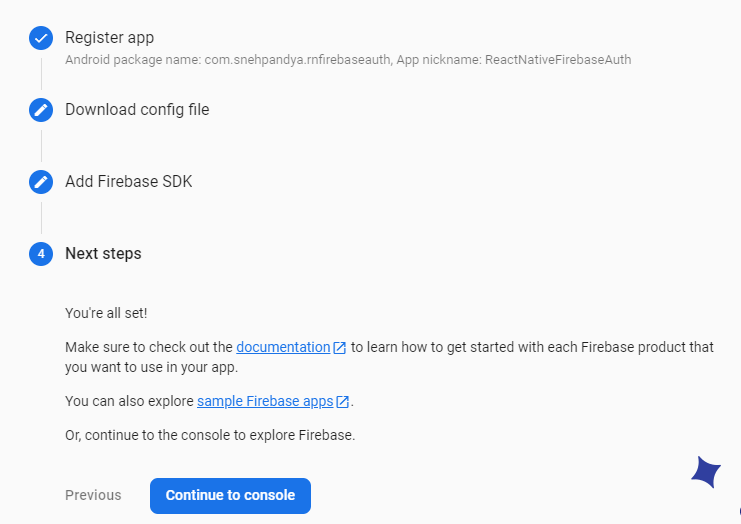
Then click on Sync now to build dependencies for your Android project. After that, in the Firebase Console, click on Next.
Then click Continue to console.
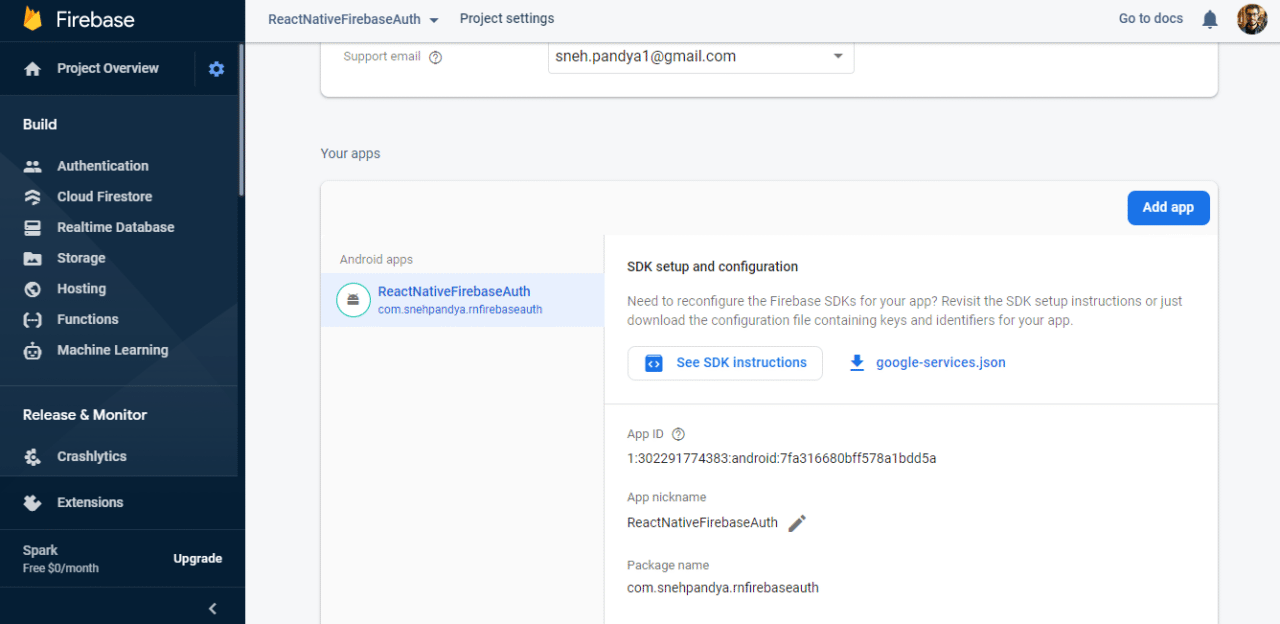
- Once redirected, on the Firebase Console dashboard, you will see that the Android version of your React Native app has been added to the Firebase.

- Now, click the gear icon beside Project Overview, then click Project Settings. Navigate to the General tab, and enter your email in the Support email field.

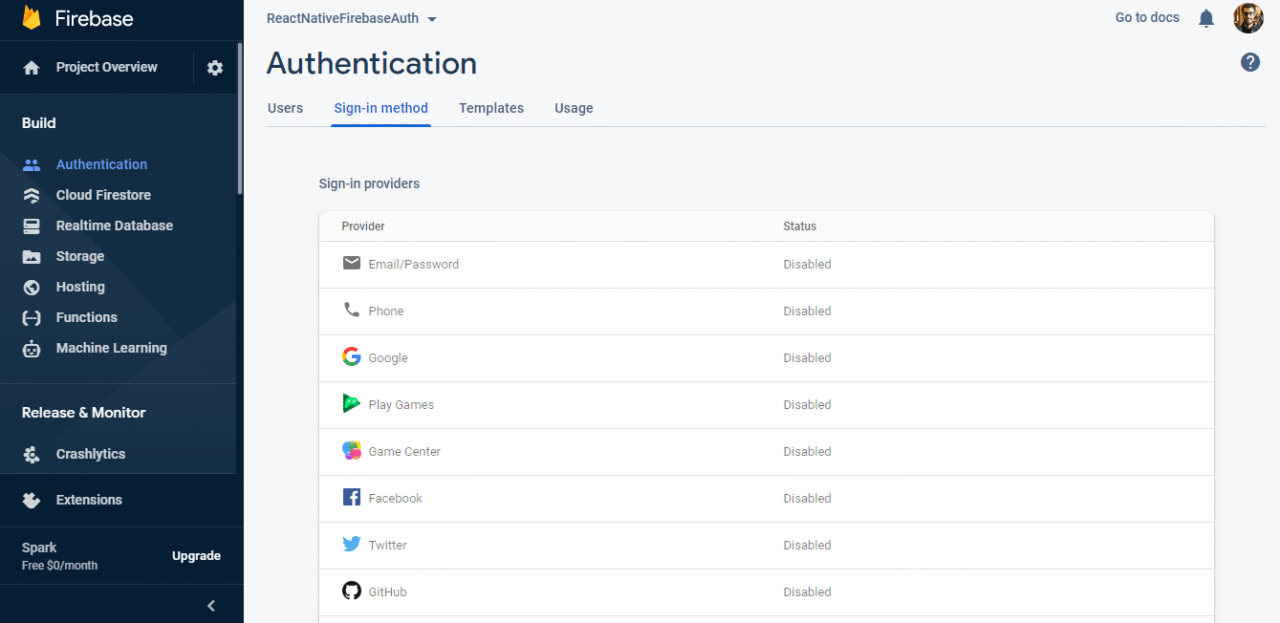
Next, navigate to the Authentication page from the left pane, and click Sign-in method.
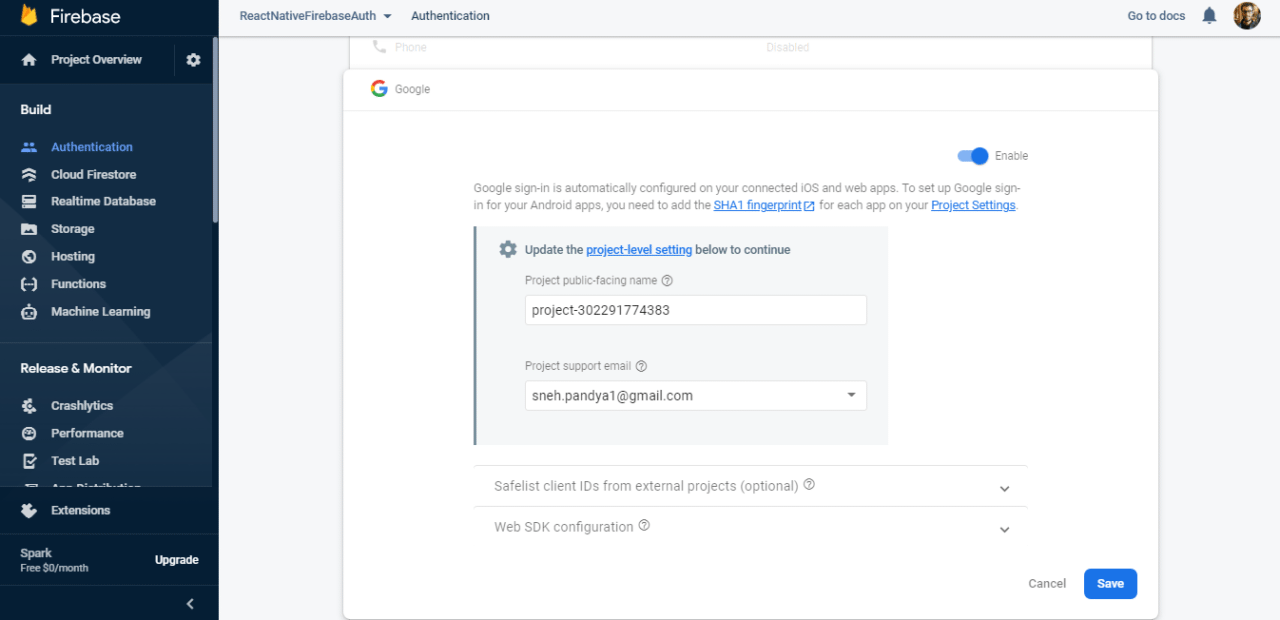
Click on the Google sign-in edit button on the right, and enter the project name and support email. Enable this by clicking the toggle control in the top-right corner. Then click Save.
Setup for iOS
If you have skipped the Android setup and proceeded directly to the iOS setup, then make sure you check out steps 12 to 14; otherwise, you might face errors.
Go to Settings and navigate to the General tab.
Scroll down and click Add app.
- Now select iOS from the options.

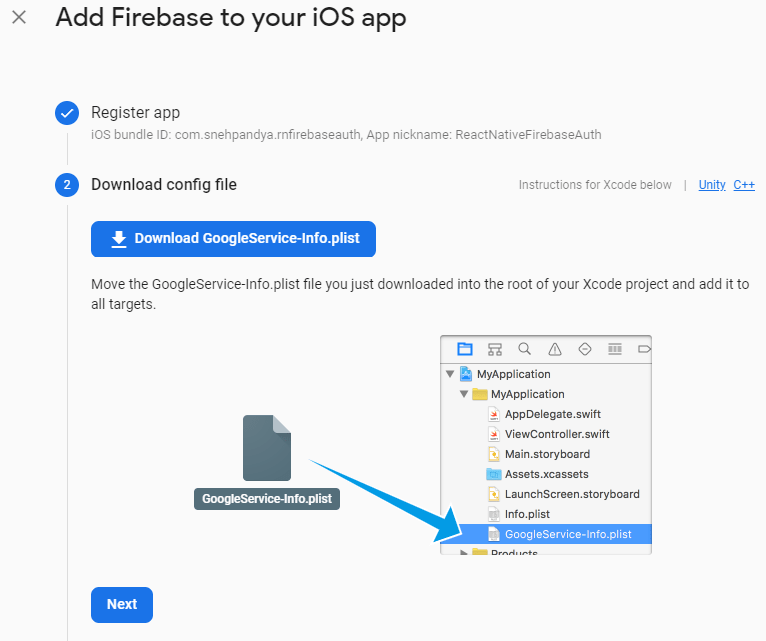
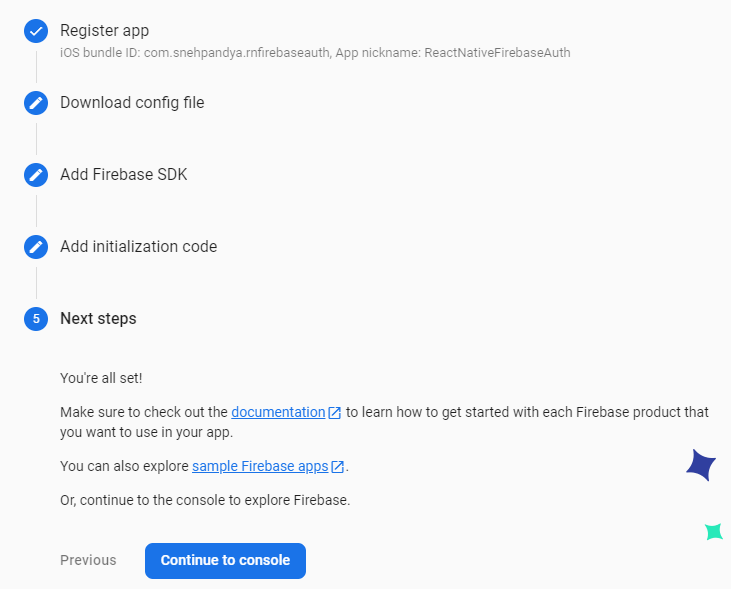
Provide the iOS bundle ID and the App nickname. Then click on Register app.
To find the Bundle ID, navigate to the React Native project root directory →
ios→Runner.xcodeproj→project.pbxprojby searching for PRODUCT_BUNDLE_IDENTIFIER.Then paste the Bundle ID into the Firebase Console, and download the
GoogleService-Info.plistfile.
- Copy the initialization code, and paste it into the iOS
AppDelegateclass:
import UIKit
import Firebase

@UIApplicationMain
class AppDelegate: UIResponder, UIApplicationDelegate {

  var window: UIWindow?

  func application(_ application: UIApplication,
    didFinishLaunchingWithOptions launchOptions:
      [UIApplicationLaunchOptionsKey: Any]?) -> Bool {
    FirebaseApp.configure()
    return true
  }
}
- In the Firebase Console, click on Continue to console.
You can now see the iOS app listed on the Firebase Console.

- Open the
iosfolder from the React Native project directory in Xcode. Then drag and drop theGoogleService-Info.plistfile into the Runner subfolder. When a dialog box appears, make sure that Runner is selected in the Add to targets box. Then click Finish.
Implement Firebase Authentication in React Native
In most scenarios involving Authentication, you will want to know whether your users are currently signed in or signed out of your application. The module provides a method called onAuthStateChanged, which allows you to subscribe to the users’ current authentication state and receive an event whenever that state changes.
- Let’s set up an initial state, which blocks rendering of the app while the connection is established asynchronously in the background.
import React, { useState, useEffect } from 'react';
import { View, Text } from 'react-native';
import auth from '@react-native-firebase/auth';

function App() {
  // Set an initializing state while Firebase connects
  const [initializing, setInitializing] = useState(true);
  const [user, setUser] = useState();

  // Handle user state changes
  function onAuthStateChanged(user) {
    setUser(user);
    if (initializing) setInitializing(false);
  }

  useEffect(() => {
    const subscriber = auth().onAuthStateChanged(onAuthStateChanged);
    return subscriber; // unsubscribe on unmount
  }, []);

  if (initializing) return null;

  if (!user) {
    return (
      <View>
        <Text>Login</Text>
      </View>
    );
  }

  return (
    <View>
      <Text>Welcome {user.email}</Text>
    </View>
  );
}
- Before triggering a sign-in request, initialize the Google SDK using any required scopes and the
webClientId, which can be found in theandroid/app/google-services.jsonfile as theclient/oauth_client/client_idproperty ending with.apps.googleusercontent.com.
import { GoogleSignin } from '@react-native-community/google-signin';

GoogleSignin.configure({
  webClientId: '',
});
- Now, set up the app to trigger a sign-in request with Google using the
signInmethod.
import React from 'react';
import { Button } from 'react-native';

function GoogleSignIn() {
  return (
    <Button
      title="Google Sign-In"
      onPress={() => onGoogleButtonPress().then(() => console.log('Signed in with Google!'))}
    />
  );
}
- The
onGoogleButtonPressaction needs to be implemented as follows:
import auth from '@react-native-firebase/auth';
import { GoogleSignin } from '@react-native-community/google-signin';

async function onGoogleButtonPress() {
  // Get the user's ID token
  const { idToken } = await GoogleSignin.signIn();

  // Create a Google credential with the token
  const googleCredential = auth.GoogleAuthProvider.credential(idToken);

  // Sign in the user with the credential
  return auth().signInWithCredential(googleCredential);
}
- Upon successful sign-in, the
onAuthStateChangedlistener will trigger with the new authentication state of the user.
Configure Firebase on Codemagic
Previously, we downloaded the google-services.json and GoogleService-Info.plist files and kept them in the android and ios directories, respectively. These files contain sensitive information, API keys and credentials, and ideally, they shouldn’t be pushed into the version control system or publicly exposed. Let’s secure our sensitive data.
Configure version control system
List the two files, google-services.json and GoogleService-Info.plist, in the .gitignore file to prevent them from being checked into a version control system, such as Git. Once the exclusions are added into .gitignore, commit the .gitignore file.
// .gitignore
google-services.json
GoogleService-Info.plist
Encode credential files
We have ensured that the sensitive files won’t be committed into the version control system, but the continuous integration server will still expect to find the files in order to successfully build the app. To encode the files, run the following command from your terminal in the project directory:
openssl base64 -in android/app/google-services.json
openssl base64 -in ios/Runner/GoogleService-Info.plist
This command will print the encoded content. Paste the encoded content into the Codemagic dashboard under environment variables.
Add environment variables
Find the project in the Applications list. We used the name ReactNativeFirebaseAuth here.
Click the Settings button to configure the app settings.
Expand Environment variables and add two encoded content strings generated from the terminal as:
ANDROID_FIREBASE_JSON (Variable name) -> encoded string from google-services.json (Variable value)
IOS_FIREBASE_JSON (Variable name) -> encoded string from GoogleService-Info.plist (Variable value)
Check the Secure checkbox to ensure that the values won’t be displayed in the build logs.
- Now, click on Save.
Add pre-build scripts
In the app settings, click on the + button before the Build stage.
Add the following Pre-build script and click Save:
echo $ANDROID_FIREBASE_JSON | base64 --decode > $CM_BUILD_DIR/android/app/google-services.json

echo "Listing android Directory to confirm the google-services.json is there! "
ls android/app/

echo $IOS_FIREBASE_JSON | base64 --decode > $CM_BUILD_DIR/ios/Runner/GoogleService-Info.plist

echo "\nListing iOS Directory to confirm the GoogleService-Info.plist is there! "
ls ios/Runner/
Trigger build
Click the Start new build button to start the build process. After the build is finished successfully, you can also download the artifacts to test it on a real device.
To generate release builds for your Android and iOS apps, you can follow the articles provided below:
Conclusion
We now have a simple Firebase + React Native authentication flow set up. When combining React Native with Firebase’s services, your apps can do wonders! Codemagic makes it possible to deploy and publish apps with seamless integration, and it supports building CI/CD apps for Android, iOS, React Native, Flutter and more mobile platforms.
❗ If you have any questions or you need help then post your question/comment HERE
Useful links and references
A practical guide on Firebase Authentication using Flutter can be found here.
Learn how to load Firebase config in Codemagic with environment variables here.
Here’s a guide on Firebase App Distribution using CLI.
Here’s a guide on Continuous Integration and Delivery for React Native apps.
Here’s a guide on how to develop and distribute iOS apps without Mac with React Native and Codemagic.
For discussions, learning and support, join the Codemagic Slack Community.
Sneh is a Senior Product Manager based in Baroda. He is a community organizer at Google Developers Group and co-host of NinjaTalks podcast. His passion for building meaningful products inspires him to write blogs, speak at conferences and mentor different talents. You can reach out to him over Twitter (@SnehPandya18) or via email (sneh.pandya1@gmail.com).


