


 tests with Codemagic CI/CD. Part 2")
Written by Katarina Sheremet
In my previous article, I’ve covered generating Flutter Golden Snapshots using Codemagic, downloading them from the artifacts section, and adding them to your project. This is a follow-up article where I’ll explain how to send a Pull Request with updated Flutter Golden Snapshots using Codemagic. Let’s begin …
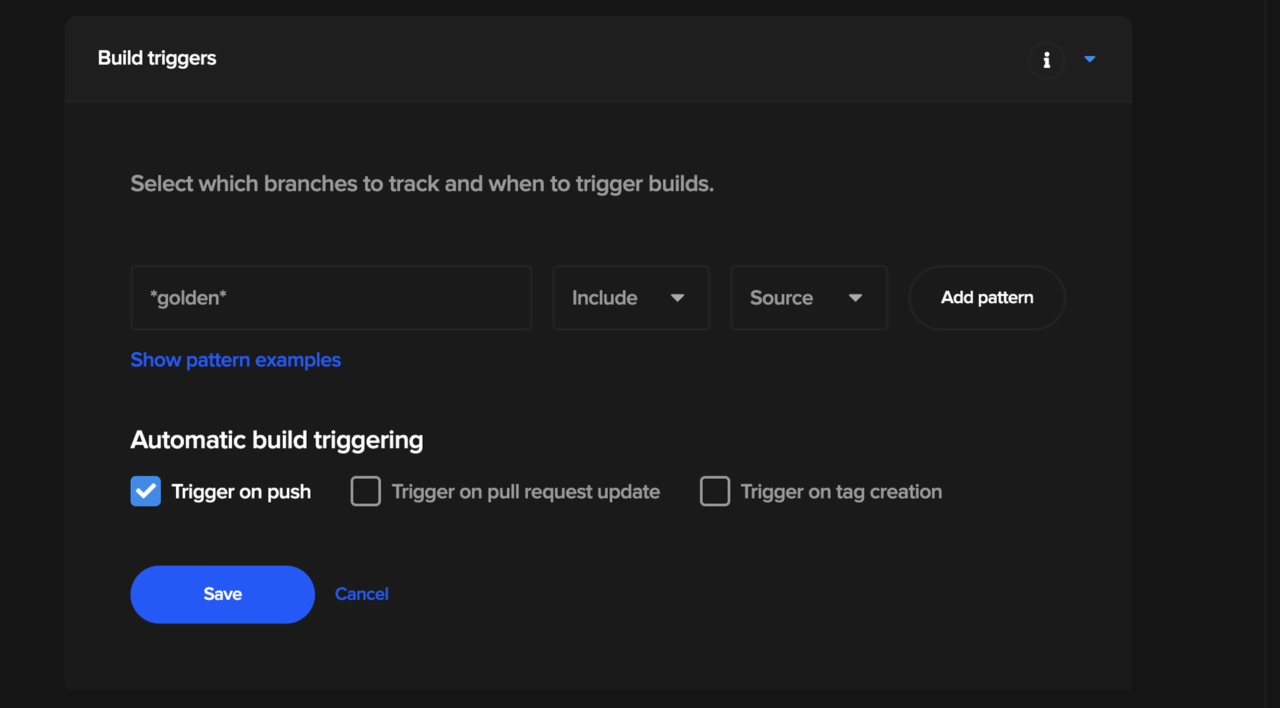
Step 1: Set up Build Trigger
The project has a specific Codemagic workflow for generating golden files. We’d like to trigger this workflow only when we need to update golden files. Therefore let’s create a Build trigger, where the workflow will run, given that the git branch has the word “golden” in its name.
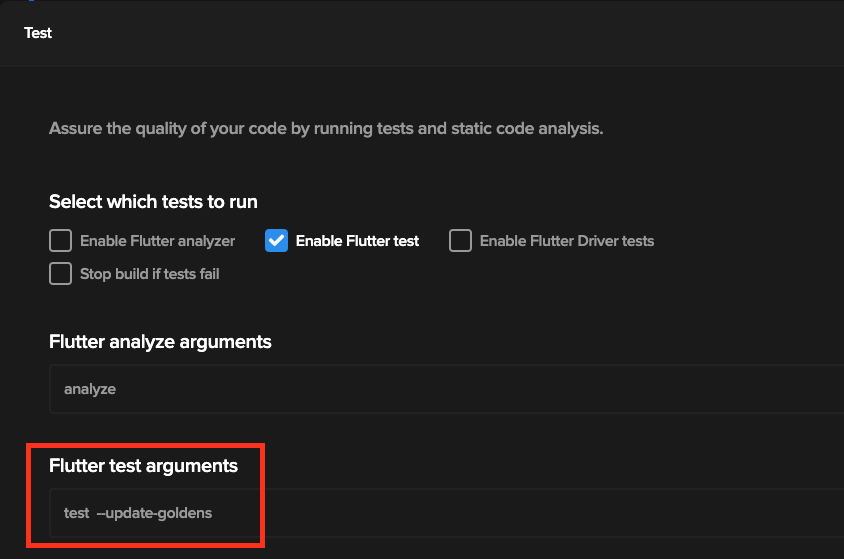
Step 2: Check the Test section
We need to make sure that Flutter tests are enabled and Flutter test arguments section runs the following command:
test --update-goldens
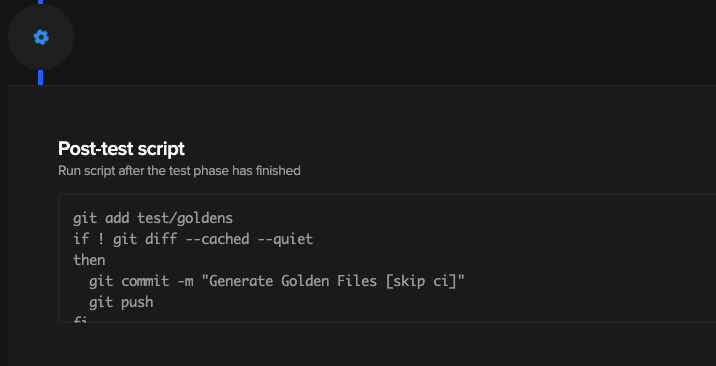
Step 3: Update the Post-Script
In the previous article, we downloaded golden snapshots from the artifact and copied them to the project. This time, let’s update golden snapshots and push them back to the repository.
We’ll run the following script in the Post-Script section:
git add test/goldens
if ! git diff --cached --quiet
then
  git commit -m "Autogenerate Golden Files [skip ci]"
  git push
fi
In this script, we add updated golden files to the working directory. If (and ONLY if) the goldens were changed, we commit the changes and push them to the same branch. If we run ‘git commit’ when no changes were made, the command will fail.
It is important to mention that the commit message has to contain [skip ci] or [ci skip] to skip the build. Otherwise, the update will trigger the workflow again.
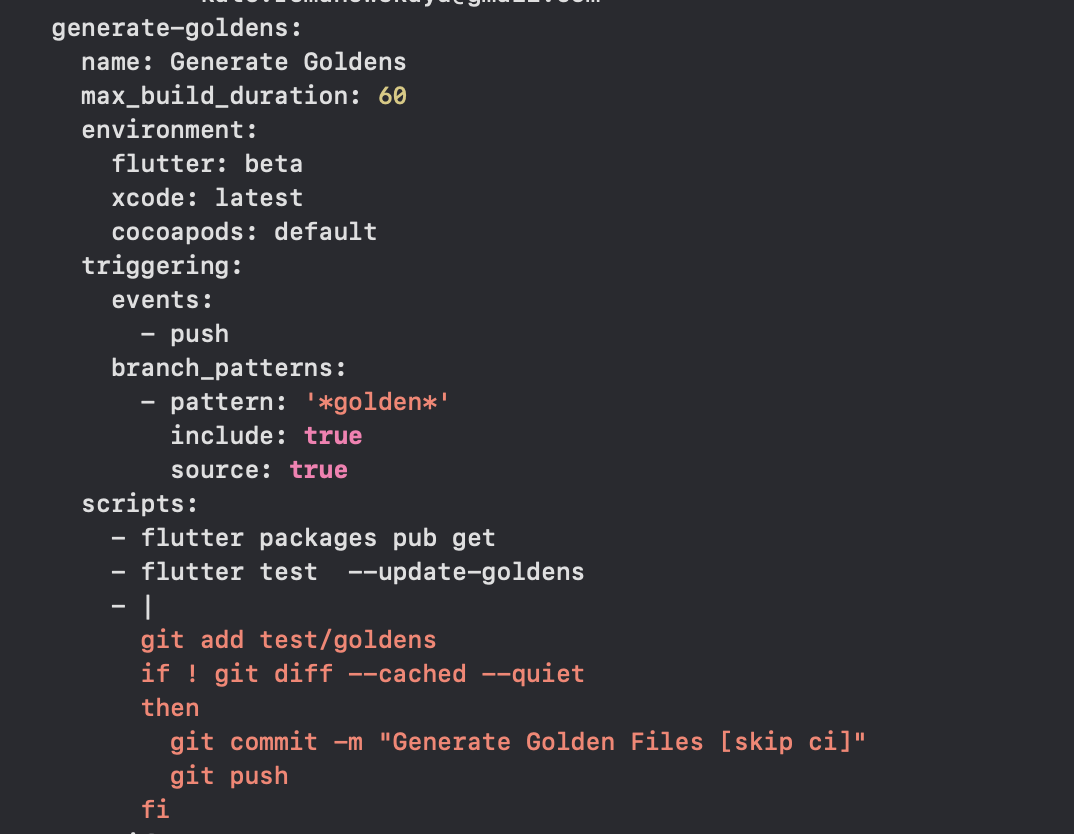
Codemagic allows configuring the workflow for Flutter apps using UI. But you can also use the YAML configuration file. My workflow “generate-goldens” looked like this:
Step 4: Working with Git
To make sure that the workflow generate-goldens triggers and golden files will be generated, we need to have a branch that contains the word “golden”. In my project folder I’ve used the following command to create a new branch:
git checkout -b updated-goldens
After making and committing changes, I’ve pushed it to the repository.
git push -u origin update-goldens
In the Codemagic console I could immediately see that generate-goldens was triggered:

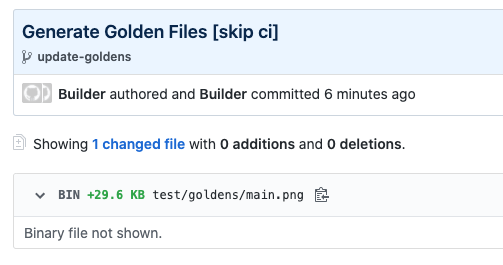
In a minute, a new commit with a generated golden file was added to the update-goldens brach.
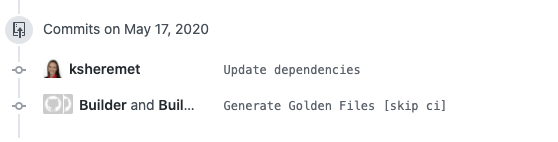
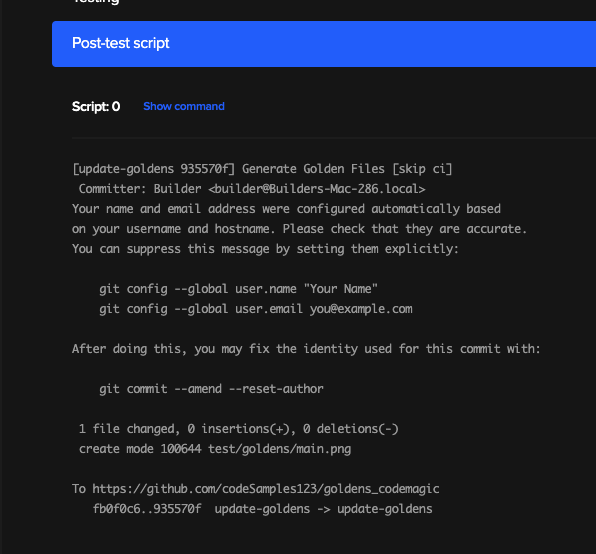
You can see that the author of this commit was Builder. This name can be changed. In the Codemagic console, you can click on every section to see details. If you click on the Post-test script section, it gives instructions on how to change the author.
Useful links:
Katarina Sheremet is Flutter Developer and Google Developer Expert in Flutter and Dart, WTM Switzerland Ambassador. In her free time, she works on her own projects and apps, that are published on Google Play and App Store, Flutter packages. She also organizes events about technologies, gives talks and writes articles about Flutter and Dart. Check out her on Twitter; Medium and Expert Profile.


