


Written by Deven Joshi
One of the most powerful widgets in the Flutter catalog (and for me, one of the most underrated) is the Transform widget. Transform widgets allow us to fundamentally alter how widgets look and behave, allowing us to create new, complex types of animations. Underneath the Transform widget, a 4D matrix powers the actual transformation — defined by the Matrix4 class. While Flutter provides easy ways to do transformations such as translation, scaling, and rotation, we can use the Matrix4 to create even more awesome things such as 3D perspective transformation.
In this article, we are going to explore the 4D matrix itself and what the individual values in it do. In the previous Transform Deep Dive I wrote, we discussed how to use Transforms without directly interacting with a 4D matrix. Check it out if you need a refresher on the easier uses of the widget.
What is a 4D matrix?
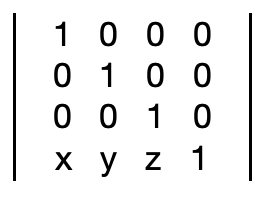
Even though anything with “4D” attached to it sounds cool by default, in reality, a 4D matrix is simply a matrix with 4 rows and 4 columns. We need to use a 4D matrix to transform an object in 3 dimensions (Here, the dimensions are what we’re used to: length, breadth and height).
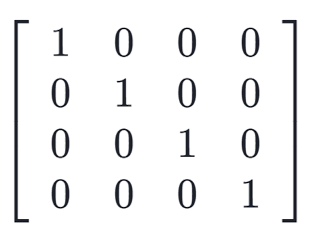
This formation of the matrix is called an identity matrix. The best way to think of an identity matrix is that this is the equivalent of the number ‘1’ in the matrix form — It leaves things untouched when used to transform widgets.
Using different combinations of numbers in this matrix, we can manipulate the shape, size, orientation, etc of a given object.
Let’s look at how we do this.
Basic Setup
Let’s take a look at the code that we are going to use for experimentation:
class MyHomePage extends StatefulWidget {
  @override
  _MyHomePageState createState() => _MyHomePageState();
}

class _MyHomePageState extends State<MyHomePage> {

  double x = 0;
  double y = 0;
  double z = 0;

  @override
  Widget build(BuildContext context) {
    return Scaffold(
      body: Center(
        child: Transform(
          transform: Matrix4(
              1,0,0,0,
              0,1,0,0,
              0,0,1,0,
              0,0,0,1,
          )..rotateX(x)..rotateY(y)..rotateZ(z),
          alignment: FractionalOffset.center,
          child: GestureDetector(
            onPanUpdate: (details) {
              setState(() {
                y = y - details.delta.dx / 100;
                x = x + details.delta.dy / 100;
              });
            },
            child: Container(
              color: Colors.red,
              height: 200.0,
              width: 200.0,
            ),
          ),
        ),
      ),
    );
  }
}
The code simply uses a Transform widget and a colored Container to transform. We define an identity Matrix4 for the starting point which does… well.. nothing at all. The rest of the code with the GestureDectector allows us to rotate the square in X and Y directions. The code for rotating the square is final and we do not intend to make any changes to it. If you need more information on what we’re doing, I suggest looking at Wm Leler’s article on Perspective in Flutter where a similar method is used. The x, y, and z variables simply track the amount of rotation that has already been done.
We will come back to why we’re allowing the user to rotate the square later, for now, we focus on the matrix and basic 2D results.
Note 1: The line
alignment: FractionalOffset.center,
sets the centre of the transformation to the centre of the square.
Note 2 (for nerds): Matrix4 is in column-major order by default. In the way the code is written, we effectively write it in row-major format. Hence, all the row and column values written will be inverted along the diagonal.
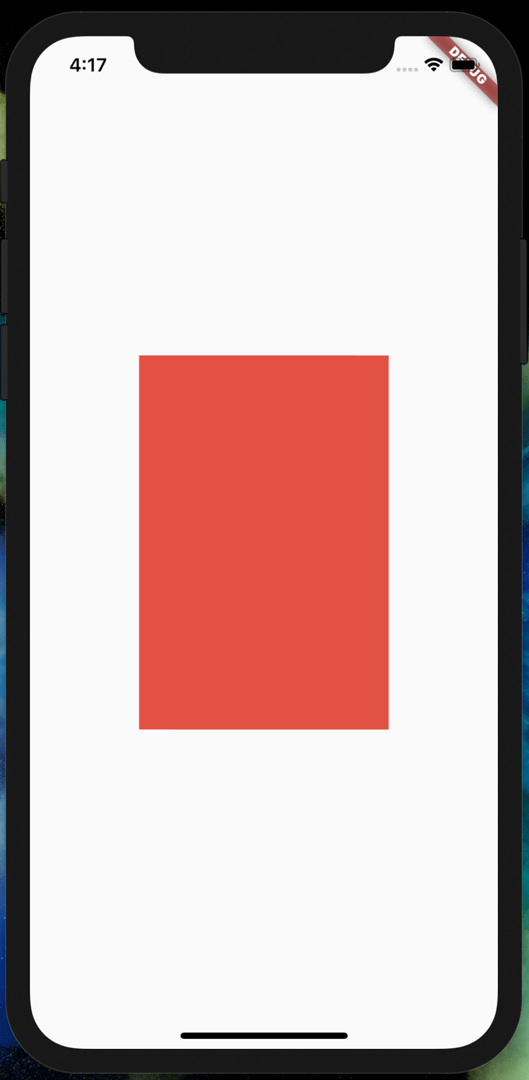
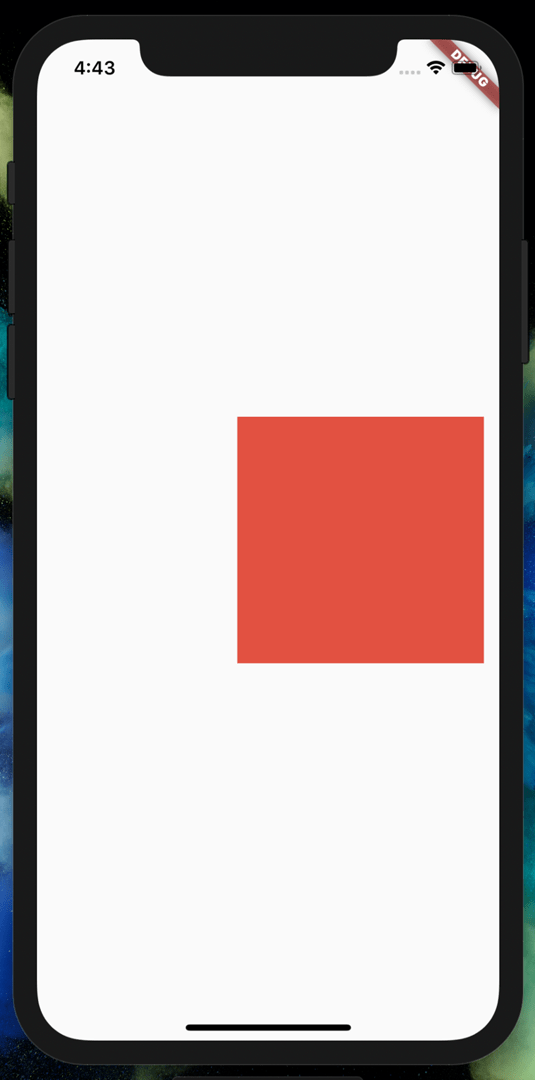
Here’s how the screen looks right now:
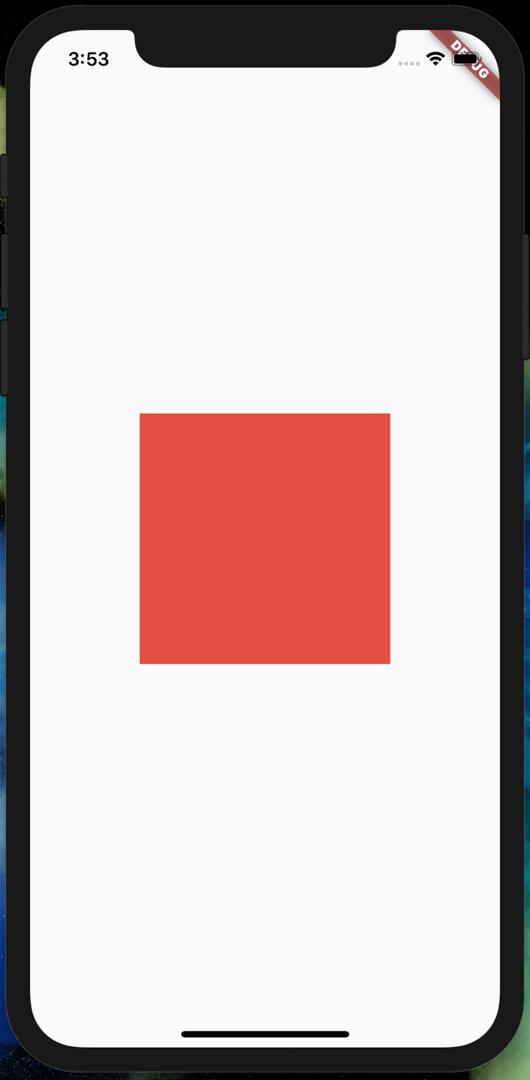
Very interesting square we have there. Let’s see if we can do something with it.
Scaling using the matrix
Let’s try to scale (expand/contract) the square in X, Y, Z directions and then all together.
Scaling in X
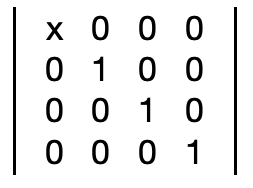
To scale an object in the X direction (horizontal), change the (0,0) value of the matrix with the scaling factor required.
Let’s try doing this. With a scaling factor of 1.5, our square becomes:
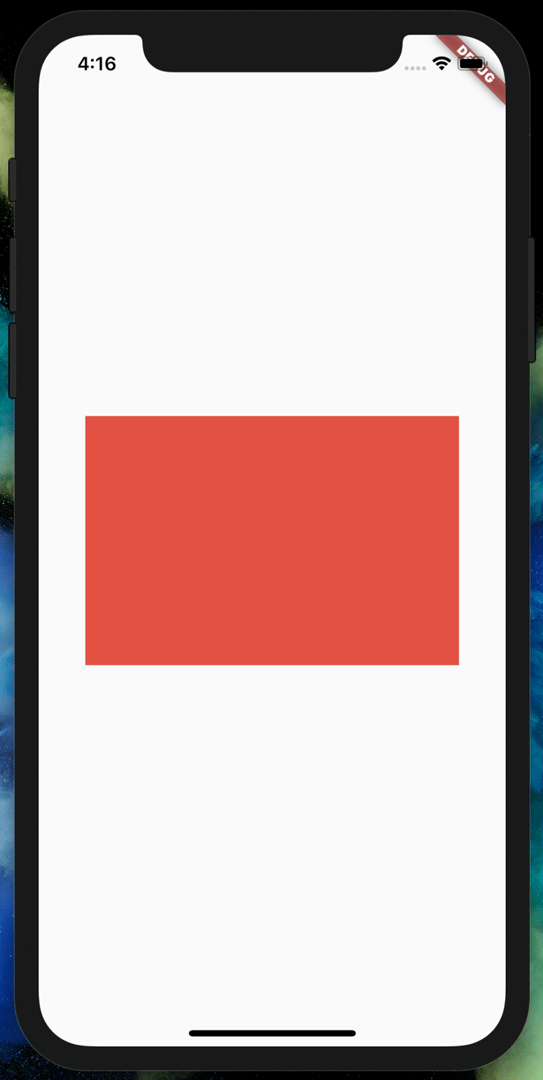
Scaling in Y
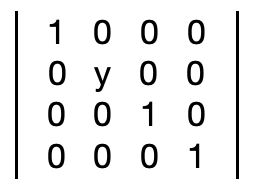
To scale an object in the Y direction (vertical), change the (0,0) value of the matrix with the scaling factor required.
Let’s try doing this. With a scaling factor of 1.5, our square becomes:
Scaling in Z?
Theoretically, the value (2,2) will scale in the Z direction, with a similar matrix.
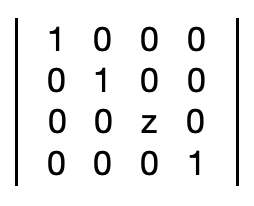
Since this doesn’t apply to our 2D square, we’ll let it go.
Scaling in all directions
One way to scale in all directions is to just combine the ways above and use it to uniformly scale our square. However, we can also use another method:
!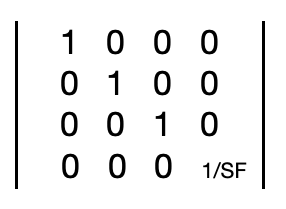
We can substitute the position (3,3) with 1 divided by the scale factor we want to use. So if we want to make the square twice as big, we would use 1/2, which is 0.5.
Here’s the square using 0.5 at (3,3):

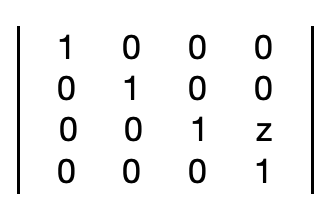
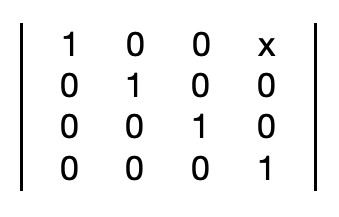
Translation using the matrix
To translate in the X, Y or Z, directions, we can easily change the bottom three values for X, Y and Z values respectively.
Important: The matrix given above represents the matrix in the code. Since the actual Matrix4 goes by column-major format, X, Y and Z would be at (0,3), (1,3) and (2,3) respectively.
Let’s take an X translation of 75 as an example:
Rotation using the matrix
All things can’t be easy in life- hence, as simple as it was to scale and translate objects with the matrix, rotation is no easy thing to remember and something you would mess up on your math finals.
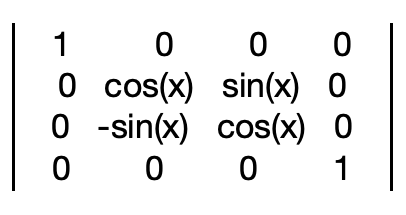
For rotation on around X axis:
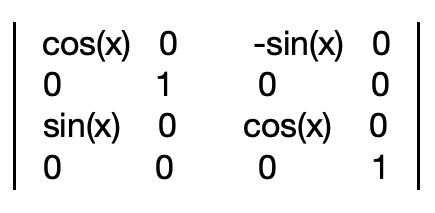
For rotation around the Y axis:
For rotation around the Z axis:
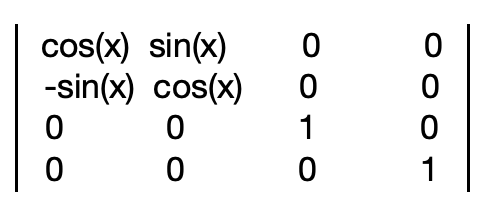
This may just explain why in the starter code we had
..rotateX***(*x*)***..rotateY***(*y*)***..rotateZ***(*z*)***
and not a manual implementation of angles and further matrix multiplication.
Perspective Transformations
Perspective transformations modify lengths over positions along an axis. The most common use of this is to give the user a sense of depth — the way railway tracks look wide where you’re standing but get shorter and shorter as you look farther. In this context, the side of the square closer to us should look bigger and the one away from us should look smaller.
Let’s take a look to better understand this. Currently, when we play around with the square with the starter code, it looks like this:

There is no perception of depth when the square rotates. We can fix this using perspective transformation. To enable depth perception in the Z direction, we need to set this value in the matrix in the code-
You may have seen other tutorials using this line:
..setEntry***(***3, 2, 0.001)
This reduces lengths when the object goes farther away and increases them when they come nearer.
Let’s set the z value to 0.002 and see what happens to our square.
We can now see the difference and the nearer side becomes bigger and the farther side becomes smaller. A higher value will give a higher gradient of length by distance.
But… that’s not it
If you noticed a symmetrical theme for all axes in this article, you may be thinking “what about the two values above the depth perception value for the Z axis”?
Similar to the Z axis, the other two values also work the same way.
Setting this value allows us to perceive distance along the X axis like we did with the Z axis. While this isn’t necessarily the same effect, this is still theoretically identical to the perspective transformation done above.
Here, as position in the X axis increases, length of sides decrease, something like this:

Similarly, for the Y axis:

Origin in computer graphics is at the top-left corner, hence, the Y position increases as we go down. Therefore, length shrinks going down since the Y value going down is “farther”.
Deven Joshi is a mobile developer (Flutter + Android) | Technical Writer | Speaker | #Hack19 Winner | AAD graduate. You can follow him on twitter @DevenJoshi7 and on GitHub


