


Written by Chiziaruhoma Ogbonda
Real-time communication is the near-simultaneous exchange of information over any type of telecommunications service from the sender to the receiver in a connection with negligible latency … What Is Real-Time Communications? — Vonage.
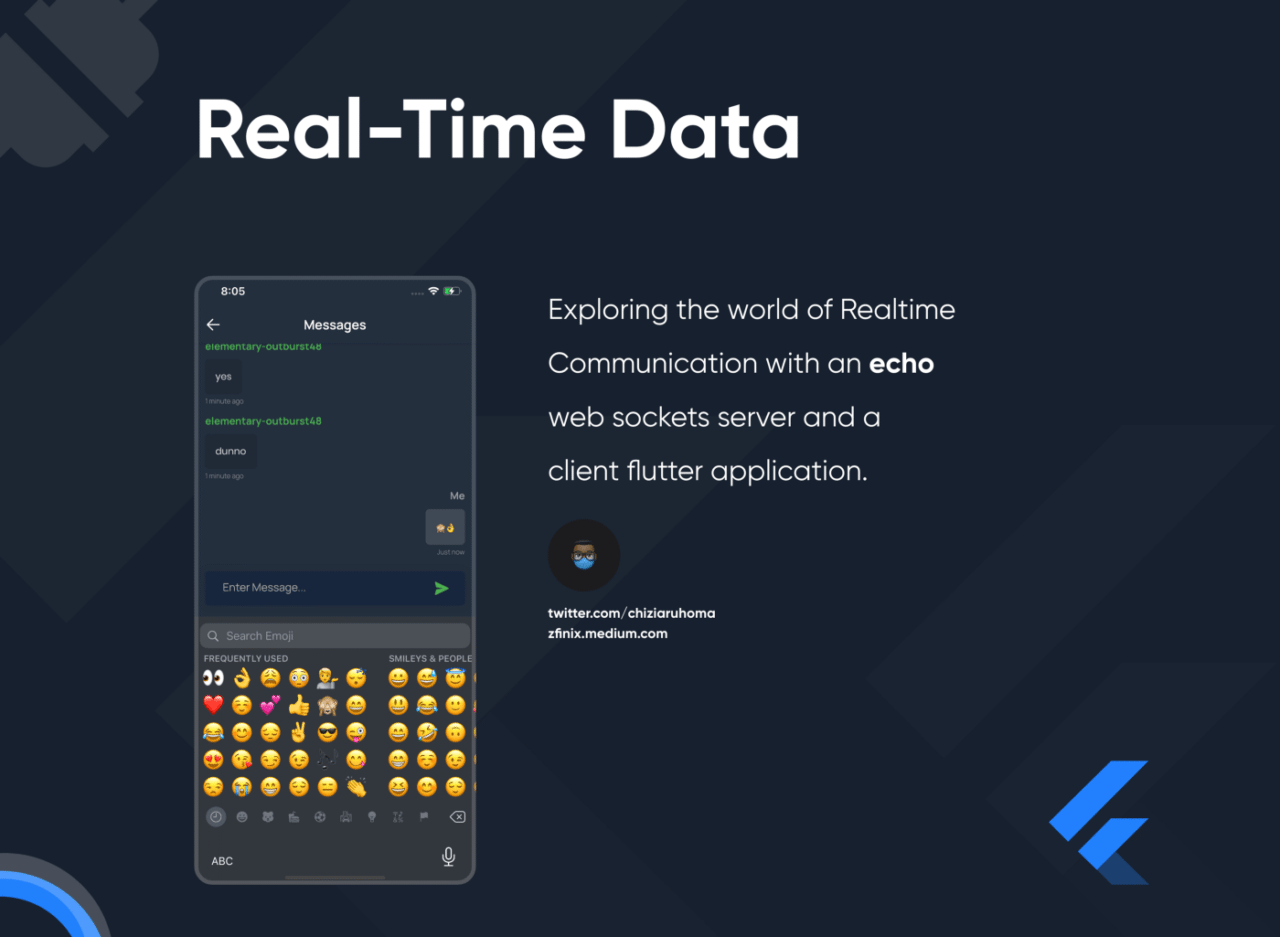
In an age where speed is critical to survival, in a time when there is a need to deliver data and have it go to/from users instantly. There are a couple of ways to achieve this and making multiple network request doesn’t just cut it because we need an active connection to the server at all times. This is where WebSockets come in.
Think of it like a pipe that allows water (data) flow in and out from both sides.
Advantages of WebSockets over HTTPS
Websockets have a lot of advantages over traditional HTTPS, based on your project architecture it’s normally faster in communication.
Without the burden of doing response-request like in HTTP WebSockets offer real-time i-communication at its best with a bi-directional system of data transfer where there’s no need to make requests to get responses. Many services provide abstracted forms of WebSockets e.g. Firebase client communicates with its back-end over WebSockets, (of cause the protocols are undocumented).
With this level of fast instant communication, developers can provide instant alerts, notifications, real-time messaging, and more services to users.
Enough talk let’s jump in!! But first, let us know what’s your main difficulty when building apps?
Setting up Node Server
We would be working on two projects the server (nodeJS) and the client app (Flutter). The server is basically an echo server, it receives the data and sends it to everyone listening in. It’s the bridge between clients.
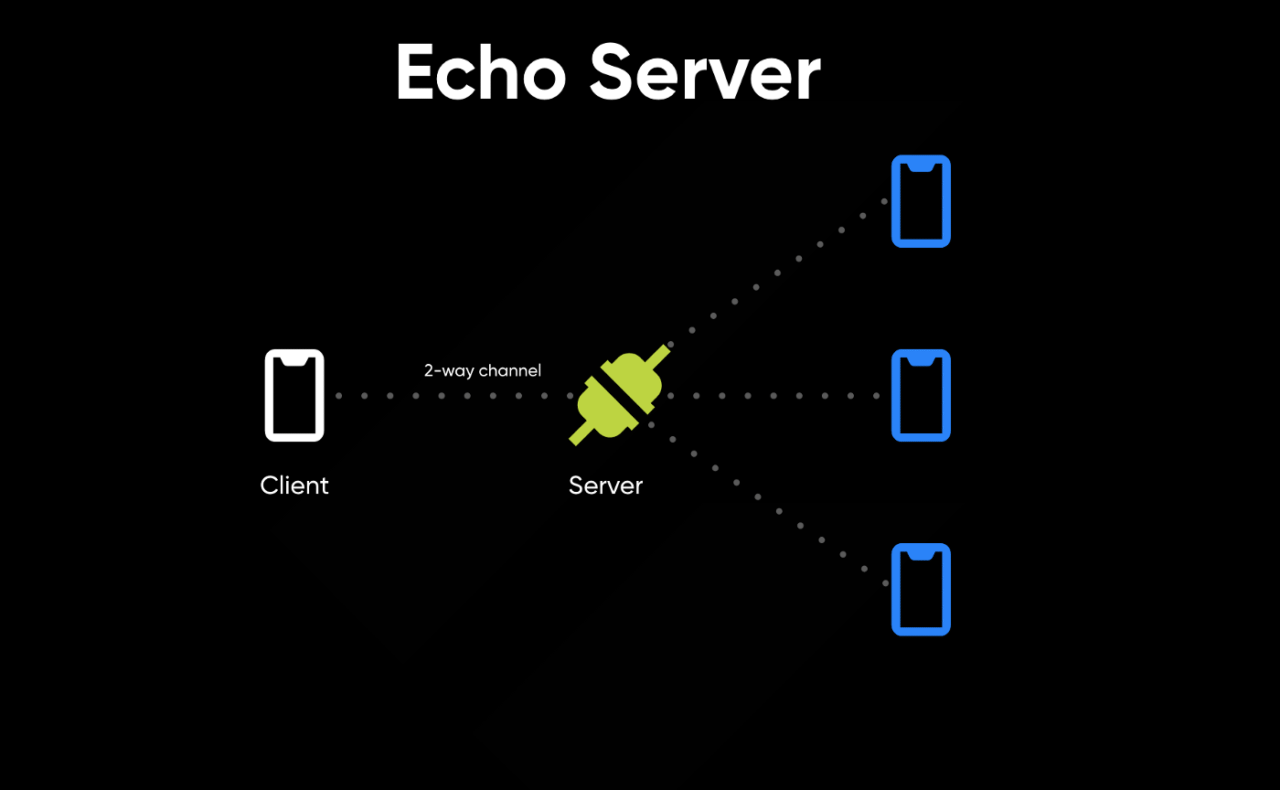
The client is just the flutter app that would be making use of the web socket to receive messages. Now we set up the server:
- Create a new folder with the name of your project e.g
socket_chat_server - Create a
package.jsonfile in that folder - Switch the current directory to your folder if you haven’t
- Run
npm initand complete your setup
Modify the package.json file to add the two dependencies we would need:
package.json
{
  "name": "socket_chat_server",
  "version": "1.0.0",
  "description": "",
  "main": "index.js",
  "scripts": {
    "test": "echo \"Error: no test specified\" && exit 1",
    "start": "node ./index.js"
  },
  "author": "",
  "license": "ISC",
  "dependencies": {
    "http": "0.0.1-security",
    "socket.io": "^2.3.0"
  },
  "engines": {
    "node": "10.x"
  }
}
Then we install the npm modules by running npm install.
index.js
The last step would be to create an echo server as follows:
const server = require('http').createServer()
const io = require('socket.io')(server)

io.on('connection', function (client) {

  console.log('client connect...', client.id);

  client.on('typing', function name(data) {
    console.log(data);
    io.emit('typing', data)
  })

  client.on('message', function name(data) {
    console.log(data);
    io.emit('message', data)
  })

  client.on('location', function name(data) {
    console.log(data);
    io.emit('location', data);
  })

  client.on('connect', function () {
  })

  client.on('disconnect', function () {
    console.log('client disconnect...', client.id)
    // handleDisconnect()
  })

  client.on('error', function (err) {
    console.log('received error from client:', client.id)
    console.log(err)
  })
})

var server_port = process.env.PORT || 3000;
server.listen(server_port, function (err) {
  if (err) throw err
  console.log('Listening on port %d', server_port);
});
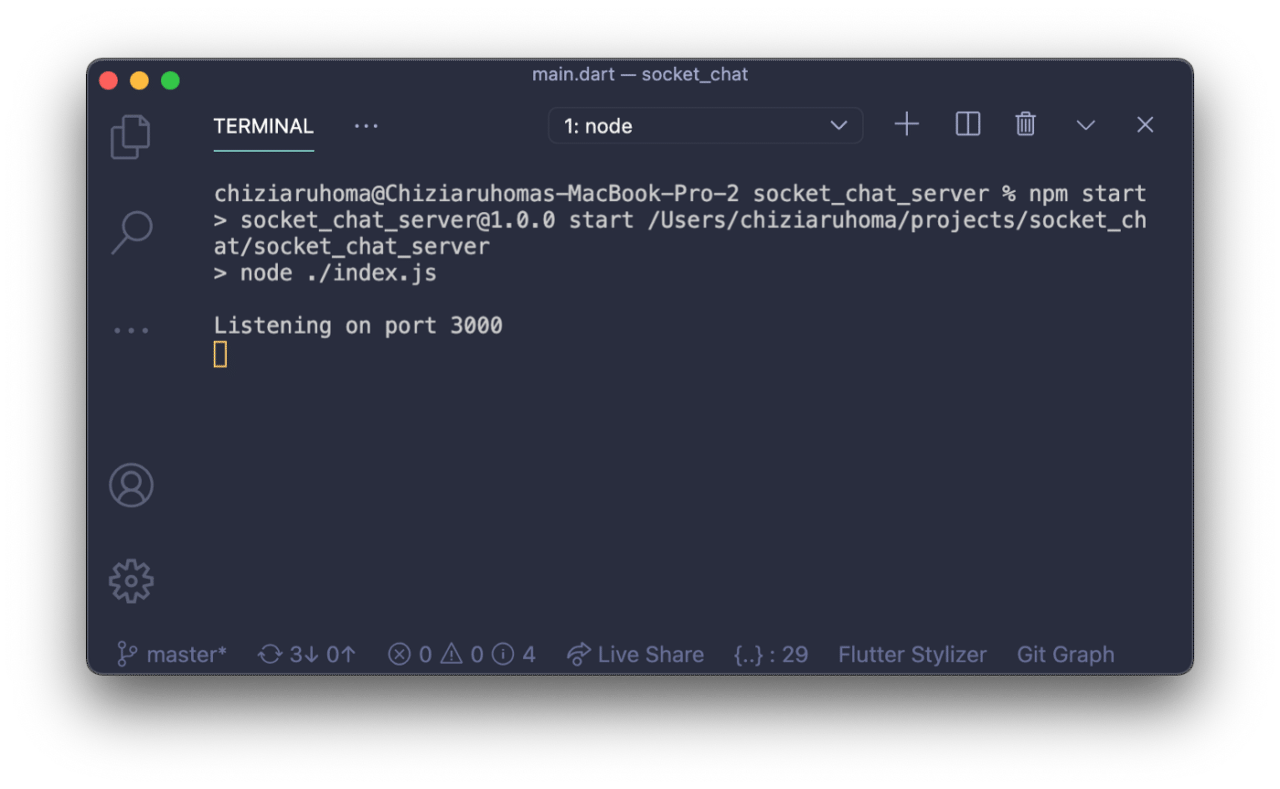
It’s super simple, start a connection, then listen with client.on , next, pass in an event to listen to e.g “message” and emit (send) the data received right away back to everyone listening to the server. Your WebSocket should be running at http://localhost:3000 .
Test your server by running npm start. You should get :
Setting Up Flutter App
The flutter application would act as a client to receive and send messages to the server. Create a new project by running flutter create socket_chat.
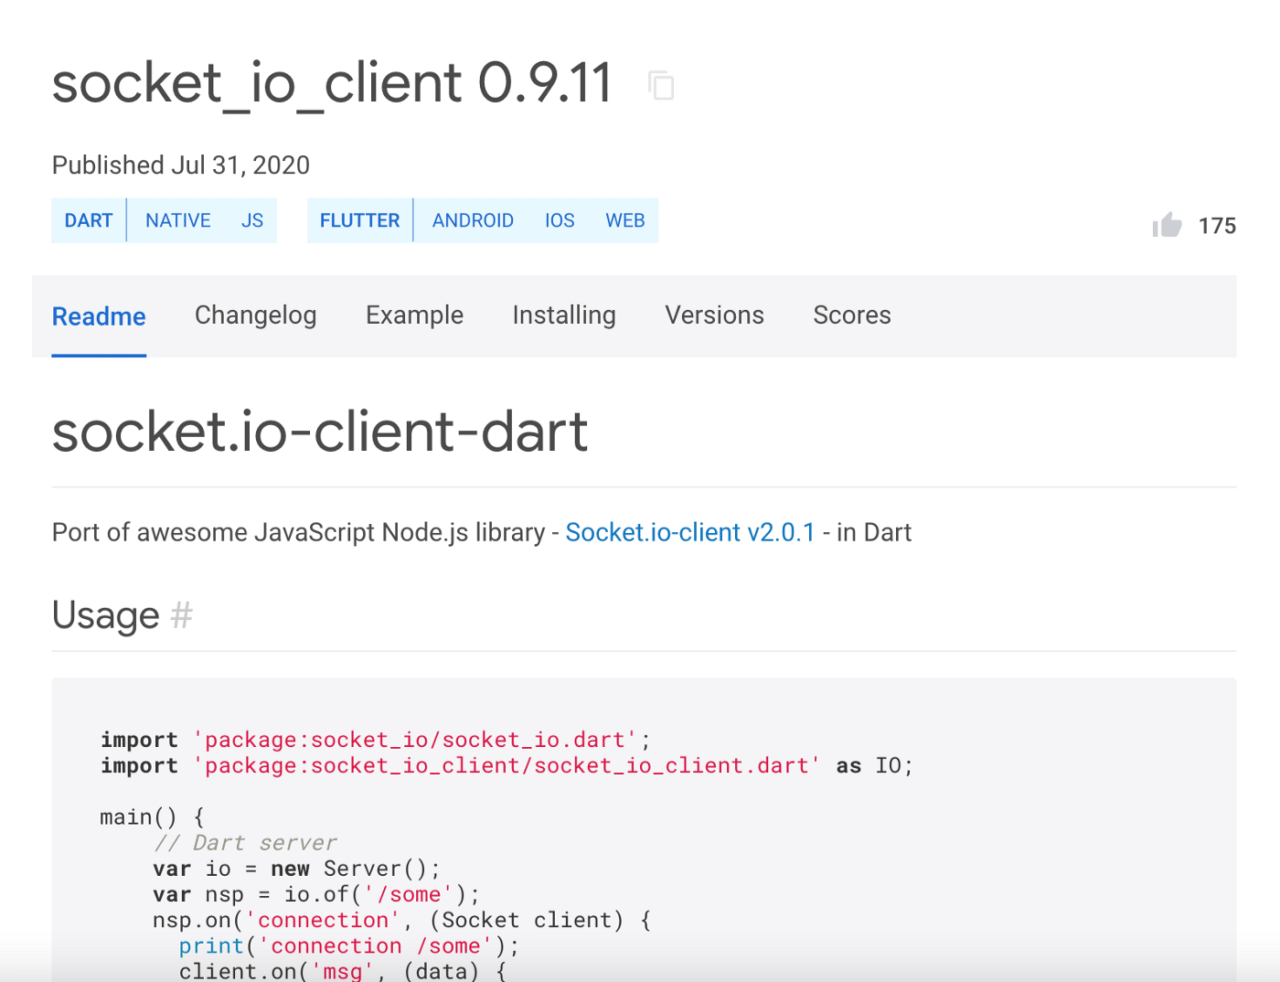
There are a couple of different socket-io packages on pub.dev but I think socket_io_client is easier to use as its a replica of the js library:
⚠️ Note
When connecting to localhost on android emulators you might need a little more configuration, running adb reverse tcp:3000 tcp:3000 solved the issue allowed connections to the localhost via: http://127.0.0.1:3000 on android.
After deleting the code for the default counter app process to create a home.dart to implement our socket.
main.dart
...

  Socket socket;

  @override
  void initState() {
    super.initState();
    connectToServer();
  }

  void connectToServer() {
    try {

      // Configure socket transports must be specified
      socket = io('http://127.0.0.1:3000', <String, dynamic>{
        'transports': ['websocket'],
        'autoConnect': false,
      });

      // Connect to websocket
      socket.connect();

      // Handle socket events
      socket.on('connect', (_) => print('connect: ${socket.id}'));
      socket.on('location', handleLocationListen);
      socket.on('typing', handleTyping);
      socket.on('message', handleMessage);
      socket.on('disconnect', (_) => print('disconnect'));
      socket.on('fromServer', (_) => print(_));

    } catch (e) {
      print(e.toString());
    }


  }

  // Send Location to Server
  sendLocation(Map<String, dynamic> data) {
    socket.emit("location", data);
  }

  // Listen to Location updates of connected users from server
  handleLocationListen(Map<String, dynamic> data) async {
    print(data);
  }

  // Send update of user's typing status
  sendTyping(bool typing) {
    socket.emit("typing",
      {
        "id": socket.id,
         "typing": typing,
      });
  }

  // Listen to update of typing status from connected users
  void handleTyping(Map<String, dynamic> data) {
    print(data);
  }

  // Send a Message to the server
  sendMessage(String message) {
      socket.emit("message",
        {
          "id": socket.id,
          "message": message, // Message to be sent
          "timestamp": DateTime.now().millisecondsSinceEpoch,
        },
      );
  }

  // Listen to all message events from connected users
  void handleMessage(Map<String, dynamic> data) {
    print(data);
  }


...
The above is a very simple implementation of our WebSocket, and it has functions to listen to events and to send events to our server.
Deploying to CI/CD for Testing
During your development, you might want to use different WebSockets for different versions of your application (Quality Assurance, Development, or Production) environments, so it is very good practice to integrate host URLs and such very important code secrets into an encrypted CI/CD Build.
Also using a CI/CD has become a norm for good testable and scalable mobile apps, and hence it’s essential and encouraged to always favor having one for your flutter packages, flutter apps, and the likes.
There are lots of ways to integrate a CI/CD workflow in Codemagic. I’ll like to go a more interesting but complex route and explain how to create a dev and a prod workflow via a plain old
.yaml file and load unto your Codemagic.io project in no time.
Yes, I know there’s a GUI but sometimes you need to test a CI/CD flow without interrupting existing ones or creating a new flow with the GUI. So here’s a fast but easy way to do this:
Configurations and Environments
We would be creating our CI/CD & Environment structure ina way we can use both dynamic values from Codemagic and fixed environment values from our config.
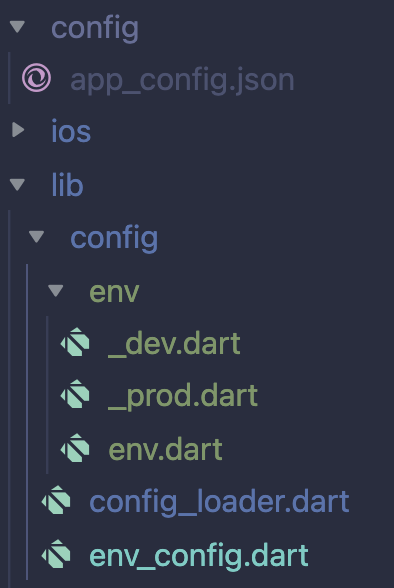
The structure is straightforward, we have our raw JSON file config/appconfig.json, this will house our production and development host URLs. You would also need to define it as follows.
assets:
  - config/app_config.json
The code at lib/config/config_loader.dart handles loading the data from our raw JSON file (config/appconfig.json).
env.dart and env_config.dart handle creating our different environments to be used in _dev.dart & _prod.dart .
For most Flutter applications main.dart is the entry file to the flutter applications. but for this, to work we would need to create main_common.dart , main_dev.dart and a main_prod.dart files, as the name implies main_common.dart will be the bridge to select the preferred environment. To run our code can no longer use flutter run but we would need to specify a new target entry depending on the config we wish to run.
We now have:
flutter run -t lib/main_dev.dart for Development
and
flutter run -t lib/main_prod.dart for Production.
import 'dart:async';

import '../config_loader.dart';
import '../env_config.dart';

class Config implements EnvConfig {
  Config._();

  static Future<EnvConfig> create() async {
    // read secrets
    await ConfigLoader.initialize();
    // return the new env Config
    return Config._();
  }

  @override
  String get name => 'DEV';

  @override
  String get hostURL => ConfigLoader.hostURL;
}
import 'dart:async';

import '../config_loader.dart';
import '../env_config.dart';

class Config implements EnvConfig {
  Config._();

  static Future<EnvConfig> create() async {
    // read secrets
    await ConfigLoader.initialize(isDev: false);
    // return the new env Config
    return Config._();
  }

  @override
  String get name => 'PROD';

  @override
  String get hostURL => ConfigLoader.hostURL;
}
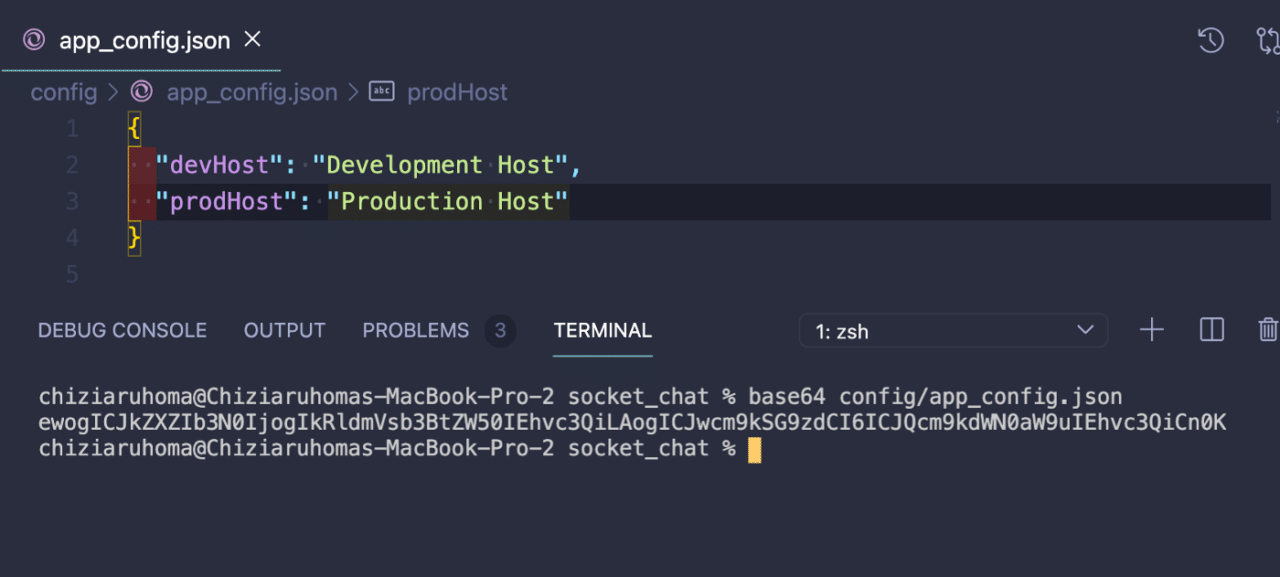
{
  "devHost": "Development Host",
  "prodHost": "Production Host"
}
import 'dart:convert';

import 'package:flutter/services.dart';

class ConfigLoader {
  static Map<String, dynamic> _config;
  static bool _isDev;

  static Future<void> initialize({bool isDev = true}) async {
    try {
      //Set Environment
      _isDev = isDev;

      //load rawConfig String
      final rawConfig = await rootBundle.loadString('config/app_config.json');
      _config = json.decode(rawConfig) as Map<String, dynamic>;
    } catch (e) {
      print(e.toString());
    }
  }

  static String get hostURL =>
      _config[_isDev ? 'devHost' : 'prodHost'] as String;
}
import '../env_config.dart';
import '_dev.dart' as _dev;
import '_prod.dart' as _prod;

abstract class Environment {
  static Future<EnvConfig> get dev => _dev.Config.create();
  static Future<EnvConfig> get prod => _prod.Config.create();
}
abstract class EnvConfig {
  String get name;
  String get hostURL;
}
import 'package:flutter/foundation.dart';
import 'package:flutter/material.dart';
import 'package:socket_chat/config/env_config.dart';

import 'config/config_loader.dart';

void mainCommon(EnvConfig envConfig) async {
  print(ConfigLoader.hostURL);
  runApp(MyApp());
}

class MyApp extends StatelessWidget {
  // This widget is the root of your application.
  @override
  Widget build(BuildContext context) {
    return MaterialApp(
      title: 'Socket Chat',
      home: Home(),
      debugShowCheckedModeBanner: false,
    );
  }
}
Future<void> main() async {
  WidgetsFlutterBinding.ensureInitialized();

  final envConfig = await Environment.dev;

  mainCommon(envConfig);
}
Future<void> main() async {
  WidgetsFlutterBinding.ensureInitialized();

  final envConfig = await Environment.prod;

  mainCommon(envConfig);
}
Environment Variable
Net we would have to convert our raw JSON config to base64 so we can add it as an environment variable to codemagic.yaml, you can find more info on this here.
Codemagic.yaml
Codemagic gives you the power to write out your workflow in an easily customizable yaml syntax.
We would create and modify our codemagic.yaml file as follows:
# Automatically generated on 2020-11-16 UTC from https://codemagic.io/app/5fb2a25c605096f91720b983/settings
# Note that this configuration is not an exact match to UI settings. Review and adjust as necessary.
workflows:
default-workflow:
name: Default Workflow
max_build_duration: 60
environment:
vars:
APP_CONFIG: ewogICJnQXBpS2V5IjogIkFJemFTeUEzbl95bTlWUUU2NURyRUVpdDZobnNtWDgyR3FGb3Q0QSIKfQo=
flutter: stable
xcode: latest
cocoapods: default
scripts:
- |
# set up debug keystore
rm -f ~/.android/debug.keystore
keytool -genkeypair \
-alias androiddebugkey \
-keypass android \
-keystore ~/.android/debug.keystore \
-storepass android \
-dname 'CN=Android Debug,O=Android,C=US' \
-keyalg 'RSA' \
-keysize 2048 \
-validity 10000
- |
# set up local properties
echo "flutter.sdk=$HOME/programs/flutter" > "$CM_BUILD_DIR/android/local.properties"
- cd . && flutter packages pub get
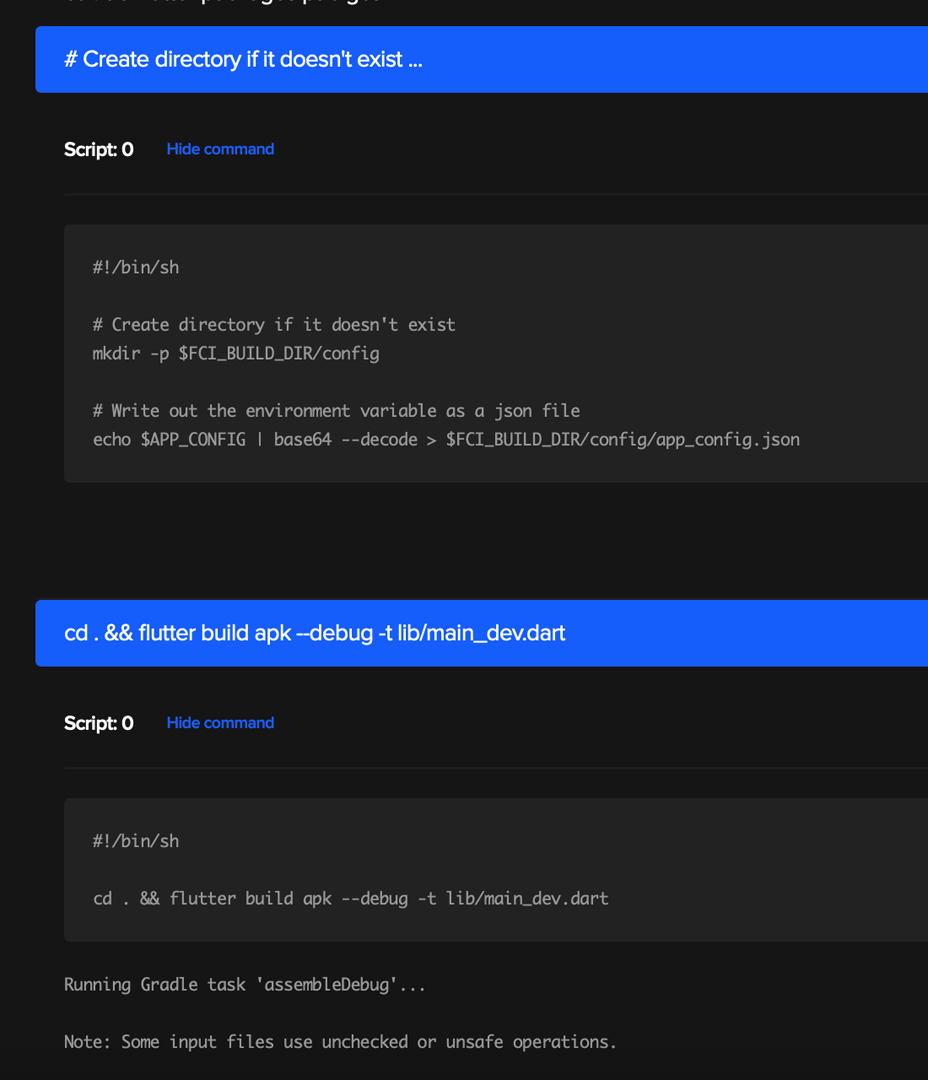
- |
# Create directory if it doesn't exist
mkdir -p $CM_BUILD_DIR/config
# Write out the environment variable as a json file
echo $APP_CONFIG | base64 --decode > $CM_BUILD_DIR/config/app_config.json
- cd . && flutter build apk --debug -t lib/main_dev.dart
- find . -name "Podfile" -execdir pod install \;
- cd . && flutter build ios --debug --no-codesign lib/main_dev.dart
artifacts:
- build/**/outputs/**/*.apk
- build/**/outputs/**/*.aab
- build/**/outputs/**/mapping.txt
- build/ios/ipa/*.ipa
- /tmp/xcodebuild_logs/*.log
- flutter_drive.log
publishing:
email:
recipients:
- ogbondachiziaruhoma@gmail.com
By defining our Environment variables as follows:
vars:
  APP_CONFIG: ewogICJkZXZIb3N0IjogIkRldmVsb3BtZW50IEhvc3QiLAogICJwcm9kSG9zdCI6ICJQcm9kdWN0aW9uIEhvc3QiCn0K
By inserting this piece of code above we can delete the /config/app_config.json and have it created when our CI Build is run.
# Write out the environment variable as a json file
echo $APP_CONFIG | base64 --decode > $CM_BUILD_DIR/config/app_config.json
Note: Our target entry file lib/main_dev.dart in our codemagic.yaml file should be changed to lib/main_prod.dart for a production workflow.
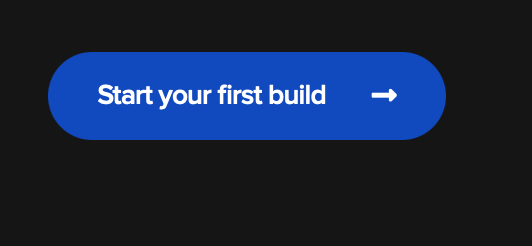
Running our Build
After committing our codemagic.yaml file and pushing to your preferred SCM (GitHub, bitbucket, etc.), click on “Start your first build”
Your workflow file should be detected automatically:
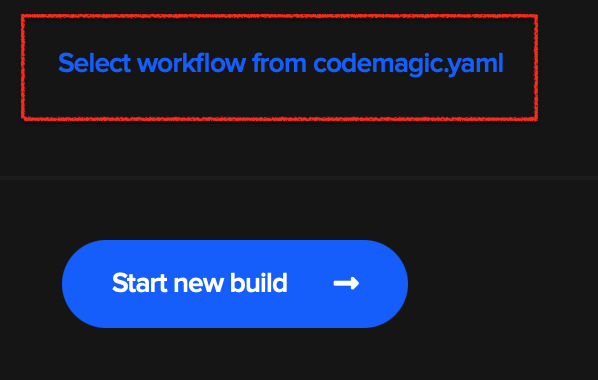
Click on “Start new build”
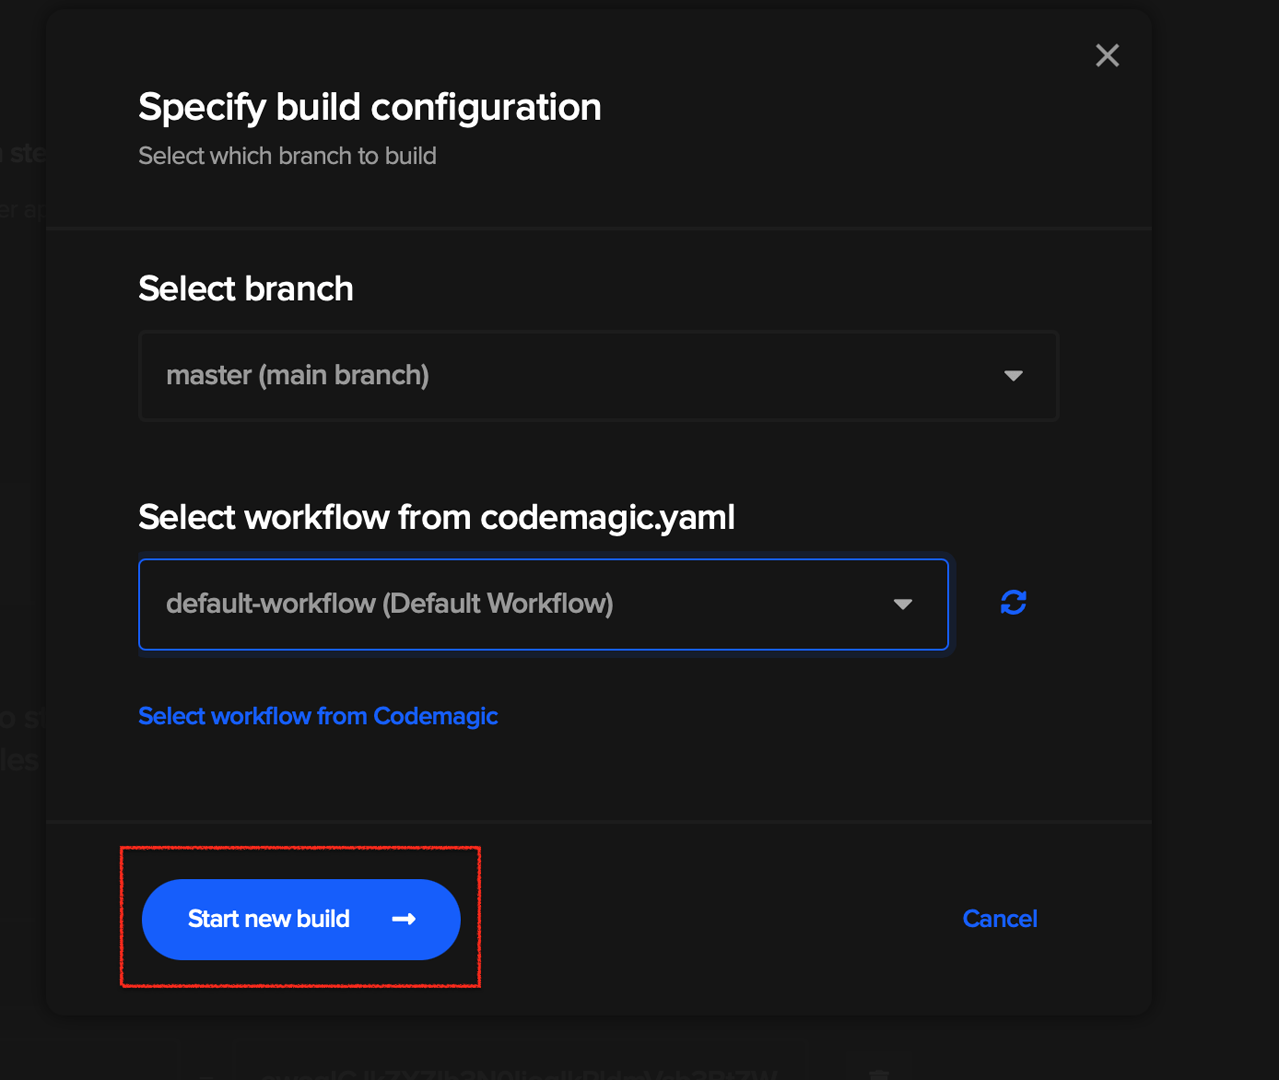
Voila, we have our build running.

The End
Websockets are fast, easy to set up, and can still be RESTful. they can be used for a wide range of projects. And we also see that it’s super easy to set up workflows and integrate different environment variables/app secrets into Codemagic CI/CD and the joy is you only have to do this once, after this setup you may choose to add more env configs or modify existing ones.
If you want to see the code for more advanced use of WebSockets and a Codemagic CI/CD flow config, you can check out the complete code at https://github.com/Zfinix/socket_chat/.
Chiziaruhoma Ogbonda Flutter developer at First Blood. You can keep eye on his Github, Medium or follow on Twitter @chiziaruhoma.


