


Written by Souvik Biswas
Presently, app development does not only rely on writing code. Multiple languages, architectures, and environments make the app development workflow complex and hard to maintain effectively and keep updated.
Docker helps to simplify and accelerate the development workflow, while offering the freedom to choose any tool and maintain different development environments for each project.
In this article, we will look into how you can use Docker to simplify your Flutter app development workflow.
So, let’s get started, but first, let us know what’s your main difficulty when building apps?
Advantages of using Docker
There are a number of advantages to using a Docker container. Some of the important ones are listed below:
If you upgrade to a new desktop or laptop (or want to use any of your friends’ systems), you will have to manually download all the tools required in order to build Flutter apps. Docker really simplifies this process—there is no manual setup procedure. You can just grab the Dockerfile (along with some configurations) from your GitHub and run it on the system. Wait for the Docker container setup to complete, and now you have everything set up to get started building, testing, and debugging Flutter apps without any hassle.
Forget the “it works on my machine” problem once and for all. Docker containers built using the same Dockerfile will have the exact same version of all tools available, no matter which server or system they are running on.
Docker containers are very lightweight and portable because they do not have separate operating systems. This type of architecture is less resource-intensive, which makes it a better choice as compared to a virtual machine. Docker containers can start up very fast compared to virtual machines, and the resource usage varies depending on the load or traffic.
Scaling up is also an easier task when using Docker containers than when using virtual machines, as there is no need to install an operating system in a Docker container. Unlike virtual machines, there is no need to allocate resources permanently to containers.
What is a Docker Container?
A Docker container image is a lightweight, standalone, executable package of software that includes everything needed to run an application: code, runtime, system tools, system libraries, and settings. This container image becomes a Docker container when it runs on the Docker Engine.
You can visit this link for more info about Docker Containers and how Containers are different from Virtual Machines (VMs).
Set up Docker
First of all, download and install Docker Engine on your system from this link.
NOTE: Hardware Accelerated Virtualization must be enabled in BIOS to use Docker on Windows. Refer to this Stack Overflow post here.
After installing Docker Engine, make sure it is working properly by running the following commands (macOS and Linux users can use Terminal, and Windows users can use PowerShell):
docker --version
This will display the version of Docker installed on your system.
Docker version 19.03.8, build afacb8b
You can test Docker by running the following command (it will pull a Docker image from the Docker Hub, hello-world):
docker run hello-world
This will generate the following output if running for the first time:
Unable to find image 'hello-world:latest' locally
latest: Pulling from library/hello-world
ca4f61b1923c: Pull complete
Digest: sha256:ca0eeb6fb05351dfc8759c20733c91def84cb8007aa89a5bf606bc8b315b9fc7
Status: Downloaded newer image for hello-world:latest

Hello from Docker!
This message shows that your installation appears to be working correctly.
...
If you are a Linux user, then you will need to give Docker root access in order to use it inside the VS Code environment. To grant Docker root access, you will need to create the docker group and add your user.
Follow the steps below:
Run the following command to create the docker group:
sudo groupadd dockerAdd your user to the docker group.
sudo usermod -aG docker $USEROn Linux, you can also run the following command to activate the changes to groups:
newgrp dockerVerify whether you can run
dockercommands without sudo from the terminal:docker run hello-world
The official guide for Linux Post-installation steps is available here.
Set up VS Code
We will be accessing the Docker container from the VS Code environment so that the Flutter project directories inside the Docker container are accessible directly in VS Code. This will further simplify the Flutter app development workflow.
Download Visual Studio Code
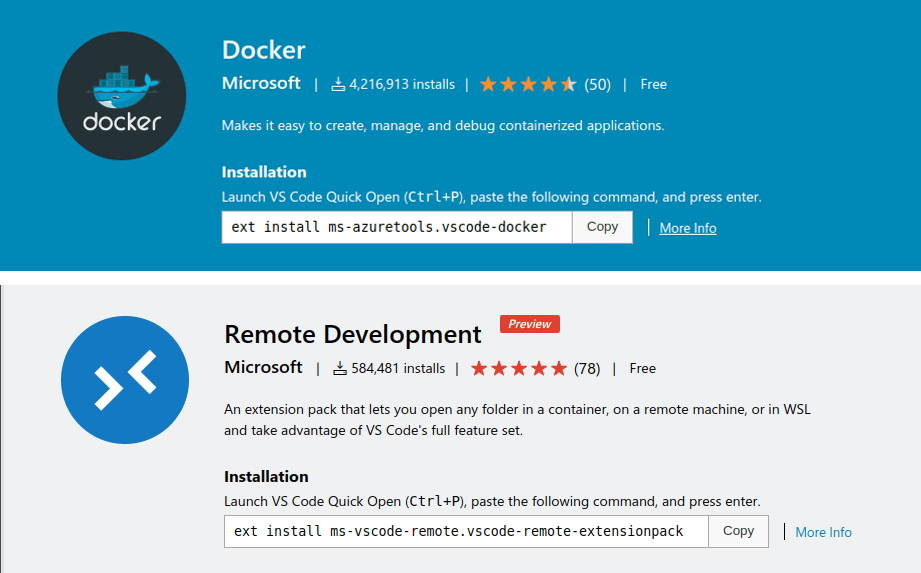
Download and install two extensions in VS Code from the Extension Marketplace:
Create Docker container
Create a new folder called
flutter_dockermkdir flutter_dockerOpen the folder using VS Code
code flutter_dockerMake a New File called
DockerfileAdd the following in this file:
FROM ubuntu:18.04

# Prerequisites
RUN apt update && apt install -y curl git unzip xz-utils zip libglu1-mesa openjdk-8-jdk wget

# Set up new user
RUN useradd -ms /bin/bash developer
USER developer
WORKDIR /home/developer

# Prepare Android directories and system variables
RUN mkdir -p Android/sdk
ENV ANDROID_SDK_ROOT /home/developer/Android/sdk
RUN mkdir -p .android && touch .android/repositories.cfg

# Set up Android SDK
RUN wget -O sdk-tools.zip https://dl.google.com/android/repository/sdk-tools-linux-4333796.zip
RUN unzip sdk-tools.zip && rm sdk-tools.zip
RUN mv tools Android/sdk/tools
RUN cd Android/sdk/tools/bin && yes | ./sdkmanager --licenses
RUN cd Android/sdk/tools/bin && ./sdkmanager "build-tools;29.0.2" "patcher;v4" "platform-tools" "platforms;android-29" "sources;android-29"
ENV PATH "$PATH:/home/developer/Android/sdk/platform-tools"

# Download Flutter SDK
RUN git clone https://github.com/flutter/flutter.git
ENV PATH "$PATH:/home/developer/flutter/bin"

# Run basic check to download Dark SDK
RUN flutter doctor
Create a folder
.devcontainer, and inside it, create a file calleddevcontainer.jsonAdd the following to this file:
{
  "name": "flutter_docker",
  "context": "..",
  "dockerFile": "../Dockerfile",
  "remoteUser": "developer",
  "mounts": ["source=/dev/bus/usb,target=/dev/bus/usb,type=bind"],
  "settings": {
    "terminal.integrated.shell.linux": null
  },
  "runArgs": ["--privileged"],
  "extensions": ["dart-code.flutter"],
  "workspaceMount": "source=${localWorkspaceFolder}/workspace,target=/home/developer/workspace,type=bind,consistency=delegated",
  "workspaceFolder": "/home/developer/workspace"
}
IMPORTANT NOTE: Users of macOS and Windows won’t be able to access the USB ports using the mounts property. Don’t define this inside the
devcontainer.jsonfile; otherwise, the Docker container build will FAIL. More on this later.Add another folder to the root directory called
workspace. This folder will be used for storing all the Flutter projects created inside the Docker container.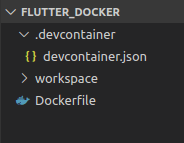
Now you are ready to build and run the Docker container inside the VS Code environment. But before that, let’s understand the contents of the Dockerfile and devcontainer.json files.
You can also use an officially maintained Docker Image for Flutter, like this one cirrusci/flutter.
Understanding Dockerfile
A Dockerfile is a text document that contains all the commands a user could call on the command line to assemble an image. Docker can build images automatically by reading the instructions from a Dockerfile.
The build is run by the Docker daemon, not by the CLI.
The Dockerfile that we have defined will download and install all the necessary tools required for developing Flutter apps.
This
FROMcommand creates a layer from theubuntu:18.04Docker image.FROM ubuntu:18.04Upon using this
RUNcommand, all the necessary packages are downloaded and installed usingapt.curl git unzip xz-utils zip libglu1-mesais required by Flutter SDKopenjdk-8-jdkis required by Android SDKwgetwill be used for downloading some Android tools
RUN apt update && apt install -y curl git unzip xz-utils zip libglu1-mesa openjdk-8-jdk wgetAdd a new non-root user called developer, set it as the current user, and change the working directory to its home directory.
RUN useradd -ms /bin/bash developer
USER developer
WORKDIR /home/developer
Create some folders where the Android SDK will be installed. Also, set the environment variable
ANDROID_SDK_ROOTto the correct directory path—this will be used by Flutter.RUN mkdir -p Android/sdk ENV ANDROID_SDK_ROOT /home/developer/Android/sdk RUN mkdir -p .android && touch .android/repositories.cfgDownload the latest SDK tools. Unzip them and move them to the correct folder. Then, we will use
sdkmanagerto accept the Android Licenses and download the packages that will be used during app development. Finally, I have added the path toadb.Here, I have specified packages for API 29, but if you want to use a different Android version, then specify it here.
RUN wget -O sdk-tools.zip https://dl.google.com/android/repository/sdk-tools-linux-4333796.zip
RUN unzip sdk-tools.zip && rm sdk-tools.zip
RUN mv tools Android/sdk/tools
RUN cd Android/sdk/tools/bin && yes | ./sdkmanager --licenses
RUN cd Android/sdk/tools/bin && ./sdkmanager "build-tools;29.0.2" "patcher;v4" "platform-tools" "platforms;android-29" "sources;android-29"
ENV PATH "$PATH:/home/developer/Android/sdk/platform-tools"
Set up Flutter by cloning it from the GitHub repository, and add the
PATHenvironment variable for runningfluttercommands from the terminal.RUN git clone https://github.com/flutter/flutter.git ENV PATH "$PATH:/home/developer/flutter/bin"At last, run the
flutter doctorcommand for downloading the Dart SDK and for checking whether Flutter is set up properly.RUN flutter doctor
Understanding devcontainer.json
A devcontainer.json file in your project tells VS Code how to access (or create) a development container with a well-defined tool and runtime stack.
You can get more information about it here.
Details regarding the properties we have used inside the devcontainer.json file are listed below:
name: A display name for the container.
context: The path that the Docker build should be run from relative to
devcontainer.json.dockerFile: The location of a Dockerfile that defines the contents of the container. The path is relative to the
devcontainer.jsonfile.remoteUser: The name of the user that will be used in the container.
mounts: An array with mount points that should be added to the container at runtime. Here, we have mounted
/dev/bus/usbso that the container can detect any Android device connected to the system (NOT APPLICABLE for macOS and Windows).settings: Adds default
settings.jsonvalues into a container/machine-specific settings file.runArgs: An array with string values that should be valid Docker arguments. We use
--privilegedto make sure that the container can access devices connected to the system.extensions: An array of extension IDs that specify the extensions that should be installed inside the container when it is created.
dart-code.flutteris the official extension for Flutter development.workspaceMount: Overrides the default local mount point for the workspace.
workspaceFolder: Sets the default path that VS Code should open when connecting to the container.
More info regarding
devcontainer.jsonfile properties is available here.
Build and run Docker container
As we have already installed the Remote Development extension for VS Code, you will see that an icon is displayed on the bottom-left corner of the VS Code window.
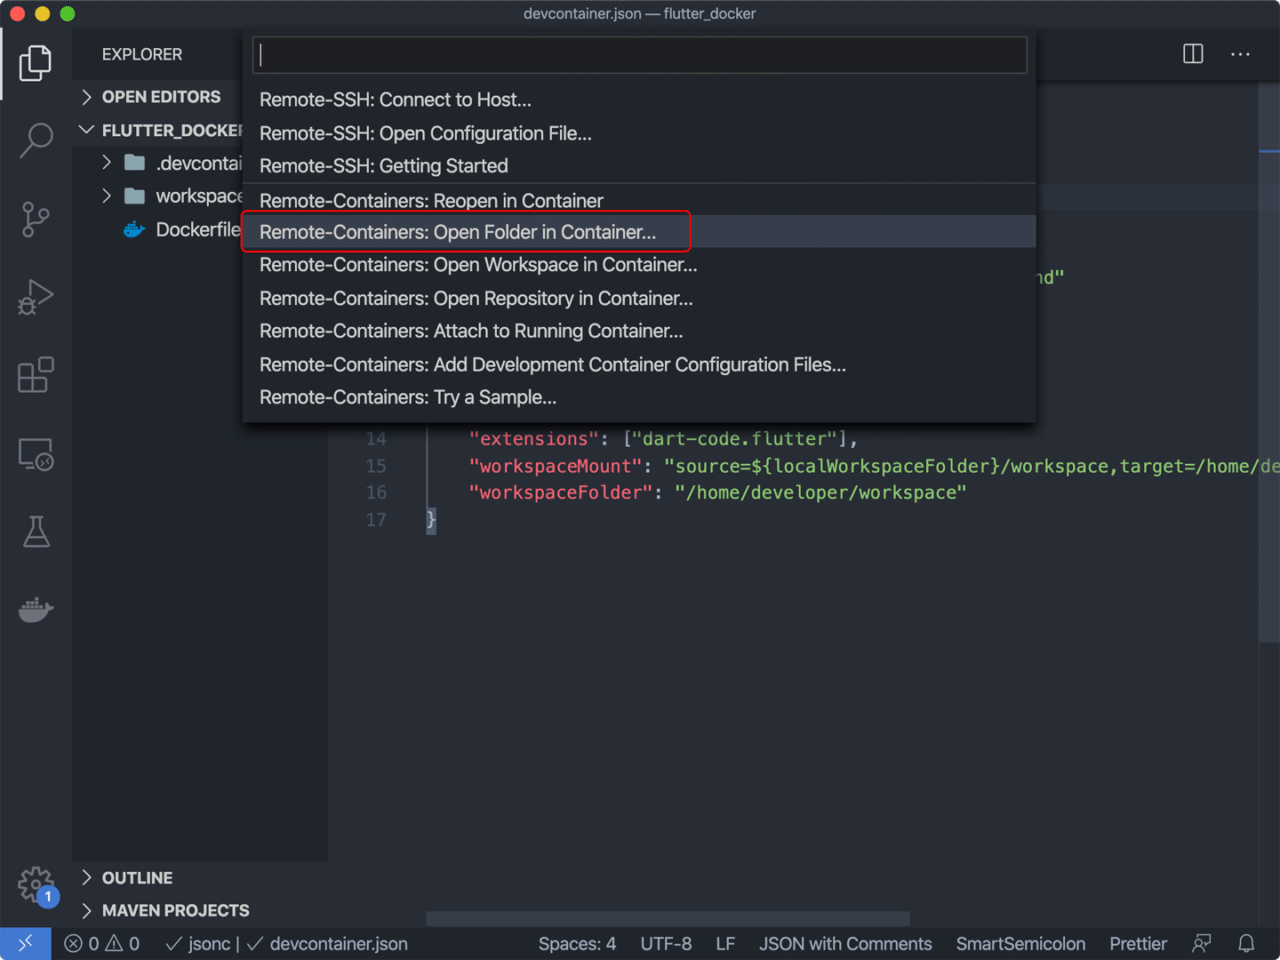
Click on this icon.

Select the option Remote-Containers: Open Folder in Container.
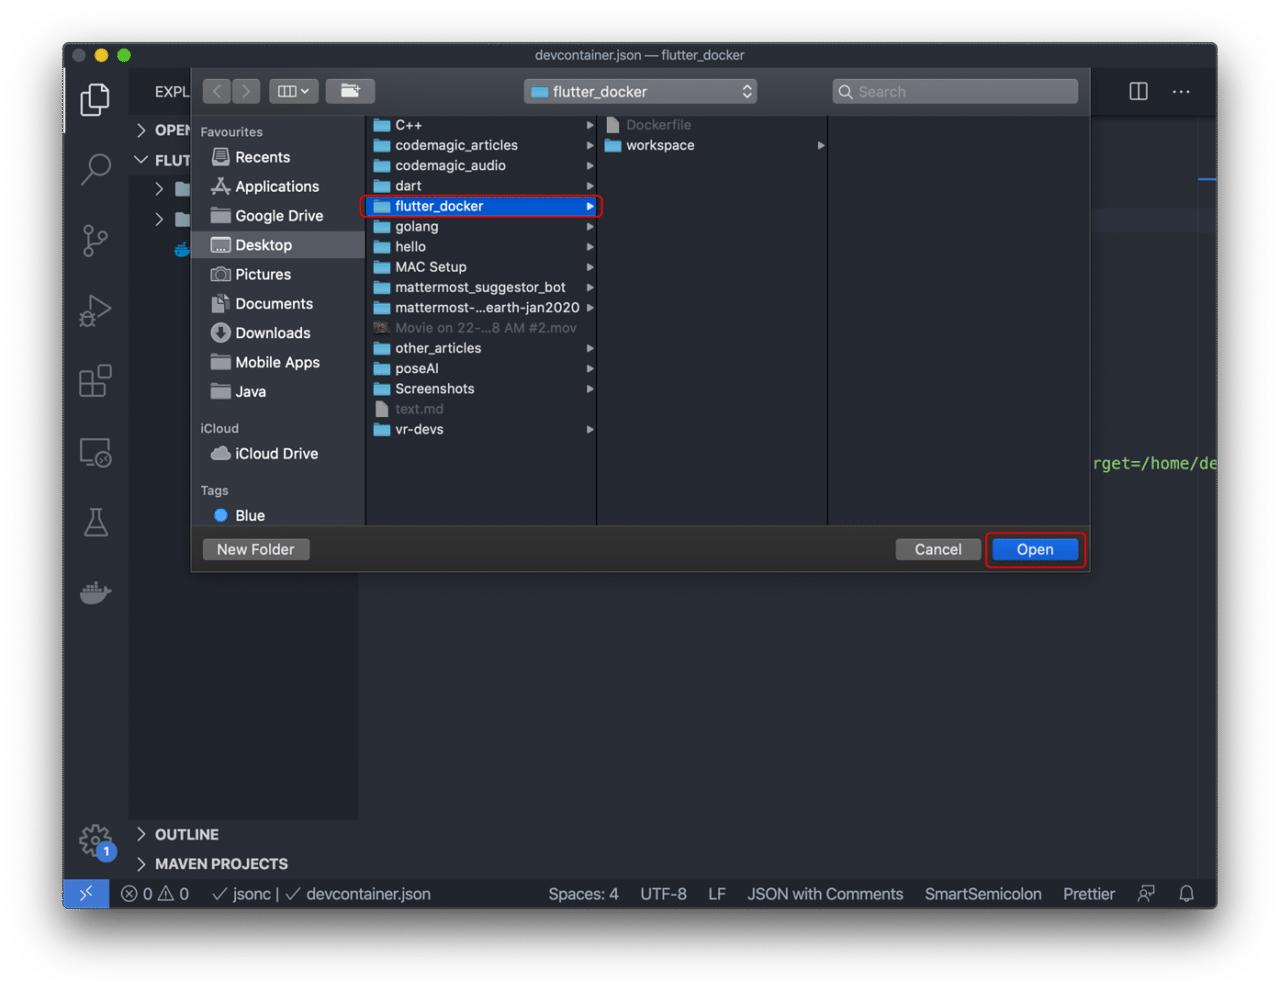
Select the root directory which contains the Dockerfile (along with some other settings) and click on Open to start building the Docker container. This will take some time, as it will download and set up all the tools in the container.
After the build finishes, you will be taken to the bash terminal of the Docker container.
Working with Flutter projects
First of all, run flutter doctor once to verify everything is working properly.
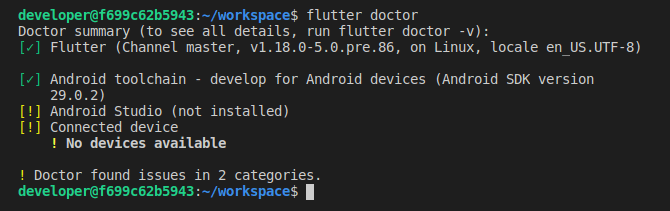
You will see the yellow warnings beside Android Studio and Connected device.
The warning beside Android Studio is because we have not installed the Flutter and Dart plugins for it. However, we will not be needing them, as we will be doing all editing of Flutter projects inside VS Code.
The warning beside Connected device is because we do not have any device connected.
IMPORTANT NOTE: The following steps are only applicable for Linux systems, where the users can access their Android device via USB port. If you are on macOS or Windows, then skip the USB connection part.
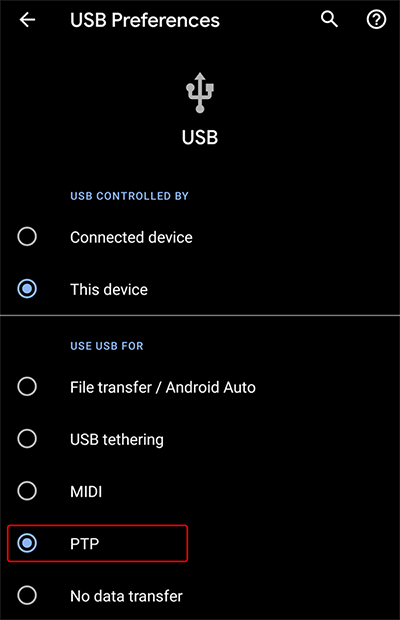
Now, connect your physical Android device to your system via USB port.
Set the connection mode to PTP or File transfer inside the mobile device.
Once again, run flutter doctor from the Docker container terminal.

You will see a green check mark beside the Connected device, which means the device is connected successfully.
If you do not see the green check mark, then it might be that you have
adbrunning on the host machine and it has connected to it. An ADB daemon running on the device cannot be connected to two ADB servers. So, on the host machine, run this command to disconnect from ADB:adb kill-serverNow you should be able to connect to the device using the ADB on Docker.
For creating Flutter projects, as usual, run the command:
flutter create demo
This will create a Flutter project called demo inside the workspace directory.
You can run your Flutter project by going to the directory.
cd demo
flutter run
This will run the demo counter Flutter app directly on the connected device from the Docker container.
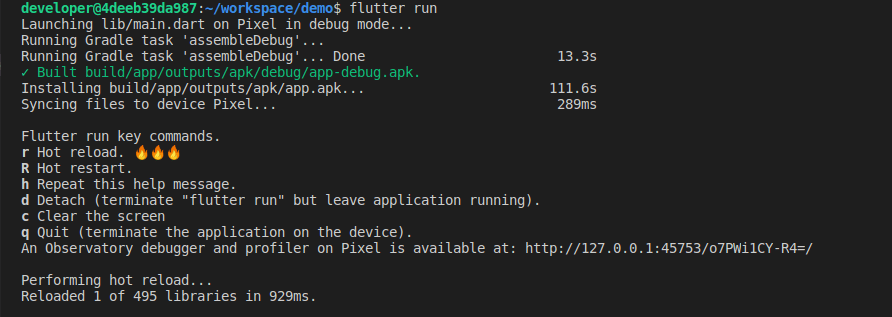
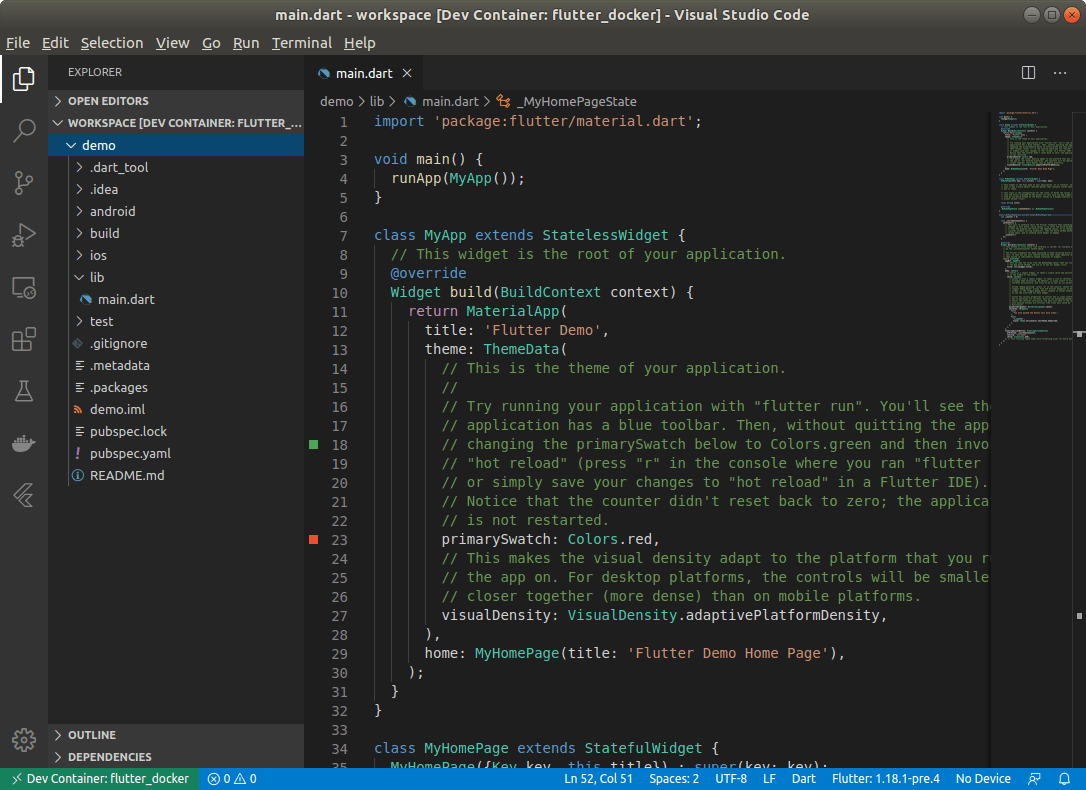
You can easily edit the Dart code of project as you normally do by going to the main.dart file.
For macOS and Windows users
On both macOS and Windows, we will not get access to the USB ports from the Docker container. So, the only way to connect to a physical device is by using TCP/IP to establish a wireless connection with the device.
You should have adb installed on your system. The adb comes with the SDK Platform-Tools, which can be downloaded from here.
You can add its path to your environment variable for getting easy access to it.
Connect your Android device to the system (make sure debug mode is turned on).
Run the following command to see the list of connected devices:
adb devices
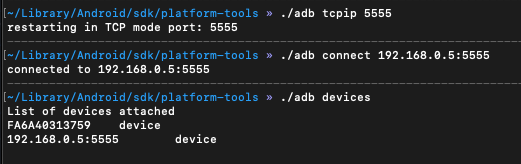
Run the following commands to connect to the device wirelessly:
adb tcpip 5555
adb connect 192.168.0.5:5555
adb devices
Replace the IP address with that of the WiFi the mobile device is connected to. You can get it by going to WiFi Settings -> Advanced on your mobile device.
NOTE: Both the mobile device and the system should be connected to the same network.
You will see that both the usb connected device and the wirelessly connected device are displayed.
Disconnect the device connected via USB cable, and again run the command
adb devicesto verify whether the device is still connected wirelessly.Now, run the Docker container inside VS Code.
From the container, run this command to check if any device is connected:
adb devices
You will get an empty list.
Then run the following command:
adb connect 192.168.0.5:5555
adb devices
Use the same IP address and port number you specified before while connecting to
adbfrom your system.Also, make sure that you allow USB debugging when the pop-up comes on the device.

In the previous step, you might get device unauthorized. To fix that, run:
adb kill-server
adb connect 192.168.0.5:5555
adb devices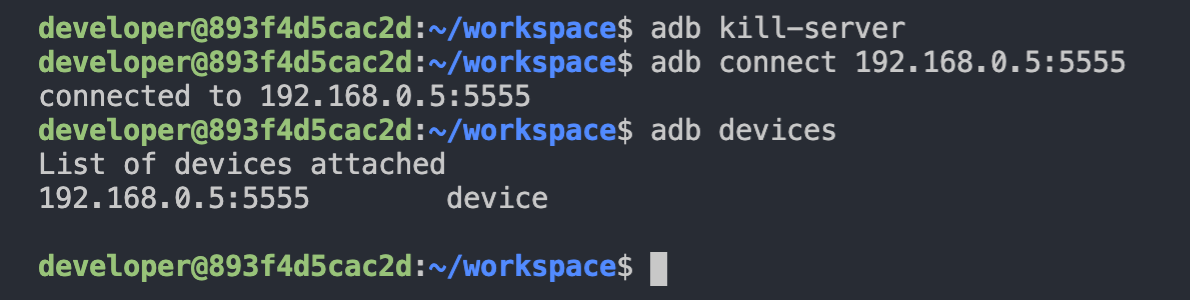
Now you will see that the unauthorized error is gone.
Run
flutter doctoronce to verify that the device is recognized by Flutter.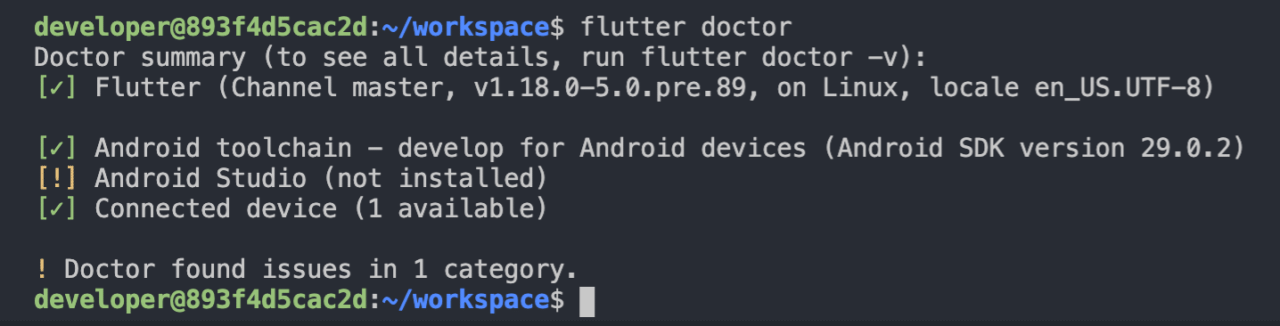
Now you can build and run Flutter apps on the device wirelessly.
Conclusion
Docker helps to simplify the Flutter app development workflow and keeps it well organized. This prevents a lot of headaches, as apps run seamlessly irrespective of the system used for running the Docker container. This article covers the basic workflow setup required for getting started with Flutter app development, but you can add a whole lot more tools whenever you need them in the future.
The GitHub repo of this project is available here.
Souvik Biswas is a passionate Mobile App Developer (Android and Flutter). He has worked on a number of mobile apps throughout his journey. Loves open source contribution on GitHub. He is currently pursuing a B.Tech degree in Computer Science and Engineering from Indian Institute of Information Technology Kalyani. He also writes Flutter articles on Medium - Flutter Community.


