


Written by Pooja Bhaumik
This article was first published on Medium
Since the last 6 months, I have been focused on a big migration project, where we have been migrating a production app from native to Flutter, feature by feature. Initially, I started experimenting with Android, and adding Flutter features to an existing Android application.
In this article, I will go over steps on how we can easily setup an existing Android application to accept Flutter code, and how Codemagic also helps in creating shippable artefacts for such an arrangement.
PS. I started this experiment back in June-July last year, and definitely, “easy” was not an adjective to describe the process. It also made sense, because Add2App was in a very early stage then, and there were ongoing experiments happening. Often there would be breaking changes in each update for Add2App. Today, it is much easier in comparison.
Step 1: Add Flutter Module to your existing Android app
When you know, you are writing Flutter code for an existing native app, you have to make sure, you are creating a Flutter module instead of a full Flutter application.
The major difference between Flutter application and Flutter module, is that Flutter module has .android and .ios folders instead of android and ios folders. These are hidden folders that are regenerated every time you do flutter pub get
About adding the Flutter module to your project, check out the documentation on the official site here.
If you are using Android Studio, simply right-click on the Android project, and do File -> New -> New Module and then choose Flutter Module.
You can try these steps to open a Flutter screen from an Android activity. And you can simply run your host app (Android app) and it’s ready to run Flutter code inside an existing Android app. Ways of integrating Flutter screens in Android app is out of scope of this article.
Step 2: Hot reload from an Android app
Currently, you are directly depending on your project’s source-code, due to the setup added in settings.gradle (if you followed the tutorials from the Flutter site)
setBinding(new Binding([gradle: this]))
evaluate(new File(
  settingsDir,
  '../flutter_module/.android/include_flutter.groovy'
))
Note: If the compiler complains of not finding include_flutter.groovy, make sure to regenerate the .android folder in your flutter_modul project by doing flutter clean and flutter pub get again.
Now, there are two ways to develop on the Flutter codebase.
Easy way: If you don’t have too many back and forth between Android activities and Flutter screens, you can simply run the
flutter_moduleas your standalone app, and use the magic of hot reload the way you like. You might have to do some setups in your.android‘sAndroidManfiest.xmlandbuild.gradlefiles for some cases. For e.g, if you want to make Google Maps run in a Flutter module, you will have to temporarily add the Gmaps Keys inAndroidManifest.xmlto make it run in standalone Flutter module app. Basically mimic the settings of your Android host app in your.android folderas well.
Slightly more annoying way: You do have a lot of back and forth between Android activities and Flutter screens and you can’t mimic all the settings in your .android app, and it makes more sense to run both Android and Flutter together. But you also want hot reload.
To make it happen, you run the Android app just how you normally do, but before you open any Flutter screen, do the following:
cd ../flutter_module
or move to wherever your flutter_module is.
In your terminal, type
flutter attach -d <deviceId>
deviceId is the identifier attached to your physical device/simulator/emulator. Then, the terminal will read something like the below:
Waiting for a connection from Flutter on Android SDK built for x86 64...
Once you open a Flutter screen in the app, the next message will pop up in your terminal.
Syncing files to device Android SDK built for x86 64...
 5,693ms (!)
🔥  To hot reload changes while running, press "r". To hot restart (and rebuild state), press "R".
An Observatory debugger and profiler on Android SDK built for x86 64 is available at: http://127.0.0.1:56997/xxxxxx/
That’s all. Use r to hot reload and R to restart Flutter screens. But this is only effective, if you have changes in the Flutter code. If you have changes on the native side, you will have to rerun the app, and do the steps above to be able to hot reload on Flutter side.
Step 3: Create a shippable app
Once you are done with the development, we must create a snapshot of the Flutter code and release it with the host Android app. The approach I take is by creating an AAR of the Flutter code, and add it as a library to the Android app. There are two ways of creating the AAR —
Locally built AAR
In your directory of your flutter_module, type the following
flutter build aar -v
and a successful operation will create the AAR files for your plugins and codebase in your build/host/outputs/repo folder.
I simply copy this repo folder to my Android app’s app/ folder
If you are using Android Studio 3.6+, you can also update your Flutter plugin, and use the Build -> Flutter -> Build AAR option.

Build AAR with Codemagic
Instead of creating locally, you can also let CI build it for you. And Codemagic is perfect when it comes to CI for Flutter.
To make it work, create a configuration file codemagic.yaml.
workflows:
  default-workflow:
    name: AARBuilds
    environment:
      flutter: stable
      xcode: latest
      cocoapods: default
    scripts:
      - flutter packages pub get
      - flutter build aar -v
    artifacts:
      - build/host/outputs/repo
Once you push the file, go to Codemagic and find your repository and Start a New Build, select your preferred branch and select workflow from codemagic.yaml.
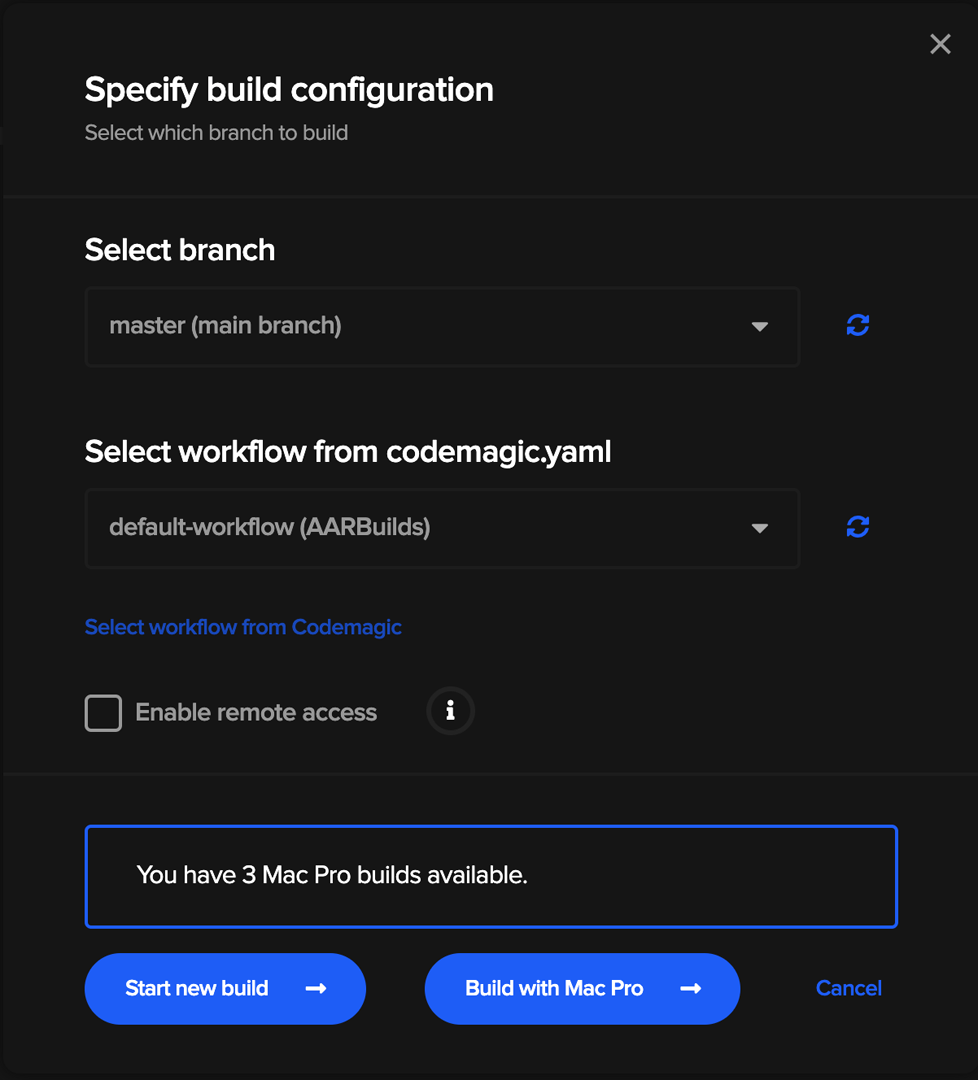
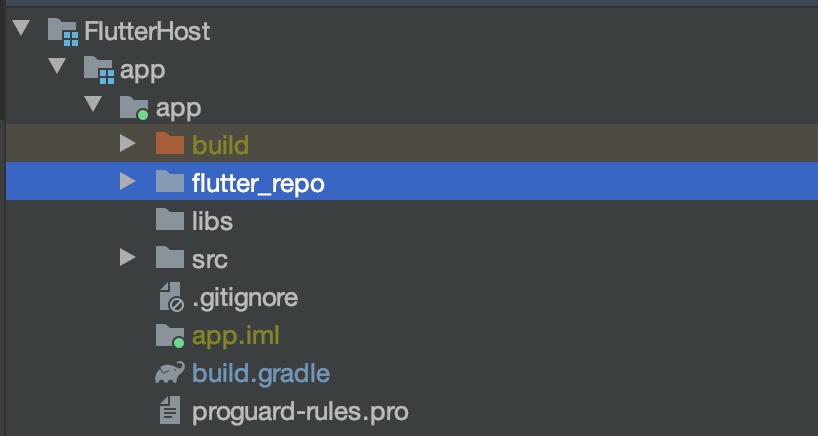
And by the end of the successful build, a similar zip file containing of all the AAR files will be created that you can add to the Android project. Once you have added the library to the Android project, do the following steps to access the new Flutter library.
- In your
build.gradle, add the following code
repositories {
    mavenLocal()
    maven { url "flutter_repo" } //name of the repo folder
    maven {
        url 'http://download.flutter.io'
    }
}
- Add the dependencies for the flutter plugins used in your Flutter codebase

dependencies {
...
    implementation('com.poojabhaumik.fluttermodule:flutter_release:1.0') { transitive = true } //AAR of your flutter code
    implementation('io.flutter.plugins.imagepicker:image_picker_release:1.0') { transitive = true } //Plugins used by the code
...
}
Now, run and deploy!
And that’s all the steps to integrate Flutter into an Android app, and the different ways of development and deployment that I practice in my projects! I have a sample Android host project here and sample Flutter module app here, that you can use to test the above steps.
Pooja Bhaumik is Senior Developer at Bounce. Google Developer Expert, Mobile Developer, Public Speaker, Technical Blogger, Mentor MentorCruise and Co-founder/Organizer of WomenDroid. Keep eye on her @pblead26


