Flutter apps need Continuous Integration (CI) to make sure that the latest code changes or integration don’t break other functionalities or cause regressions.
This concept of CI applies to every app development process, but Flutter needs CI badly because of a few reasons. Let’s check them in details.
Complex Deployment Process
If you check the Flutter documentation, in the deployment of the iOS and Android apps, it’s complex and overwhelming for any new Flutter developer coming from the non-native mobile development background. The deployment process has a detailed guide for creating the flavour of Flutter apps, preparing apps for iOS and Android deployment. Once you have prepared apps for deployment, you are still not done. You need to actually upload the app binaries to App Store Connect or Google PlayStore. Flutter documentation suggests using the fastlane tool to deploy the apps.
Engineers have to do too much configuration work to release apps to the App Store or Play Store. In an ideal world, Flutter developers should be focusing on building business features rather than infrastructure or tools. Unfortunately, the process of deploying Flutter apps is too complex at the moment. Flutter clearly needs a Continuous Integration (CI) server which can automatically perform all these tasks for them.
Testing on Multiple Platforms
On top of the usual CI benefits, like quick feedback and smooth integrations, there are other benefits CI can provide while building Flutter apps. Flutter developers target both Android and iOS platforms at the same time, however, setting up both development environments on your local machine might be overkill. Flutter developers can develop apps on the preferred platform and test on both platforms using CI. This process can save the system resources of an engineer’s local machine. Also, running tests locally takes time, especially when developers run Integration tests (UI) tests using the flutter_drive package.
There may be other reasons we need CI for flutter apps, but these are the basic reasons for mobile app development.
How Flutter Apps Built on Cloud-based CI
Flutter comes with a rich set of in-built tools for building and deploying apps locally. Flutter binary has all the required commands to build, tests and publish apps locally if we have a machine with code signing assets. The example commands are:
flutter run #(to run app )
flutter test #(to test app unit, integration, widget tests)
flutter build apk --release #(package android app)
flutter build ios --no-codesign #(package iOS app without codesign)
The Flutter commands are very simple for building and packaging apps from your local machine. However, when you want to do similar things using CI, you need to configure many more things to get the build running. It depends whether you use a self-hosted CI or cloud-based CI.
Most of the cloud-based CI services use a fresh virtual machine for a new build. It means the process starts from scratch and might involve the following stages:
- Boot the fresh virtual machine
- Install Flutter binary and Dart VM
- Check out the Source Code
- Build and Test the Source Code
- Import code signing assets in the VM, e.g. Certificates, Profiles
- Codesign and Publish apps
- Notify users about the build status
The process looks pretty straightforward, but in reality, it gets very complex when you start scripting everything from scratch. In order to script everything for build automation, engineers need to learn underlying command line developer tools and have knowledge of Unix or Linux and one of the scripting languages like bash, Ruby or Python. To install Flutter and check out the source code, we need git, homebrew, etc. In order to build/test apps, we need flutter CLI + Native Apple/Android developer tools like xcodebuild, gradle. Code Signing requires development or distribution certificates with codesign, security or OpenSSL tools. We also need to write custom scripts on top of these tools.
You will end up having lots of bash/Ruby/Python scripts included in the Flutter project to trigger the CI build. Ideally, all these painful tasks should be handled by the CI server, giving developers an opportunity to work on the business features. This is where dedicated CI for Flutter apps comes into the picture.
Why Flutter Needs Dedicated CI tool
As of now, we have seen that it would be an incredibly complex process to set up the CI/CD pipelines for Flutter apps from scratch. Flutter has unique requirements; dart, Flutter and various pub packages need to be installed on the CI system. On top of Flutter, we have both iOS and Android environments with all the code signing set up. Flutter testing is a bit different than the traditional testing tools; it introduced an advanced concept of the widget tests, integration tests, etc.
In order to fulfil all these requirements of Flutter and make the developers happy, there is a need for a dedicated CI/CD solution for Flutter apps — a CI system which can perform following things automatically:
- Scan the Flutter project and automatically define CI workflow
- Identify different flavours of Flutter tests and execute them
- Codesign and publish the artefacts of the apps
- Notify the team about the build status
Once we have all these CI features without zero configuration, engineers can then focus on building the business features, and non-technical team members like product owners or QA can get the builds with new features on devices to test.
Welcome Codemagic CI/CD for Flutter
Codemagic is an official CI/CD solution dedicated to Flutter apps. Codemagic is designed for Flutter so it has all the required features mentioned above. With Codemagic, you can build, test and publish apps without any configuration. Flutter developers find the Codemagic features magical, as Codemagic does everything needed by a CI server without any configuration. Flutter developers have painless experiences with Codemagic because:
- Codemagic analyses the Flutter project build and tests and publishes the archive with default workflow.
- Codemagic also supports custom workflows as per project requirements. You can define your own workflows or write custom scripts before or after each phase.
Codemagic is the dedicated and official tool for the CI/CD of Flutter apps. The getting started guide of Codemagic covers the basics of setting up your first project. You simply need to create an account and provide your App Store or Google Play credentials. Codemagic will do the rest of the CI/CD magic.
Migrating to Codemagic from other CI Services
There are many cloud-based CI services available in the market which may have CI/CD support for Flutter apps. However, the Codemagic experience is so painless and developers don’t have to do much configuration to get the process up and running. There are a few other solutions available for the Flutter apps, which are Cirrus CI, Circle CI, Travis CI, etc. In the mobile CI market, a big shakeup happened recently. Buddybuild got acquired by Apple and TravisCI got acquired by Idera. If you have a Flutter project and convinced yourself to migrate to Codemagic, it’s guaranteed that the migration process will be smooth. In our demo project Codemagic-Demo, we have a .travis.yml file that looks like this:
os:
- linux
sudo: false
addons:
apt:
sources:
- ubuntu-toolchain-r-test
packages:
- libstdc++6
- fonts-droid
before_script:
- git clone https://github.com/flutter/flutter.git -b beta
- ./flutter/bin/flutter doctor
script:
- ./flutter/bin/flutter test
cache:
directories:
- $HOME/.pub-cache
This CI script executes Flutter tests on Travis CI. If you want to write a script for an end-to-end delivery of Flutter apps, then you have written loads of supporting scripts. You can refer to this post to analyse how much effort is required to set up an end to-end CI pipeline with Travis CI for Flutter apps.
Let’s discuss what it takes to migrate our demo project to Codemagic. First of all, we need to sign up to the Codemagic service and give access to the source code e.g. GitHub, BitBucket. The first few lines of code in the .travis.yml aren’t even required in Codemagic, as Flutter and other packages are pre-installed in the Codemagic VM. The default workflow will cover all the steps needed for this migration, including testing, so you don’t have to configure anything. However, for the custom project requirements, there are some Codemagic features like:
- Branch Filters
- Multiple WorkFlows
- Ability to specify Flutter, Platform and build configuration
- Publish to App Store, Play Store or Third-party services
You can read more about this on the Codemagic getting started post here. If there is any configuration missing, Codemagic will suggest the missing configuration.

If you run the Codemagic build without any configuration, it will build with default workflow, which builds both iOS and Android apps, runs all the tests and publishes artefacts on slack or email. All this is done without any configuration. If you want to have better control, Codemagic will allow you to execute the custom script before and after each phase.

If you have some bash scripts written to perform specific things related to your project, the custom script execution will help you in the migration process.
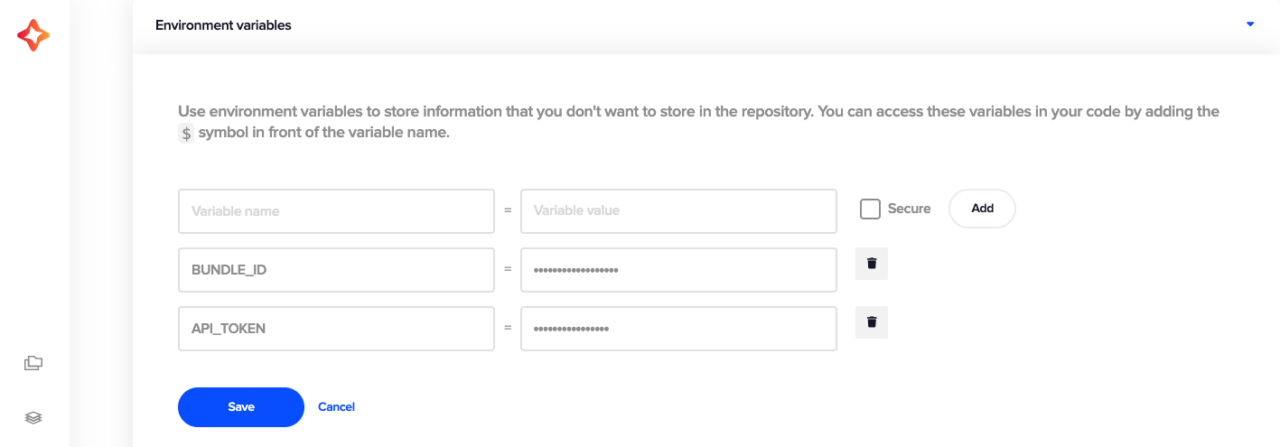
The environmental variables can also be migrated from other CI services in Codemagic.

At this stage, you might have your project configured and running smoothly on Codemagic. If you need more details on how Codemagic has changed the state of Flutter CI/CD, read this article explaining the migration process from Travis CI to Codemagic.
Conclusion
Flutter apps are easy to develop but complex to deploy on the App Store or Play Store. Therefore, Flutter needs a dedicated CI service like Codemagic. With the combination of Flutter and Codemagic, you can set up CI/CD without any pain and deploy apps confidently without worrying about the configuration or infrastructure setup.


