


This article is written by Masaki Sato.
What you will be able to do in this article
In this article, I will introduce the steps to integrate Shorebird with Codemagic CI/CD, using the Codemagic Workflow Editor. You will be able to incorporate a workflow that allows code push of Dart code changes without requiring installation from the store.
In the following example, changes to the text displayed in the user interface are reflected immediately:
What is Shorebird
Shorebird is a service that provides Code Push capabilities specifically for Flutter applications. This means developers can deploy updates directly to users’ devices without requiring a full app store release. By integrating Shorebird, Flutter developers can efficiently manage and deploy updates to their app’s Dart code across multiple platforms, including Android and iOS, ensuring compliance with App Store and Play Store guidelines.
Setting up Shorebird
Let’s start by getting signed up to Shorebird and using their CLI tool by doing the following:
Sign up for a free Shorebird account here.
Install the Shorebird CLI on your local computer.
Run the command below in your terminal:
curl --proto '=https' --tlsv1.2 https://raw.githubusercontent.com/shorebirdtech/install/main/install.sh -sSf | bashInstead of using the command above, you can install the CLI manually as well. For more details, head on over to the getting started page in the Shorebird documentation.
Login
Run
shorebird loginto log into the account created in step 1.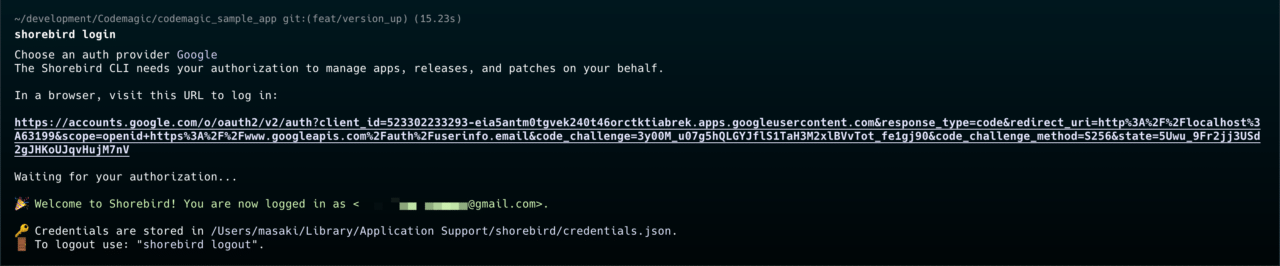
Init shorebird
Run
shorebird initto create the configuration fileshorebird.yamland update AndroidManifest.xml by adding the INTERNET permission:
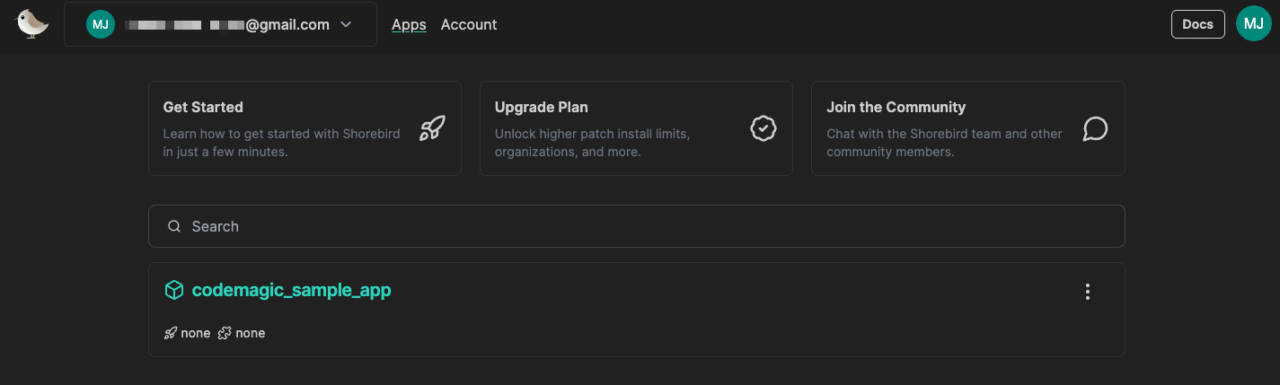
In the Shorebird console, your app is added:
Create a Shorebird auth token
While Shorebird’s code pushing can be accomplished using this CLI tool on its own, I’d like to introduce a way to promote automation by integrating it with Codemagic CI/CD. In order to use Shorebird on a CI server, you’ll need to generate a Shorebird authentication token and import it to your CI environment.
To generate the token, open Terminal on your local machine and run the following command:
shorebird login:ciThis will return an authentication token that we can store as an encrypted variable in Codemagic to use in our workflow.
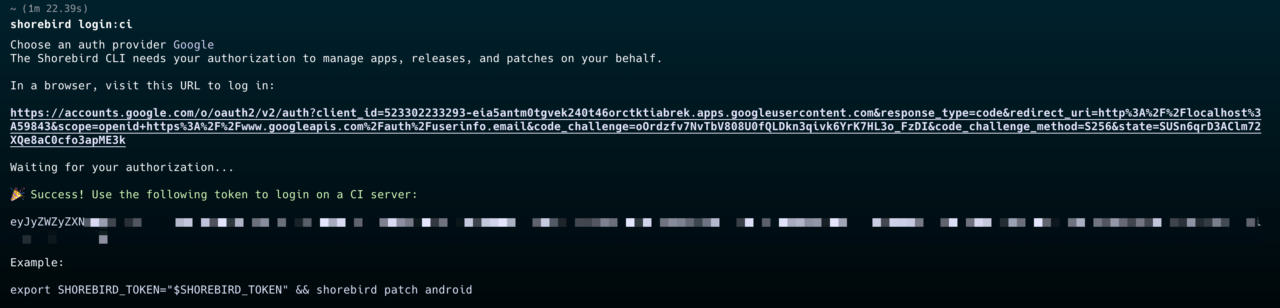
Keep it in a safe place as it will be needed for Codemagic settings later.
What is Codemagic
Before we get into the steps of using Codemagic, let me briefly introduce Codemagic.
Codemagic is a CI/CD tool specialized for Flutter development that automates testing, building, and deployment. It can be used for various projects such as iOS, Android, and React Native, but for Flutter projects, you can use a GUI tool called Workflow Editor. This allows intuitive development without creating a dedicated configuration file in the .yaml format.
You can start using it for free for personal use, with a sufficient free tier (500 minutes per month). For more details on pricing, please see here.
Requirements
- The Flutter version in your environment needs to be 3.24.0 or later.
- For more details, visit the Shorebird document.
- You need to enable the Distribution process in the Workflow Editor.
- For Android, check this article 👉 https://blog.codemagic.io/publishing-flutter-apps-to-playstore/
- For iOS, check this article 👉 https://blog.codemagic.io/publishing-flutter-apps-to-appstore/
Release to stores
In this article, I will introduce the steps to check the operation on your own device using internal testing on Google Play and App Store Connect. The sample repository can be found here, so please refer to it as needed.
Android
First of all, open the Workflow Editor to make sure that the platform is set to Android:

You can create a new workflow by duplicating an existing one:
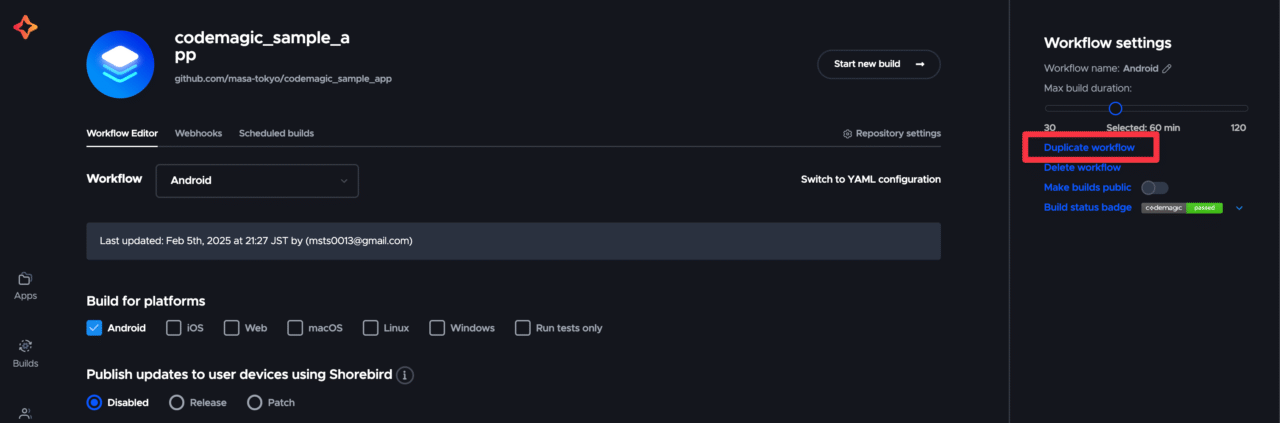
Select Release below:

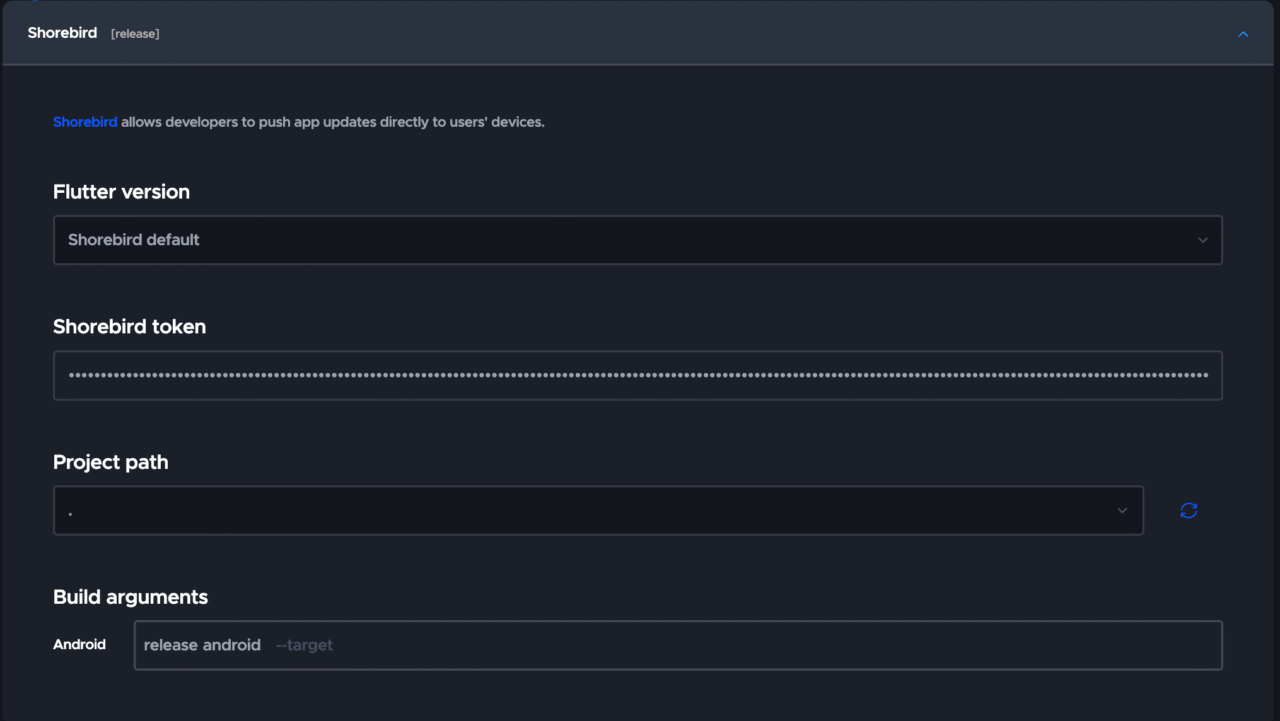
In the Shorebird section (displayed after the Tests section), set the Shorebird Auth token created earlier:
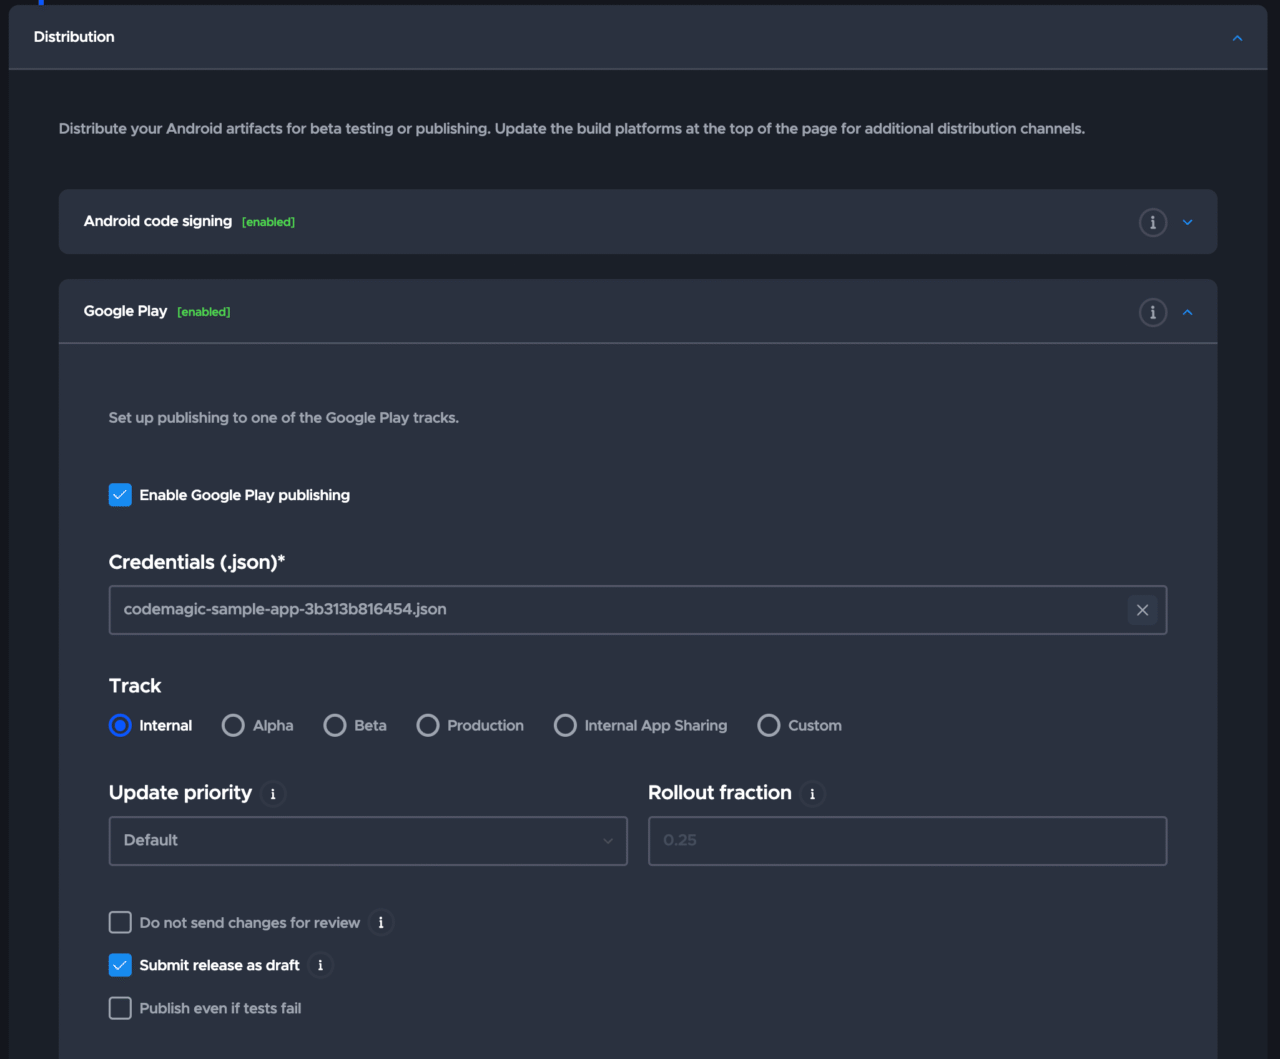
In the Distribution section, select Internal Testing as the track:
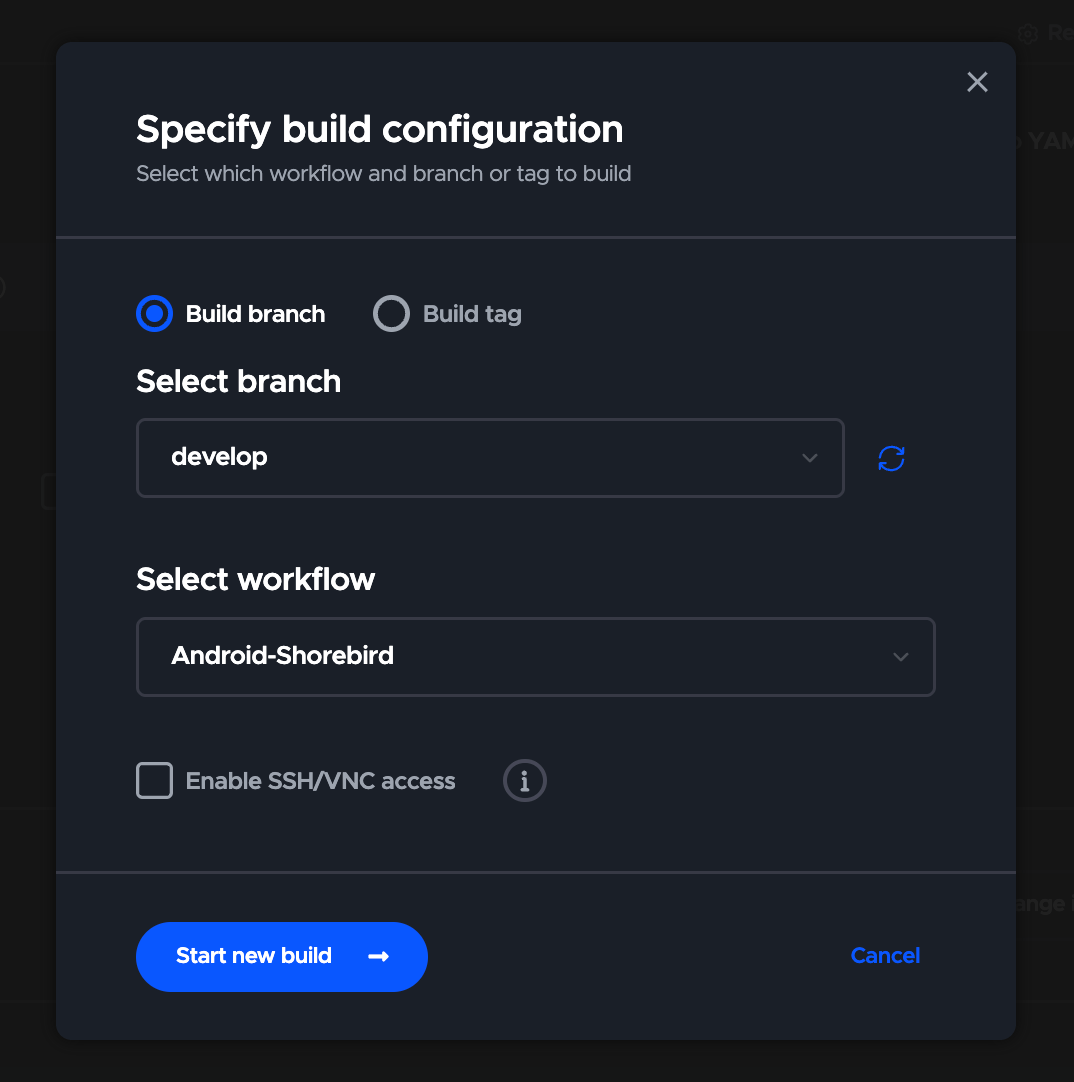
Select the appropriate branch and start the build.
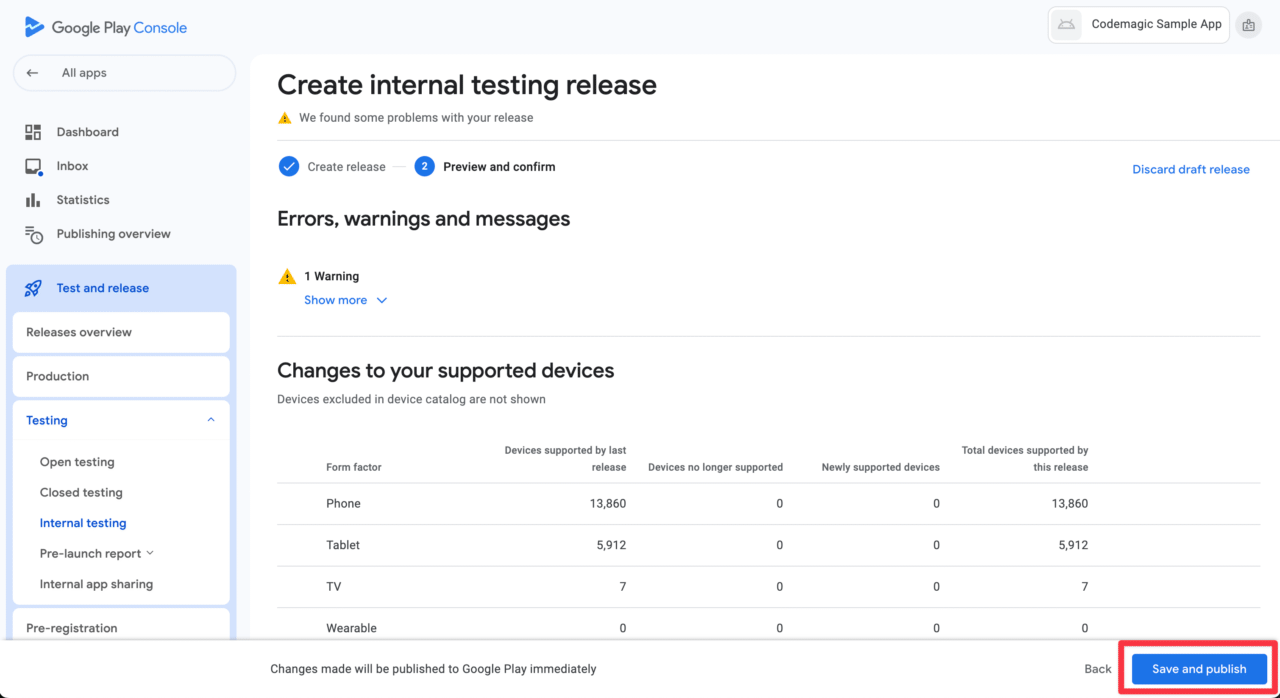
Once the build succeeds, the app will be uploaded to the Google Play console in draft status, so save and publish it as shown below.
iOS
Make sure that the platform is set to iOS in the Workflow Editor:

Select Release below:
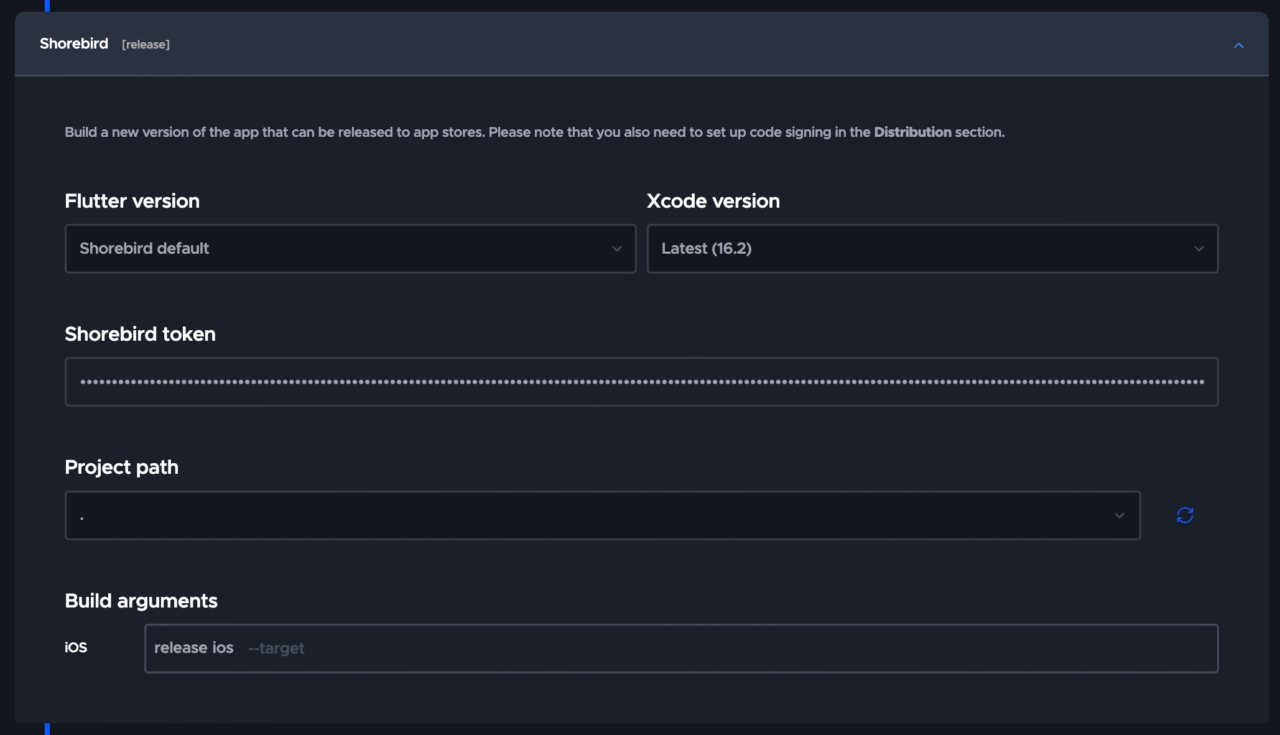
In the Shorebird section, set the Shorebird Auth token created earlier:
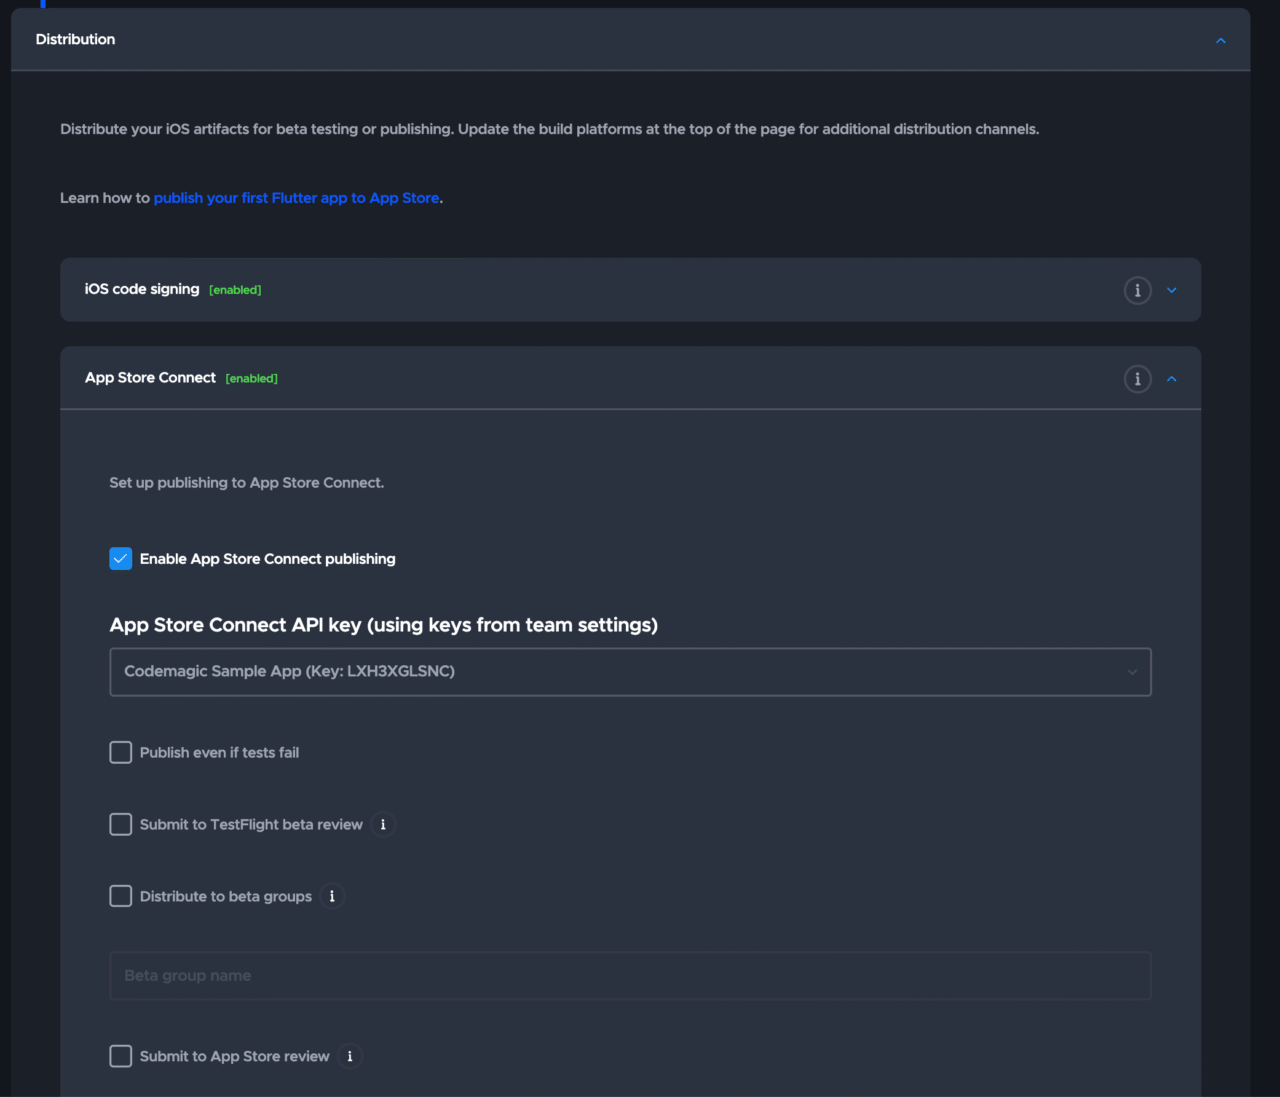
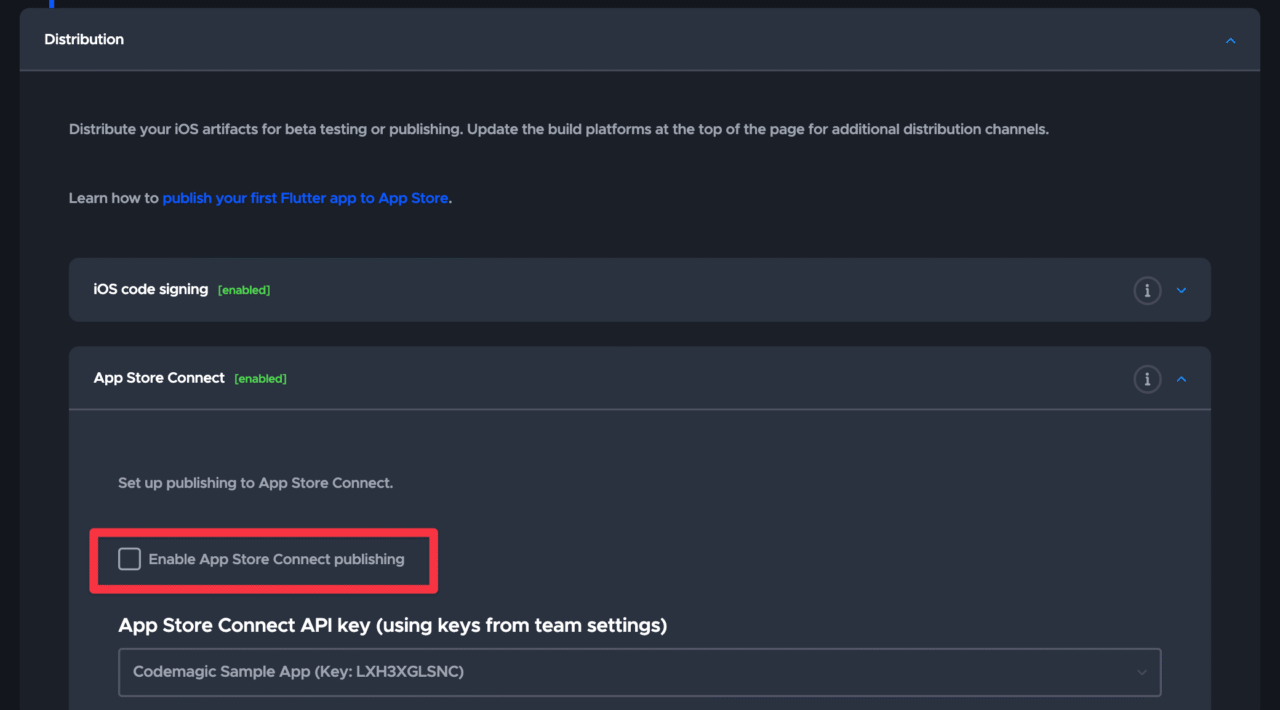
In the Distribution section, make sure publishing to App Store Connect is enabled:
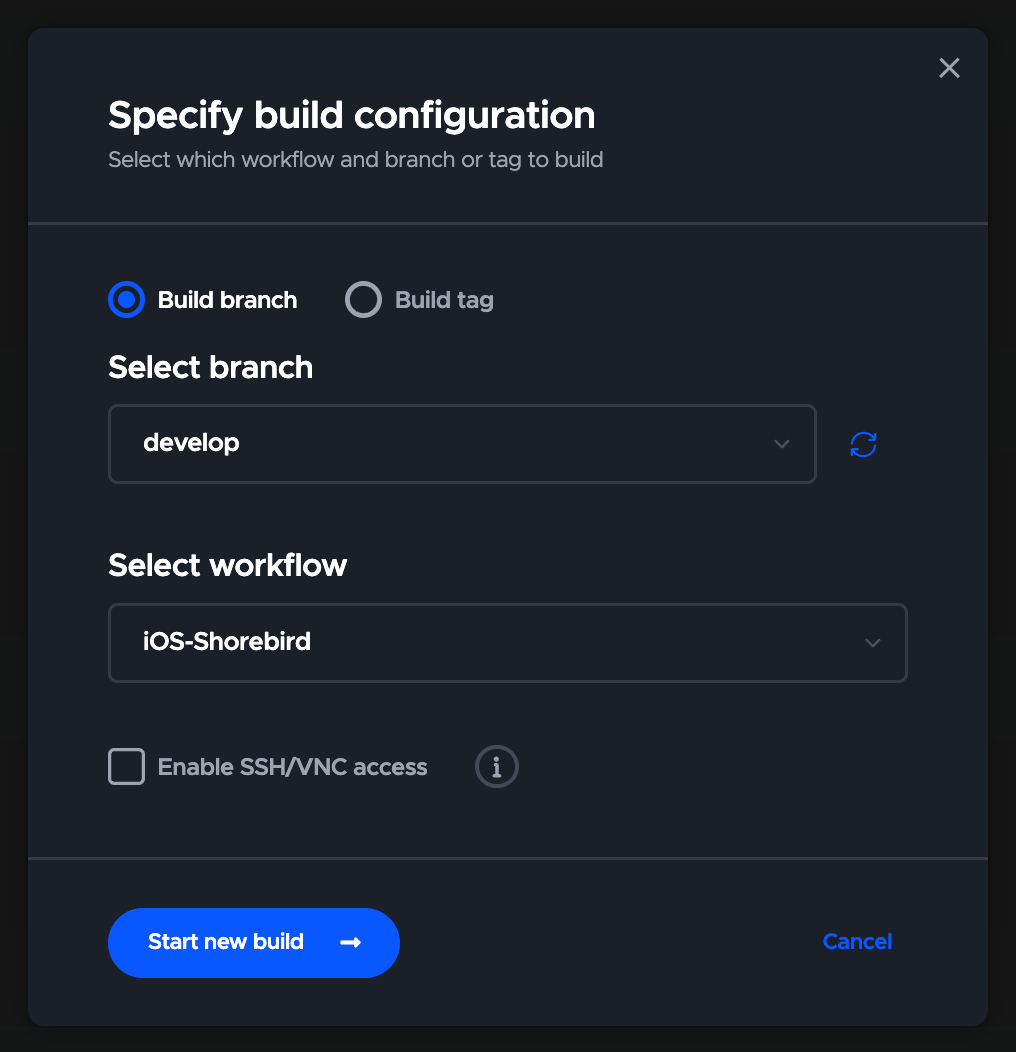
Select the appropriate branch and start the build.
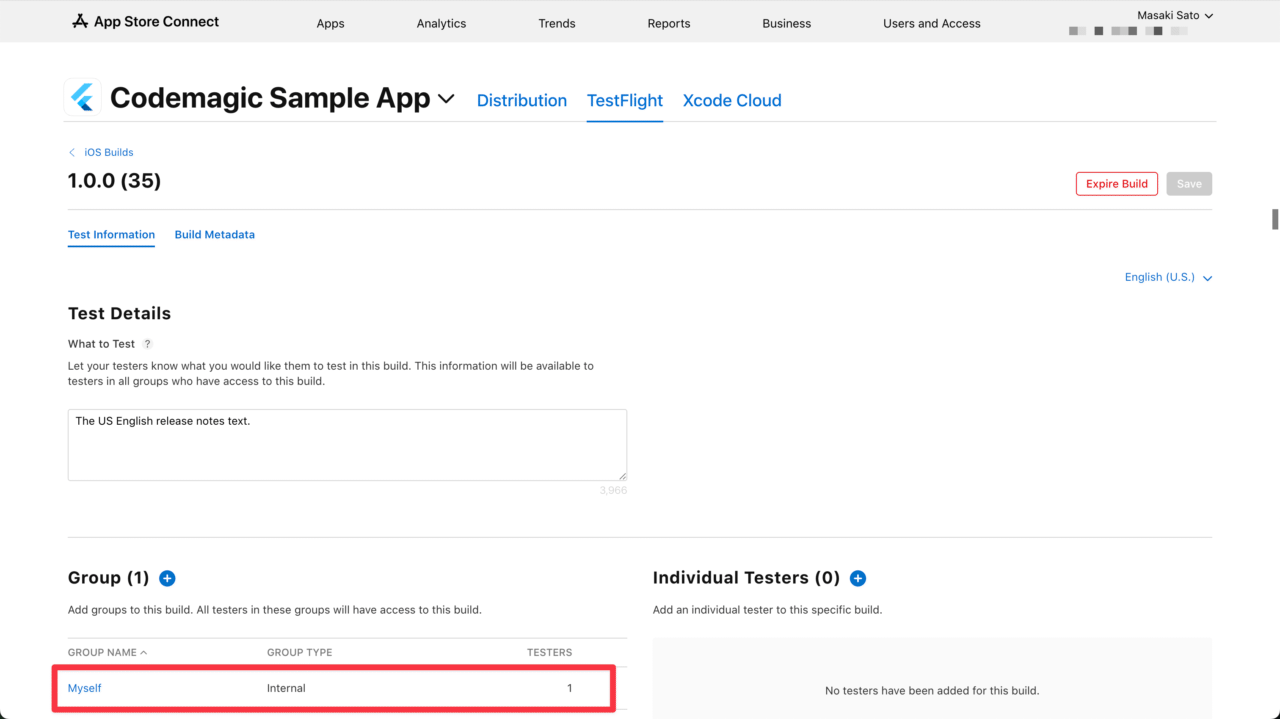
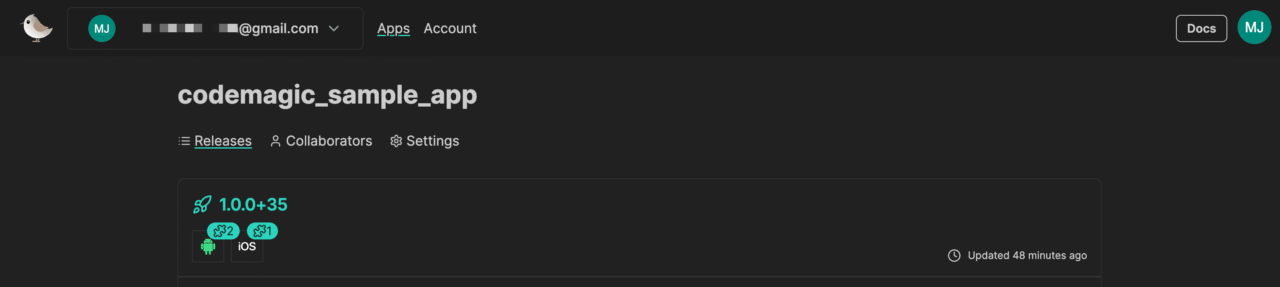
After a successful build, distribute it to yourself as an internal test on App Store Connect:
Install the app
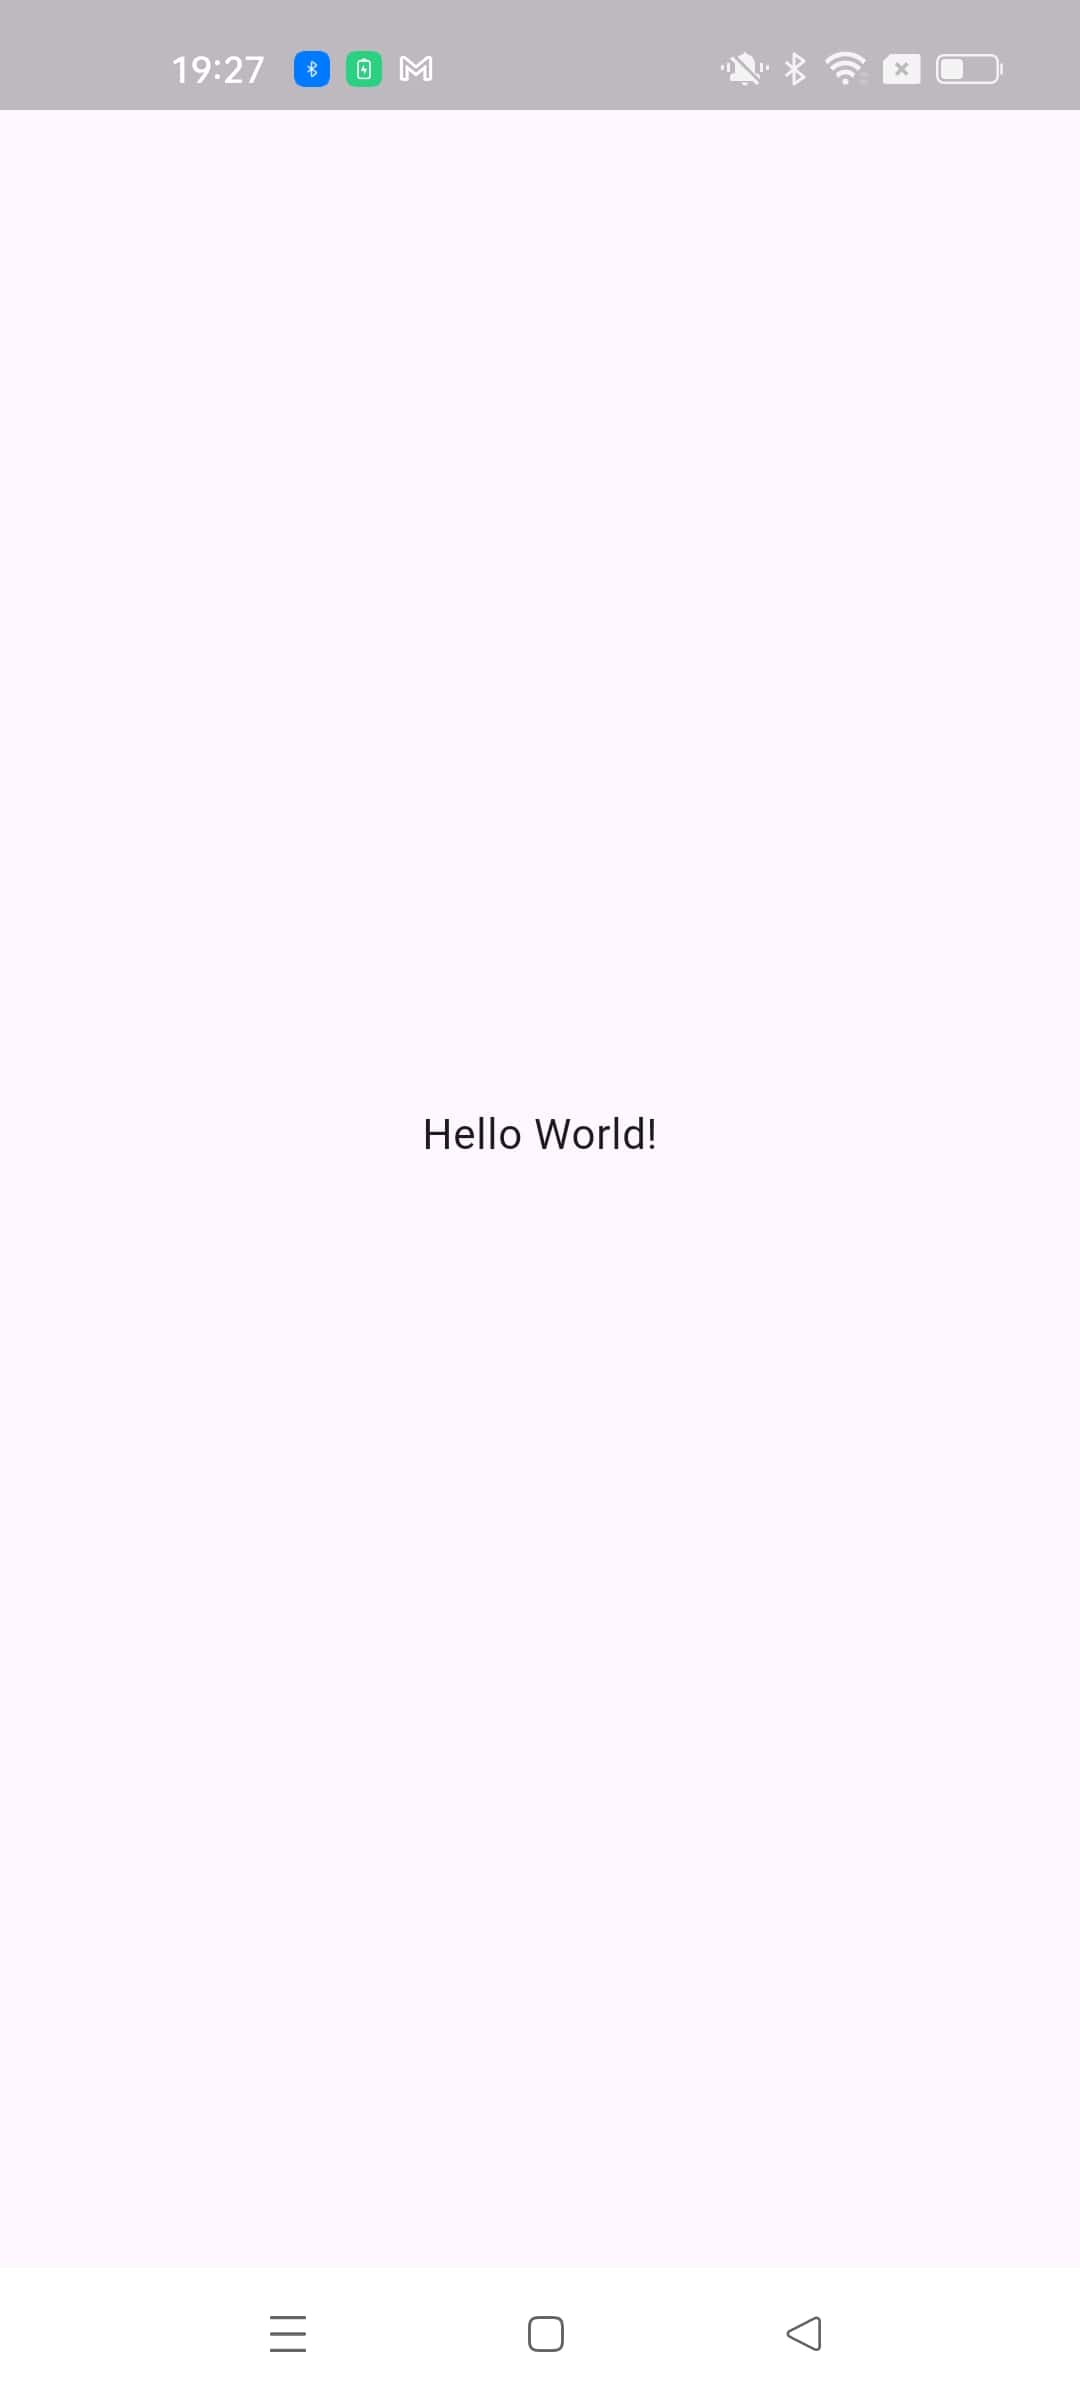
Install this app on your device. In this example, the text Hello World! is displayed at this point.
Update Dart code
To make the changes easily noticeable on the screen, update the text as follows. Note that only Dart code can be reflected through code push.
Before:
Text('Hello World!')
After:
Text('Hello World from Shorebird code push!')
Commit the change above and push it to the corresponding remote branch.
Apply Patch
Now, let’s apply the patch using the Workflow Editor.
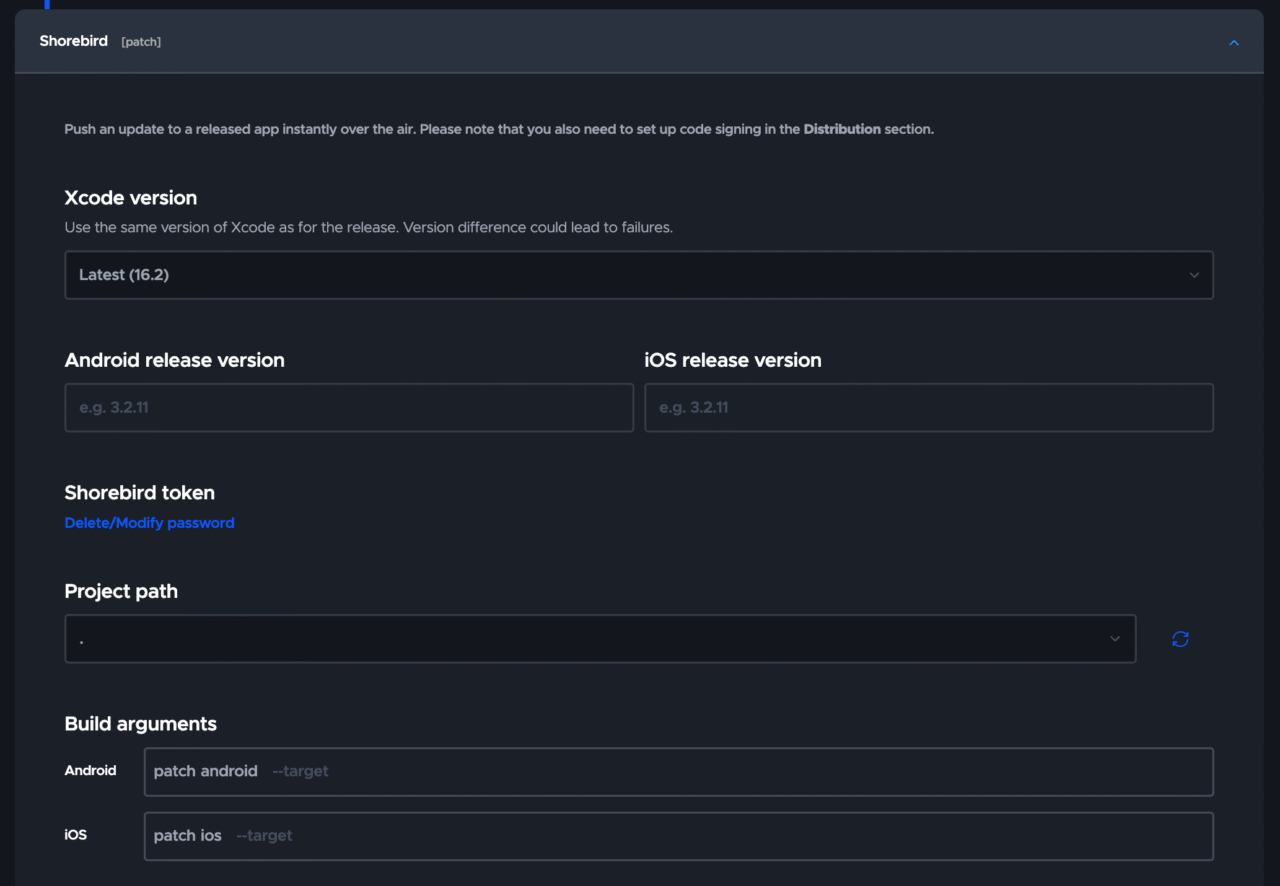
Select Patch as shown below:

In the Shorebird section, specify the release version to which you want the changes applied. If you always want to apply the changes to the latest version, you can leave it blank.
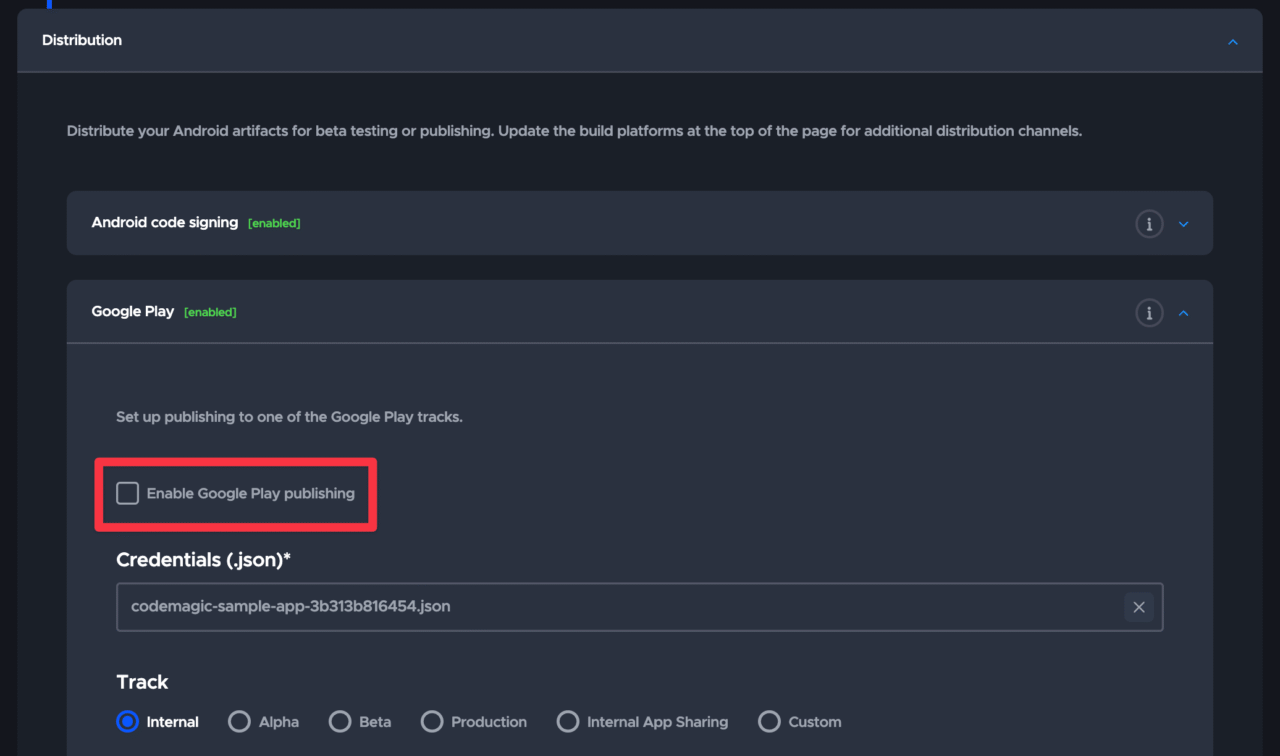
For Android, temporarily stop submission to the Google Play console:
For iOS, temporarily stop submission to the App Store Connect:
*Note: If you want to upload to the stores at the same time, make sure to increment the version specified in the pubspec.yaml. See details here.
Save the workflow changes and build again. Once the build is successful, the patch distribution status will be reflected in the Shorebird console.
Wait a few minutes and then restart the app twice.
*For more details on the behavior of this update, please refer to the official Shorebird documentation here.
As shown below, the user interface is updated without going through the store 🎉
Conclusion
Great job 🙌
I hope you have understood the convenience of updates through code push through this demo. And this code push becomes even more convenient when incorporated and automated within a CI/CD workflow as shown in this example.
If you have any questions or problems, please talk to the support community 💡
- GitHub Discussion: https://github.com/orgs/codemagic-ci-cd/discussions
- Discord community: https://discord.com/invite/pefznye93R
If you’ve already enabled billing, you can also get support from the in-app chat widget in the bottom right corner of the page.
Let’s continue to enjoy developing comfortably with Codemagic!


