


Written by Souvik Biswas
Every Android project needs to be digitally signed with a certificate before the generated APK (Android Application Package) or AAB (Android App Bundle) can be uploaded to the Google Play Store or other app stores.
The code signing process for any Android app is pretty straightforward if you are working individually on the project. You can perform the code signing directly in Android Studio, which will generate the signed bundle/APK file using a Java KeyStore.
In a team environment, it gets a bit challenging to share the key with other members and make sure that it remains secure. If your project repository is private, you might want to keep the Keystore file in the repo itself. Even if the repository is private, it’s a security risk to just upload any key onto the world wide web. If you really want to store your keys/certificates in the version control system, then the best method is to use git-secret.
But there’s still an issue.
You might not want every member of your team who has access to the project repository to also have access to the Keystore file.
In this article, we will take a deep dive into how you can store your Keystore file securely and easily sign and release your app to the Google Play Store using Codemagic CI/CD.
How Codemagic helps keep your project secure
Using Codemagic, you can easily encrypt sensitive values and files and store them securely in the environment variables of the configuration file (codemagic.yaml). Encrypting any file on Codemagic automatically encodes it to base64 format so that you have to decode the file during the build before using it.
Codemagic gives you access to encrypt variables both with a personal account and with a Team account. Codemagic generates the encrypted variables on a per-app basis.
For security reasons, encrypted environment variables only work on the account on which they were created. When moving an app from your personal account to a team, or from one team to another, you should re-encrypt the variables.
Members of a team account can have three types of user roles:
Owner: Can select the repositories to be shared with the team, invite new team members, change their roles or remove existing members (including other team owners), and manage team integrations and billing.
Member: Has access to the Codemagic UI and can view team settings, configure app settings and trigger new builds. Members cannot modify any team settings, billing details or repository settings other than the app name.
User: Can trigger builds from a webhook but does not have access to the team in the Codemagic UI.
These roles in Codemagic Teams make it easier to keep any sensitive credentials secure and make the project more manageable.
Follow along to learn in detail how to build and release your Android projects securely.
Generate Keystore
If you haven’t generated the Keystore file yet, you can do so using the following command:
keytool -genkey -v -keystore keystore_name.keystore -alias alias_name -keyalg RSA -keysize 2048 -validity 10000
Run the command above in the directory where you want to store this Keystore file. Make sure it is stored securely and is not checked into the version control system by mistake. This is a very important file, as it is required both for signing your app for the first time as well as for publishing any future updates to the app.
Modify Gradle
You have to make a few modifications to your app-level build.gradle file in order to set it up for code signing.
To use Codemagic for signing your builds, add the following signingConfigs:
signingConfigs {
    release {
        if (System.getenv()["CI"]) { // CI=true is exported by Codemagic
            storeFile file(System.getenv()["CM_KEYSTORE_PATH"])
            storePassword System.getenv()["CM_KEYSTORE_PASSWORD"]
            keyAlias System.getenv()["CM_KEY_ALIAS"]
            keyPassword System.getenv()["CM_KEY_PASSWORD"]
        } else {
            storeFile file("/path/to/local/release.keystore")
            storePassword "keystore_password"
            keyAlias "key_alias"
            keyPassword "key_password"
        }
    }
}
Inside buildTypes release, add the following:
buildTypes {
    release {
        //...
        signingConfig signingConfigs.release
    }
}
Encrypt credentials
Codemagic will need access to the Keystore file for signing your Android app. As it’s a sensitive file, you shouldn’t give direct access to it. A more secure method is to encrypt the file before storing it so that Codemagic can access it during the build.
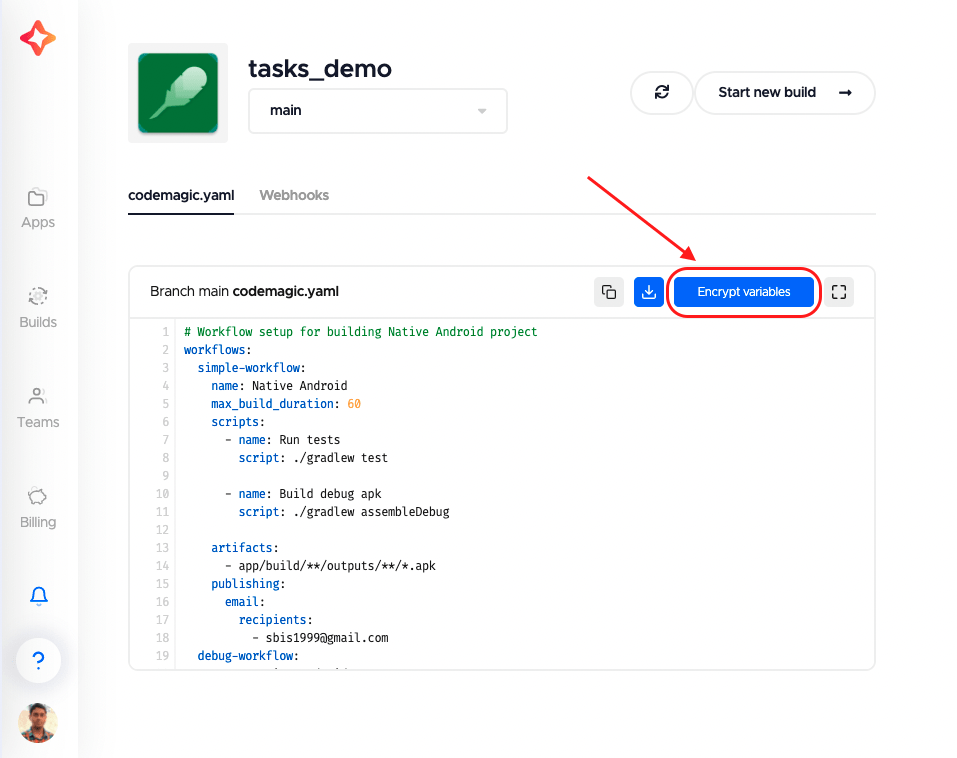
To encrypt the Keystore file, go to your Codemagic project Settings, and you will notice an Encrypt variables button. Click on it.
Now, you can drag and drop the file here.
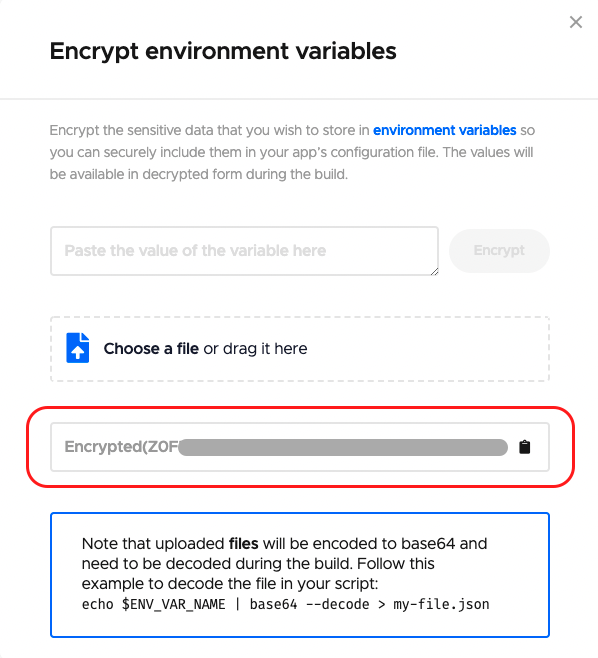
This will generate an encrypted version of the file. You will require this in the next step while defining your workflow inside the codemagic.yaml file.
Define the workflow
In the root project directory, create a file called codemagic.yaml. Inside it, we will define a workflow for generating a code-signed build of the Android app. Add the following to the file:
release-workflow:
  name: Native Android
  max_build_duration: 60
  environment:
    vars:
      CM_KEYSTORE_PATH: /tmp/keystore.keystore
      CM_KEYSTORE: # Add encrypted keystore file
      CM_KEYSTORE_PASSWORD: # Add encrypted keystore password
      CM_KEY_ALIAS: # Add alias name
      CM_KEY_PASSWORD: # Add encrypted alias password
  scripts: # Add the build configurations here
  artifacts:
    - app/build/**/outputs/**/*.apk
  publishing:
    email:
      recipients:
        - name@example.com
Add the encrypted values to their respective variables. Also, change the email under the
publishingsection.
For building the project, add the following to the scripts section:
scripts:
  - name: Build Android
    script: |
      echo $CM_KEYSTORE | base64 --decode > $CM_KEYSTORE_PATH
      ./gradlew assembleRelease
This will decode the base64-encoded Keystore file and generate the code-signed build of the Android app.
Set up for releasing
Codemagic helps you to easily release your Android app to Google Play Store. To automatically publish your app to the Play Store, you will need to set up a service account in Google Play Console and add the JSON key file to your codemagic.yaml file. Learn how to set up a service account here.
After creating the service account, add the following to your codemagic.yaml file under the publishing section:
publishing:
  google_play:
    credentials: Encrypted(...) # JSON key file for Google Play service account
    track: alpha                # Name of the track: internal, alpha, beta, production, internal app sharing, or your custom track name
There are various customizations that you can apply to the release. Learn more about them here.
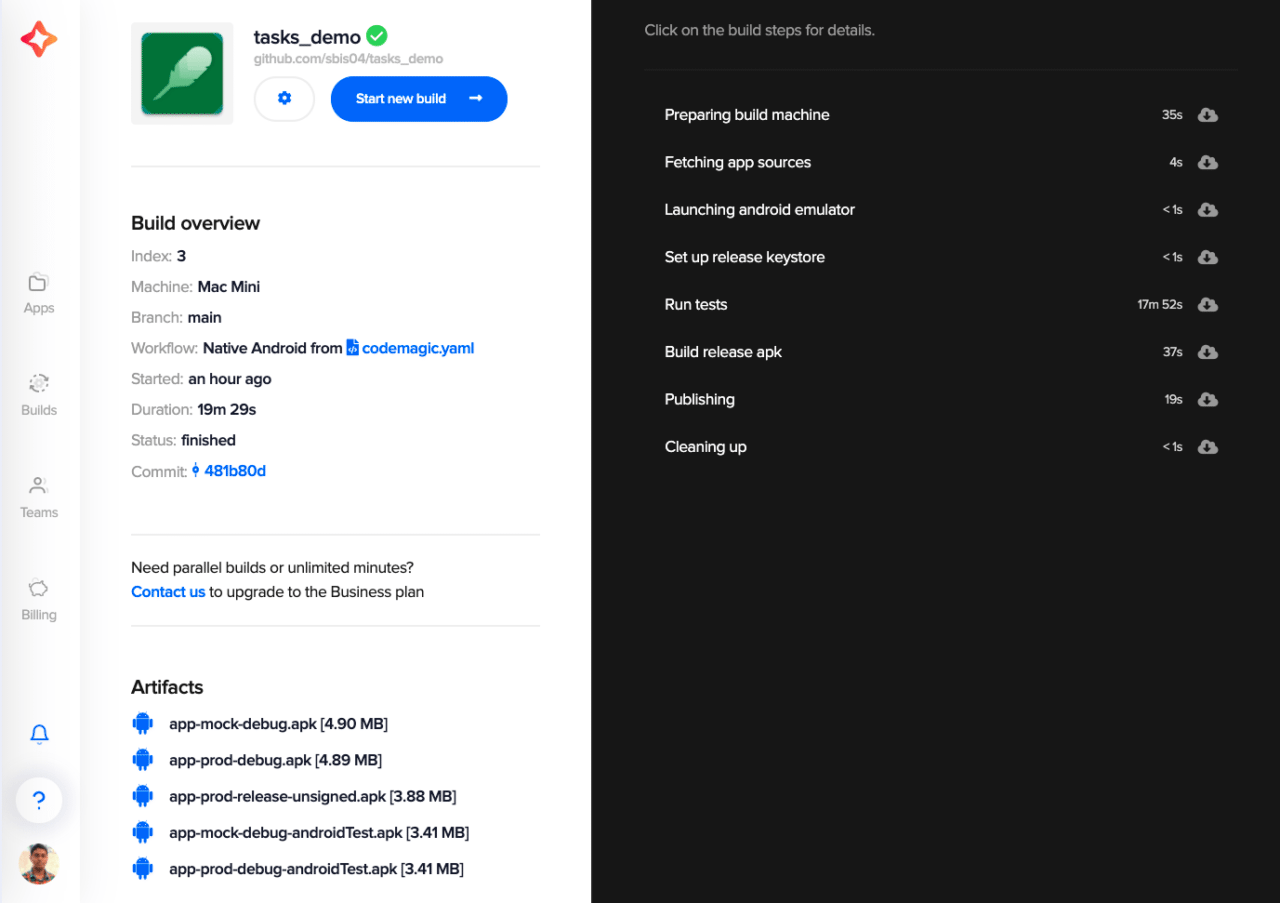
Building the project on Codemagic
Before starting a build on Codemagic, make sure that you have committed the codemagic.yaml file to the version control system. You can either manually start a build or set up build triggering.
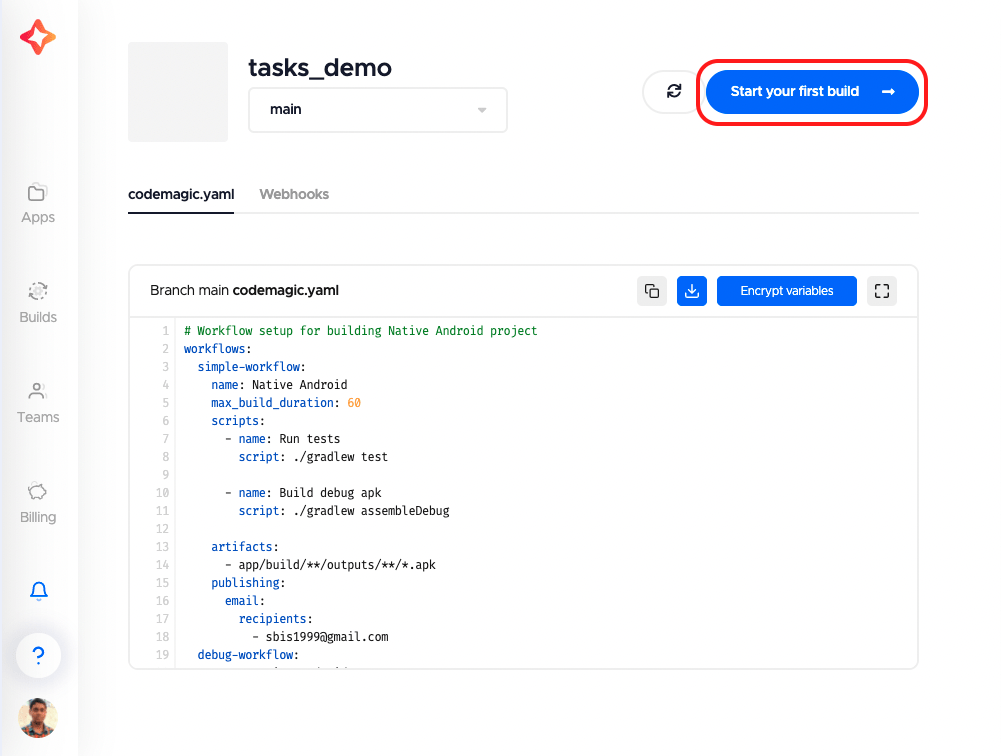
Start your build manually on Codemagic in two steps:
Go to your project settings, and click on Start your first build.
Select a workflow, and click on Start new build.
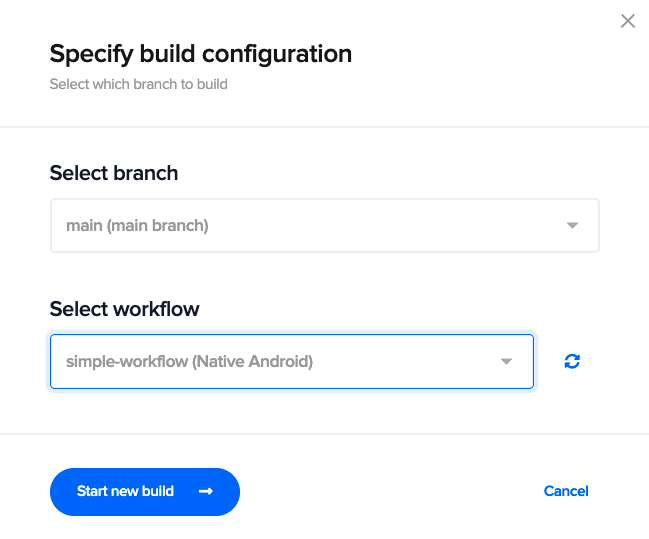
This will start a new build for your Android project.
Congratulations! 🎉 You have securely built your Android project and published the code-signed app to the Google Play Store.
Conclusion
This article should have given you some insight into how Codemagic helps you keep your sensitive credentials secure while collaborating on an Android project. The user roles of the Codemagic Team account make it even easier to manage your project and help to restrict access to sensitive keys/files to only the specified members.
References
More information about Android code signing
Souvik Biswas is a passionate Mobile App Developer (Android and Flutter). He has worked on a number of mobile apps throughout his journey. He loves open-source contribution on GitHub. He is currently pursuing a B.Tech degree in Computer Science and Engineering from Indian Institute of Information Technology Kalyani. He also writes Flutter articles on Medium - Flutter Community.


