


")
Firebase is used around the world today for a variety of purposes, like authentication, databases, and crash logs (amongst other things). But how do you get set up with it in a Flutter project for Android? Lewis Cianci investigates.
If you’re reading this article, you probably already know what Firebase is and how it can help. It offers a variety of useful tooling, from a centralised view for your logs to a realtime database.
Getting set up with Firebase for your Android Flutter project requires a bit of work on your part. This procedure isn’t rolled into an automatic process or anything for you, but thankfully, once it’s set up, it’s usually the kind of thing you only have to touch once.

Prerequisites
To get started with Firebase, you’ll need:
- Access to the Firebase console
- An app to instrument with Firebase
- Your computer set up to create Flutter apps on Android (or follow this guide)
Firebase console: Project setup
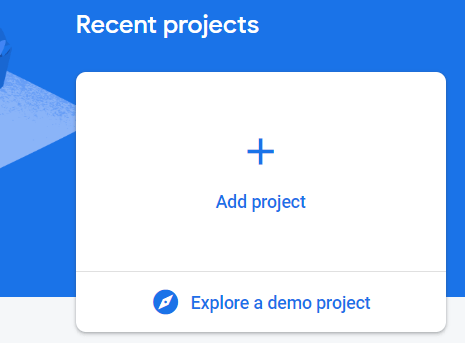
Navigate to the Firebase console and set up a new app.
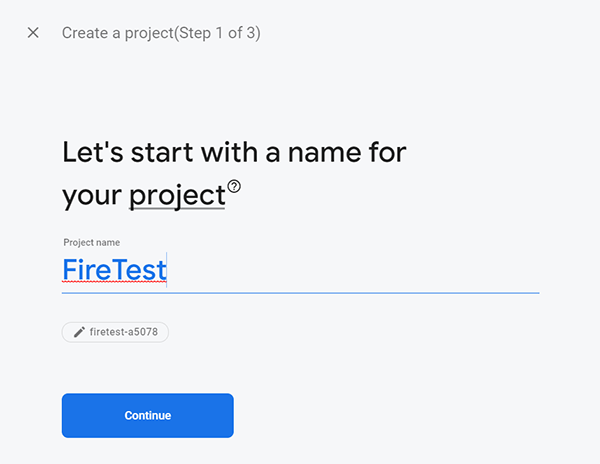
Specify a name for your project and click Continue.
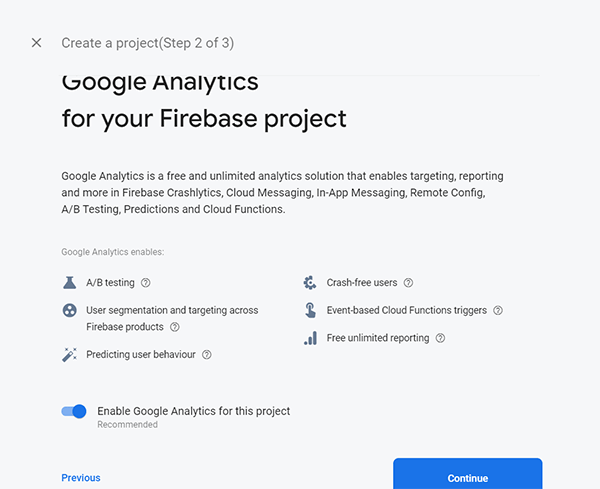
Next, you will be prompted as to whether you want to enable Google Analytics for this project or not. I usually do enable it because I’m interested in Crashlytics and reporting.
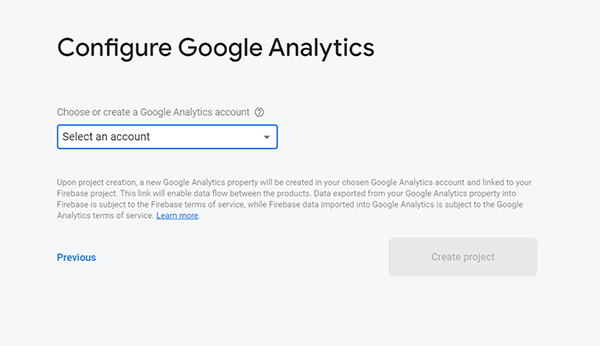
If you’ve chosen to enable Analytics, choose your Analytics account or create a new one when given the option. Then click on Create project.
Then your Firebase project will be set up. We can now click on Continue.
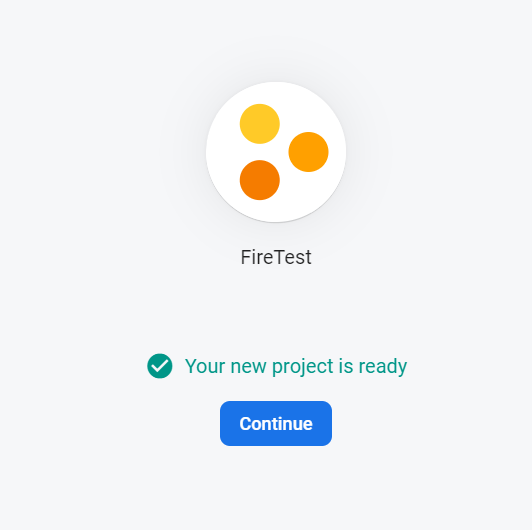
After clicking on Continue, we should have a screen that looks like this:
Configuring our local Flutter app to connect to Firebase
For the purposes of this article, we’re going to make a very simple app that uses the classic Counter app example to log our events to Firebase. We’ll call this app FireTest.
We can create the app by opening the command prompt (or terminal) and typing flutter new firetest.
By default, your app will get created in the com.example namespace, so my app will be com.example.firetest. If you want to call your app something else (and you should!) you can easily find-and-replace all instances of that ID with the app ID that you do want.
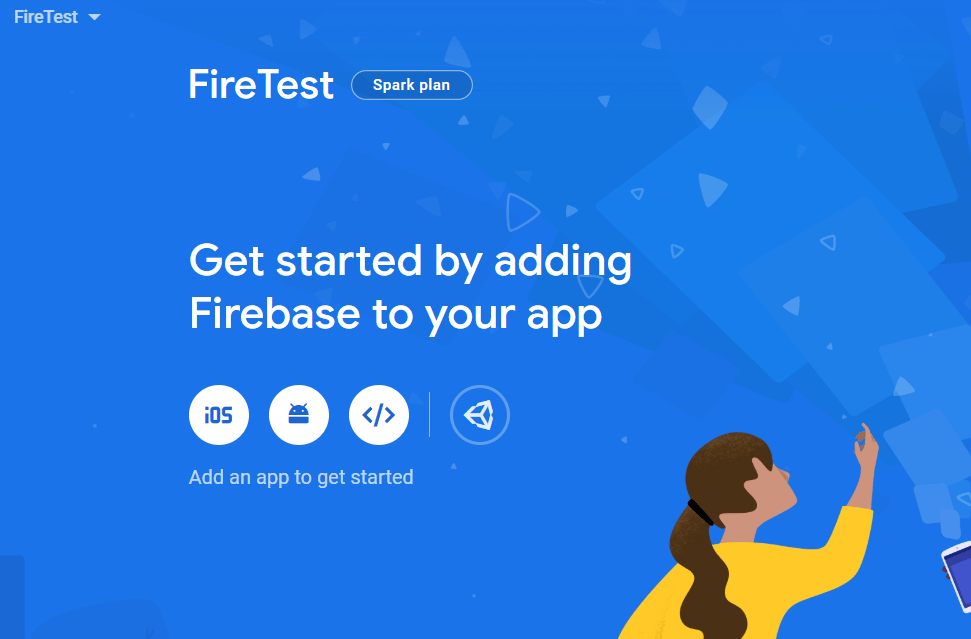
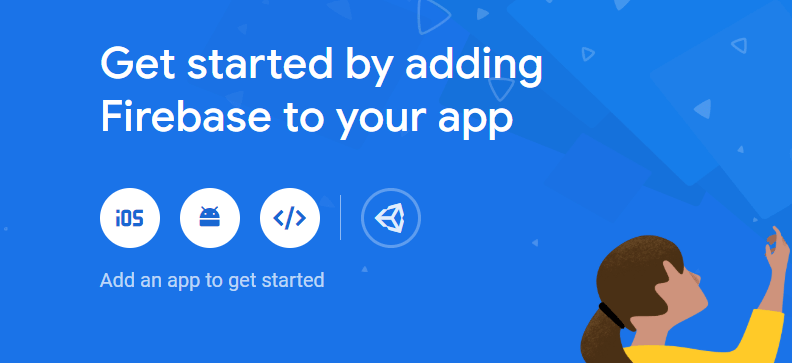
Adding Firebase to our Android Flutter app
We can now continue with the setup process that we saw above. Click on the ‘Android’ icon to get started with adding Firebase to our Flutter app.
In case you navigated away, you can access your Firebase dashboard here, and then just click on the app you had recently created.
Fill out your app details.
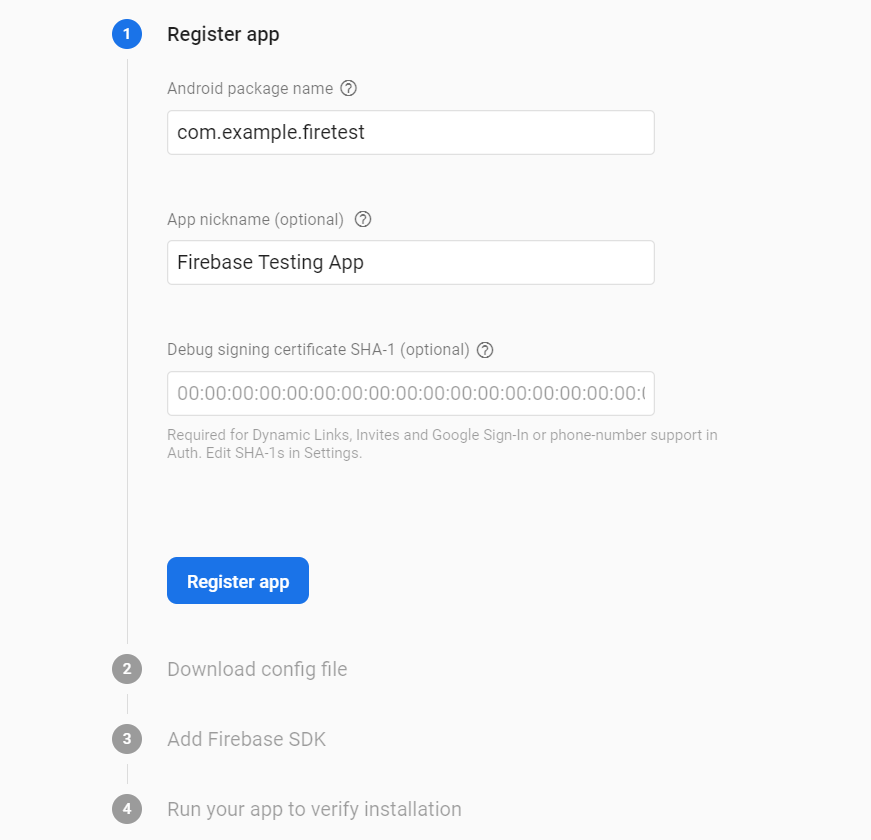
Then click Register app.
Next, you will get a google-services.json file.
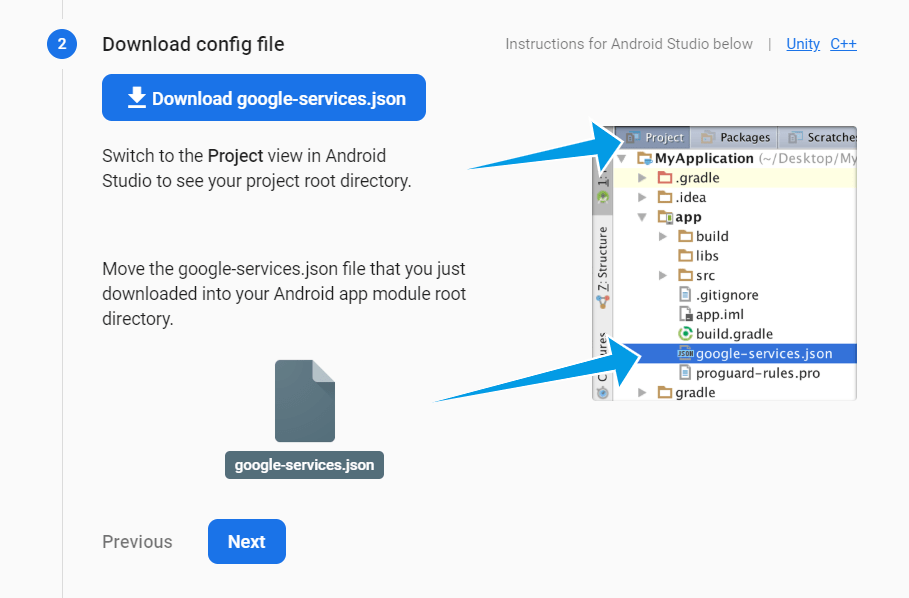
It’s handy that there are instructions here, but they are very easy to misinterpret when making a Flutter project. You might think that ‘MyApplication’ is the root of your Flutter app, but it’s not. It’s the root of your Android app within your Flutter application. So let’s set our app up with this configuration file.
Firebase: App setup
The root of your Flutter app looks like this:
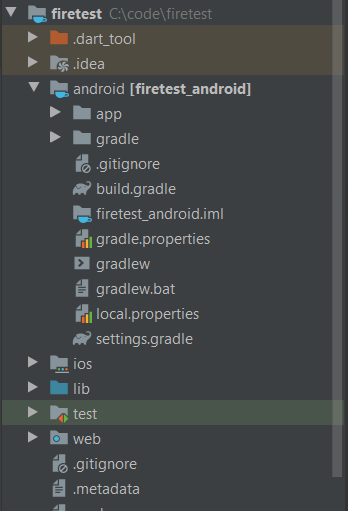
The root of your Flutter app is up at the top, but the root of the Android app is in the android folder (the folder with firetest_android). That’s the folder where you want to put the google-services.json file.
Adding Firebase dependencies to the Android app
Now we need to add the Google Services plugin to our Gradle files for the Android app. We can do that by opening the build.gradle file in the android folder and adding the following to the dependencies node:
classpath 'com.google.gms:google-services:4.3.3' // Google Services plugin
While you’re here, you should check that you have google() in both buildscript and allprojects, but in my experience, they are usually already there.

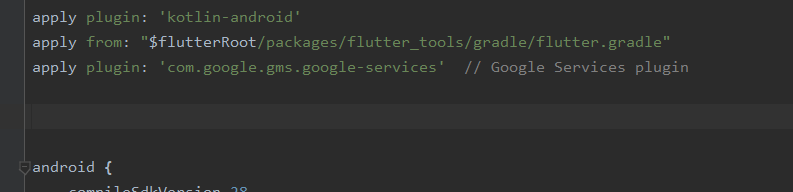
And we’re almost done! We just need to apply the Firebase plugin in one other build.gradle file at the android\app\build.gradle location.
We need to add…
apply plugin: 'com.google.gms.google-services' // Google Services plugin
just above the android { line in the build.gradle file.
Get FlutterFire plugins
First, we need to add the flutterfire_core dependency to our pubspec.yaml file. In my sample project, I just added this directly under the dependencies key.
dependencies:
  # Add the dependency for the Firebase Core Flutter SDK
  firebase_core: ^0.4.0+9
  flutter:
sdk: flutter
No matter what Firebase functionality you make use of, you must use install the firebase_core package.
Add the Crashlytics FlutterFire plugins and any other FlutterFire plugins that you intend to use
Firebase offers a wide array of functionalities, so it would be unwise for Google to bundle everything available into one package. Instead, the dependent features are split into different FlutterFire packages.
In my case, I’ll add the firebase_analytics and firebase_auth packages as an example. After these changes, my pubspec.yaml file looks like this:
dependencies:
  firebase_core: ^0.4.0+9
  firebase_analytics: ^5.0.2
  firebase_auth: ^0.14.0+5
  cloud_firestore: ^0.12.9+5
  flutter:
sdk: flutter
We’ve now finished our app-specific setup!
Checking that your app is correctly configured
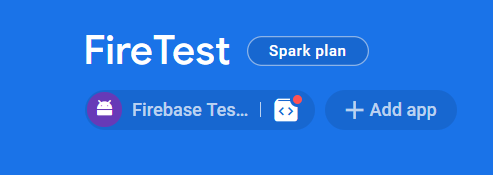
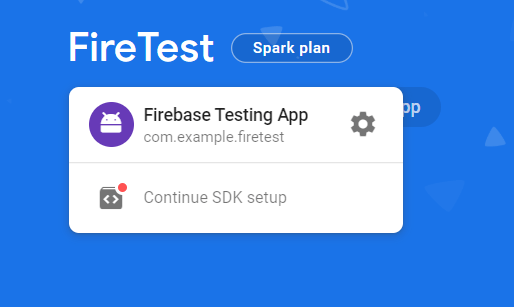
Now we can navigate back to the Firebase console and choose our app that we just made. After you’ve done this, up at the top there should be an icon that has a <> with an orange circle over it. Click on that, and then click on “Continue SDK Setup”.
You can then skip to Step 4 in the process, and the Firebase Console will be waiting to hear from our app.
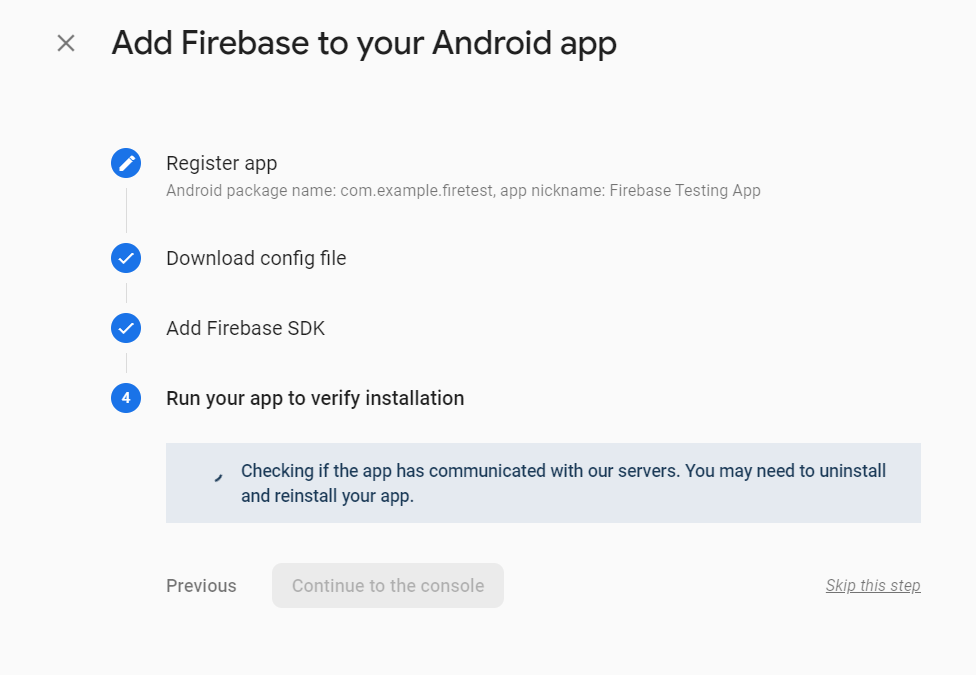
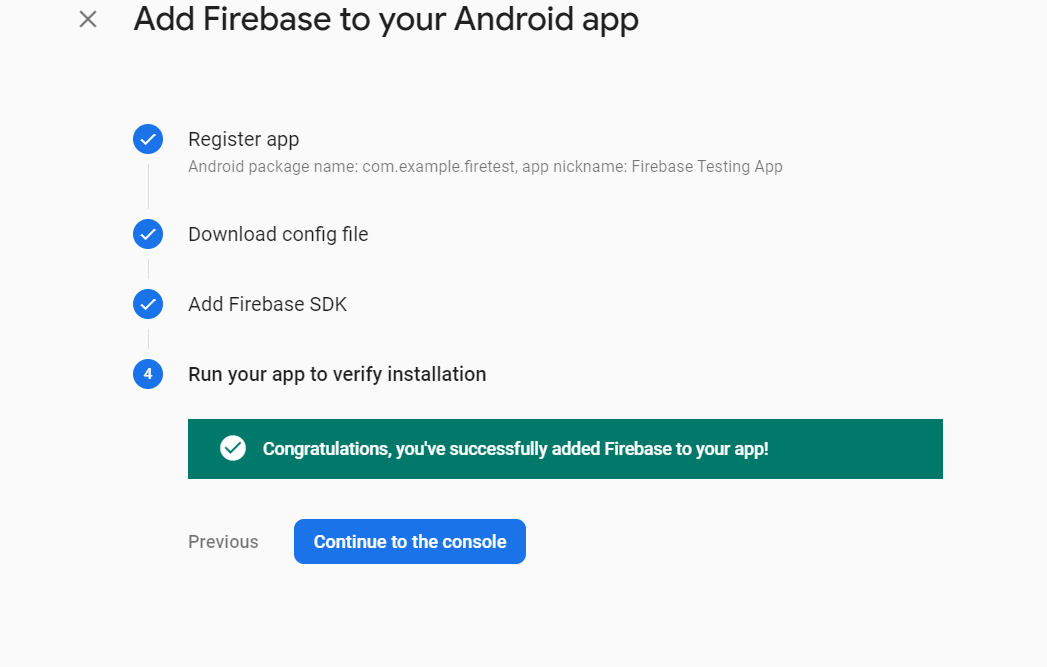
Now if you launch your app in the emulator, fairly soon afterwards, this screen should change to show that Firebase can see your app.
Troubleshooting
When I did the above, I immediately ran into an issue where adding Firebase to my brand-new Flutter Android app made the DEX bytecode file too big. It looked something like this:
trouble writing output: Too many field references: 131000; max is 65536. You may try using --multi-dex option.
There are two fixes to this. You can increase the minSdkVersion requirement of your app, but it’s not generally a great idea to arbitrarily increase the minimum version of Android your app can be installed on without a good reason. The other is to enable multidex for your app, and that’s actually pretty easy.
In your project/android/app/build.gradle file, add multiDexEnabled true under your defaultConfig. In my pristine project, it looks like this:
defaultConfig {
    // TODO: Specify your own unique Application ID (https://developer.android.com/studio/build/application-id.html).
    applicationId "com.example.firetest"
    minSdkVersion 16
    targetSdkVersion 28
    versionCode flutterVersionCode.toInteger()
    versionName flutterVersionName
    multiDexEnabled true // << this is what you need!
}
You also need to add implementation 'com.android.support:multidex:1.0.3' to the dependencies a little further down the file. So again, in my pristine Flutter app with only Firebase added to it, it looks like this:
dependencies {
    implementation "org.jetbrains.kotlin:kotlin-stdlib-jdk7:$kotlin_version"
    implementation 'com.android.support:multidex:1.0.3'
}
And you’re set! You should be able to launch your app now.
Using Firebase Crashlytics
Now that we are set up with Firebase, we can use Crashlytics as an example to show how easy it is to send crash data to Firebase.
Configuring Crashlytics in our application startup
We need to add a couple of lines to the application startup so that Crashlytics is configured to report all uncaught errors, and also so these are sent when the application is in debug mode. In our project, the void main() function in our main.dart is as simple as this:
void main() {
    Crashlytics.instance.enableInDevMode = true;
    FlutterError.onError = Crashlytics.instance.recordFlutterError;
    runApp(MyApp());
}
Next, we’ll set up our widget tree to make it so we can easily record a variety of crashes. You can see what our widget tree looks like here.
Then we can build the app, and we will have these buttons:
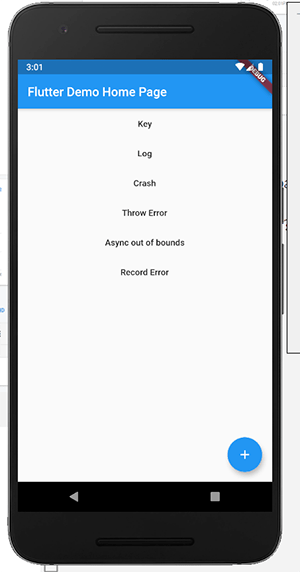
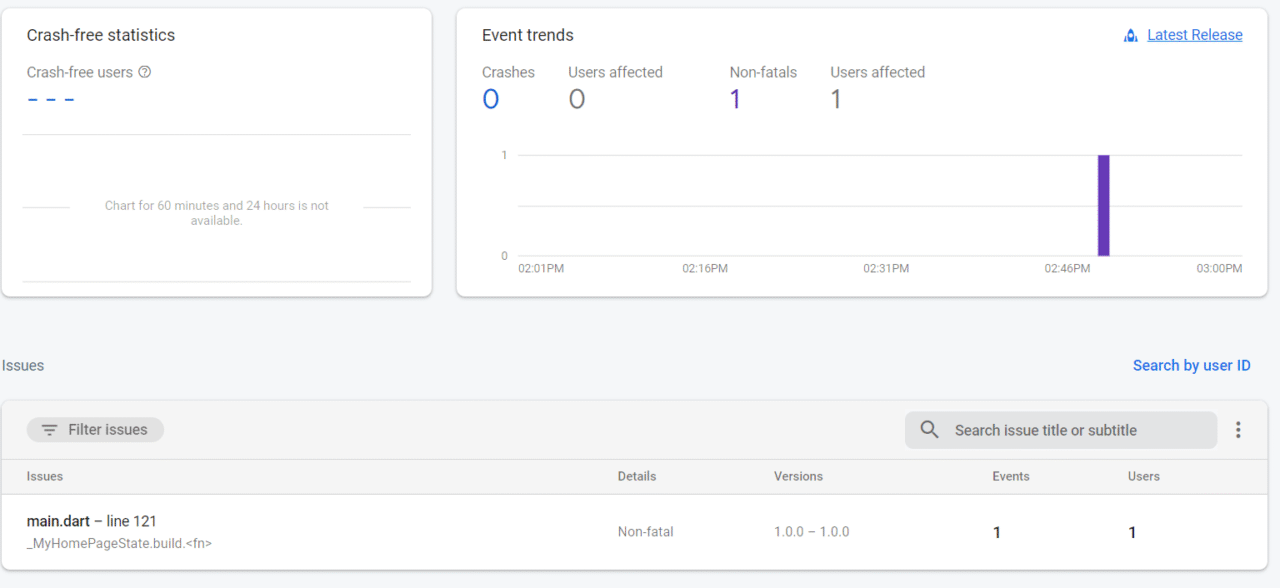
If we click the “Crash” button, then we will see an application crash in our Firebase console (this can take a few minutes to show up).
Now that you’re all set up with Firebase on your Flutter app, you can use many of the available Firebase packages within your Flutter.
Configuring our build to use Firebase securely on Codemagic
Now that you have your Crashlytics set up, you might be tempted to just check it all into source control and move on. This may not be a good idea, however—your google-services.json file is how your app identifies with Google that it is who it says it is, and it could potentially be misused if you check it into source control where other people can access it.
So you want to protect this file wherever possible, but you still want it to be used by your project at build time when your CI/CD provider runs the build.
Should we encrypt it and check it in?
I don’t think so. If you’re trying to keep it safe from unauthorised parties, then someone could still get your encrypted file and just brute force the password, so it’s still possible.
Instead, we’ll convert the file to Base64, and then when Codemagic runs the build, it will convert it from Base64 back into a usable file.
Converting our Google Services file to Base64
Using openssl, we can easily encode the file to Base64. That’s as simple as running the following command in the directory where our google-services.json file is:
openssl base64 -in google-services.json
You should then receive a text representation of your google-services.json file.
Next, in your Codemagic build pipeline, we set theANDROID_FIREBASE_CONFIG environment variable so we can access it during our build.
Be sure to tick the “Secure” option and then click Add.
Next, in your pre-build script section, add this script:
echo $ANDROID_FIREBASE_CONFIG | base64 --decode > $CM_BUILD_DIR/android/app/google-services.json
echo Decoded google-services.json! Here is the directory after.
ls $CM_BUILD_DIR/android/app
What is this script doing? We are echoing our secure environment string and piping it in the
base64app installed on Codemagic’s build servers. The result is that when the Base64 is decoded, it returns to its normal text content. This is then written to where it is expected for the app to build, in thegoogle-services.jsonfile.After this, we use
lsto list the contents of$CM_BUILD_DIR/android/app/to make sure that the file exists. We can use this to troubleshoot or debug if the file doesn’t show up as expected.
When we run our build, we’ll see this as the output in our pre-build script:

We can see that our google-services.json has been produced as expected. When our build completes, we’ll have our Firebase configured and ready to go.
Conclusion
Firebase provides a lot of ready-to-use functionality in a simple-to-use package. Their free Spark tier allows you to explore and build some really great things without any initial outlay. So try it out and enjoy, and if you build something cool, be sure to tell us what it is in our Slack channel! 🤓
Lewis Cianci is a software developer in Brisbane, Australia. His first computer had a tape drive. He’s been developing software for at least ten years and has used quite a few mobile development frameworks (like Ionic and Xamarin Forms) in his time. After converting to Flutter, though, he’s never going back. You can reach him at his blog, read about other non-fluttery things at Medium, or maybe catch a glimpse of him at your nearest and fanciest coffee shop along with his dear wife.


