


")
According to the latest Stack Overflow Developer Survey, Firebase is one of the most loved databases in the year 2020.
In case you are new to Firebase, it’s a cloud-based service provided by Google to enhance mobile and web app development. Firebase takes the load of managing the in-house mobile application infrastructure. It provides many useful services that make our lives easier. The most used services are:
- Authentication
- Cloud Firestore
- Storage
- Cloud Messaging
- Crashlytics
Most mobile app developers use Firebase services for a different purpose. Firebase also provides Test Lab, which offers test devices in the cloud for automated testing. Firebase supports iOS, Android, and web apps written using native technologies, such as Swift, Kotlin, or JavaScript. On top of that, it also supports cross-platform mobile app development frameworks, such as Flutter.
Firebase has official documentation on how to configure the Firebase SDK with Flutter apps. In this post, we will provide a step-by-step guide on how to set up the Firebase SDK for Flutter apps and publish those apps securely using the Codemagic CI/CD solution.
Prerequisites
In order to follow this guide, you need the following:
- Access to the Firebase console (usually linked with the Google account)
- A Flutter project (in which you want to add Firebase support)
- Completed iOS setup for the Flutter project
In this article, we will use the Fire Test app and set up Firebase plugins for the iOS version of the Flutter app. You can do a similar setup for the Android version of the Flutter app.

Firebase console: Project setup
To get started with Firebase, you need to have a Google account. Follow the steps below to create a new Firebase project:
-
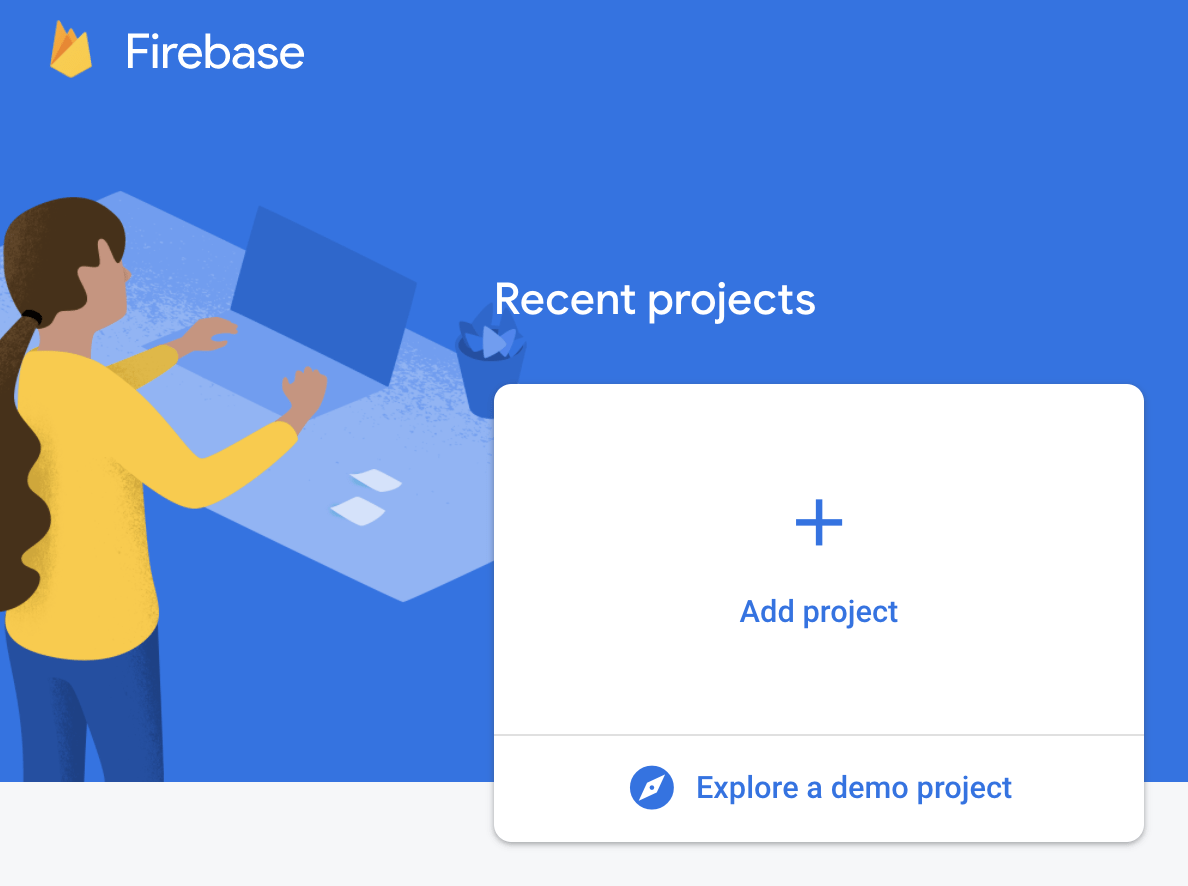
Go to the Firebase console, and log in with your Google account credentials.
-
Click on Add project.
-
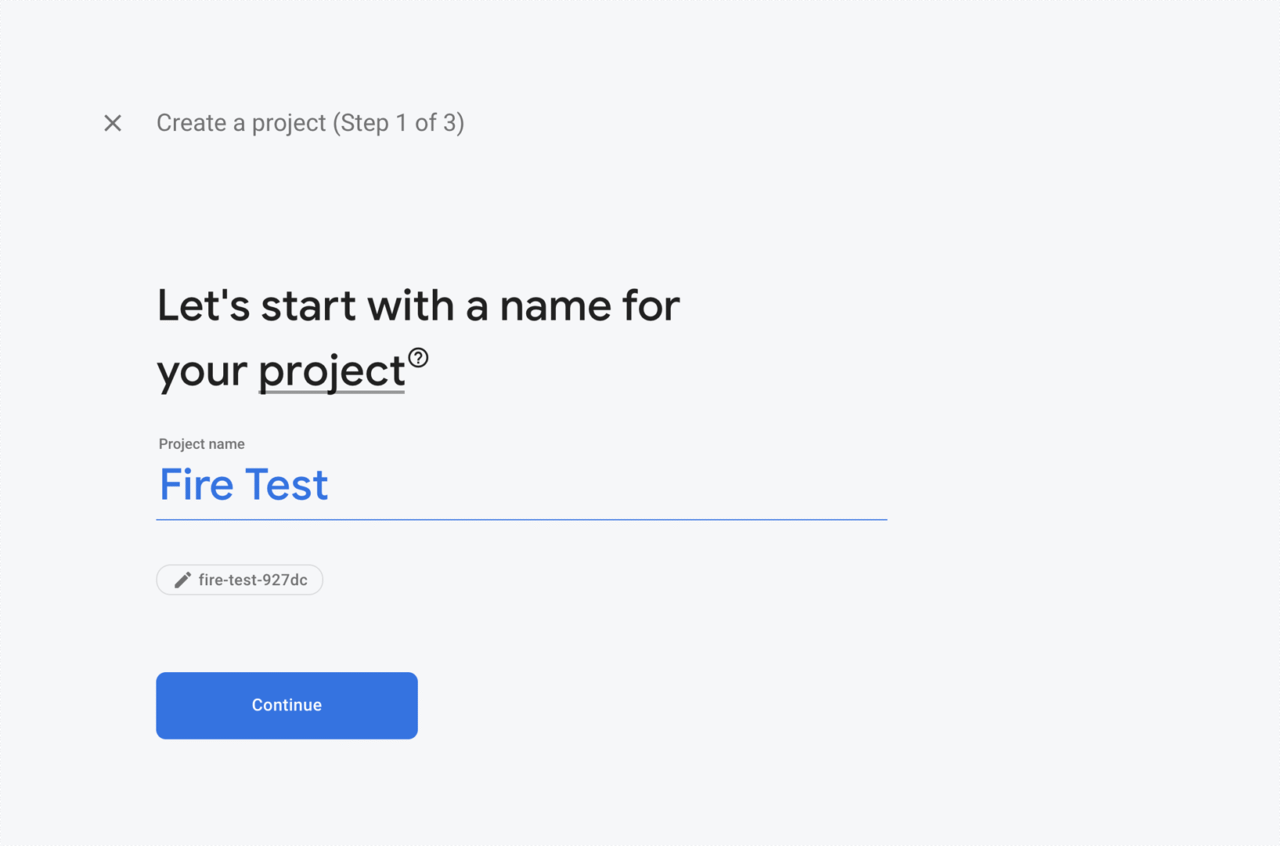
Enter a Project name and click on Continue.
-
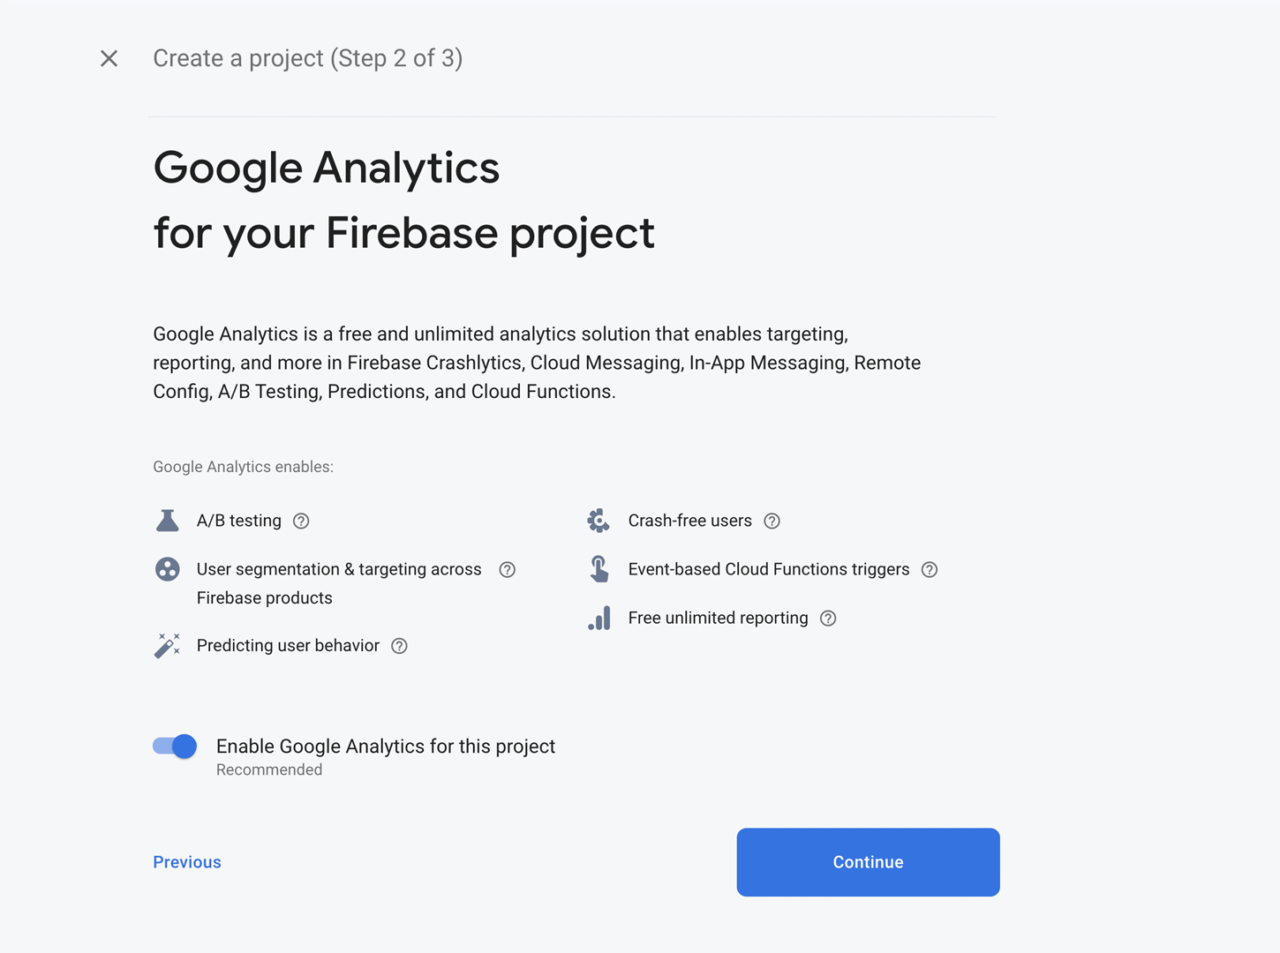
We will be taking a look at Crashlytics in this article. So, keep Enable Google Analytics marked. Click on Continue.
-
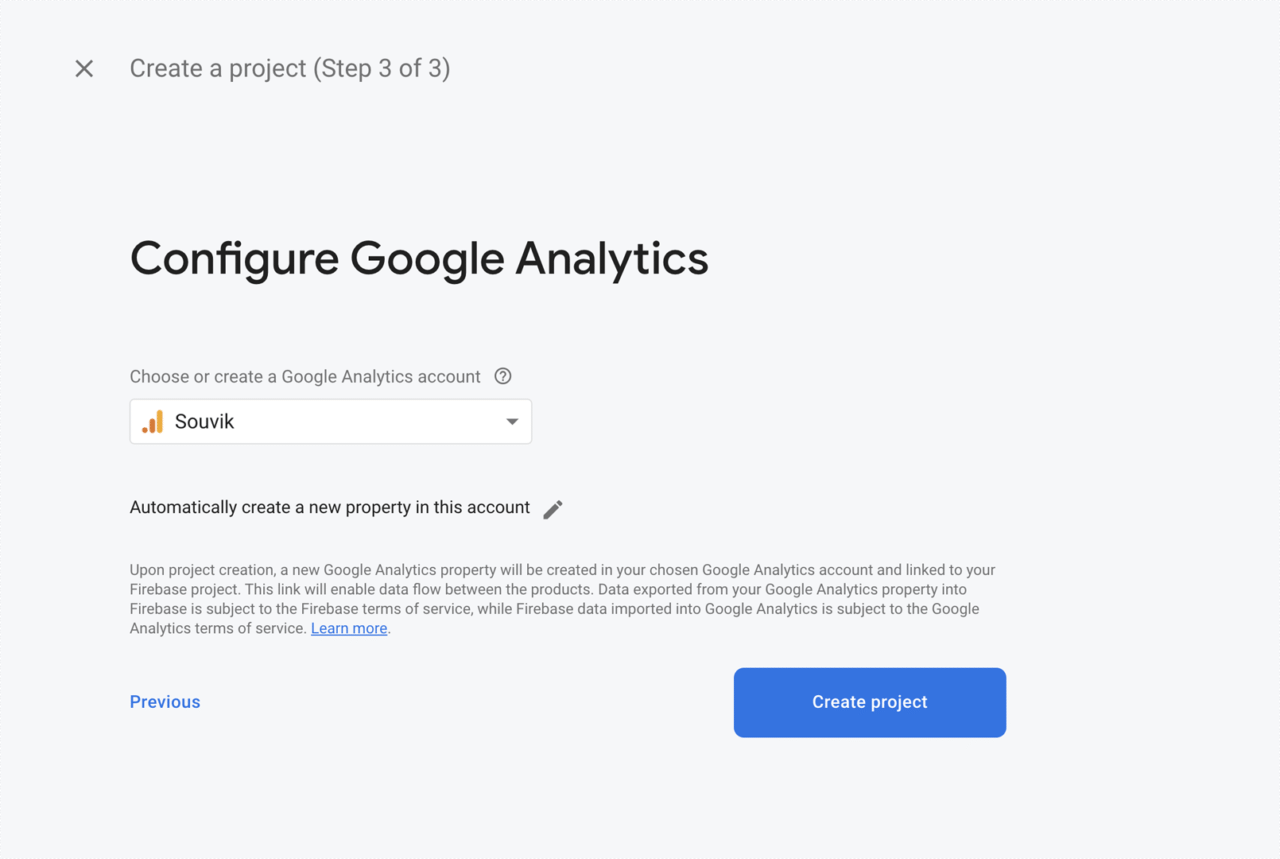
If you’ve chosen to enable analytics, then you will need to connect or create a Google Analytics account. Click on Create project.
-
Wait for the Firebase project setup to complete. Now, click on Continue.
You will be taken to the dashboard of the Firebase project.
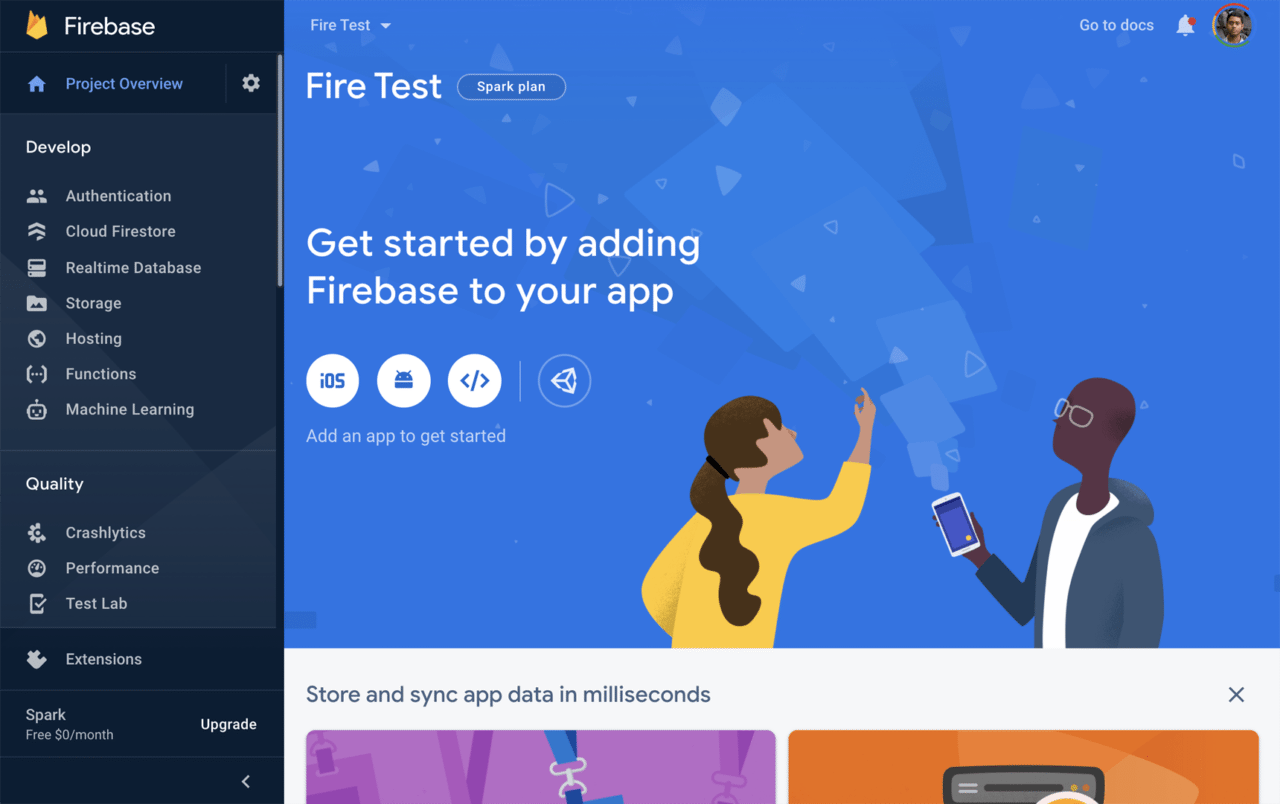
Firebase: App setup
It’s time to add our iOS app to the Firebase project. Flutter creates both the iOS and the Android version of the app. In the Flutter app source code, you can see separate directories for the ios and android app. In order to add the app to Firebase, you have to complete the platform-specific setup. There is a separate set of instructions for Flutter projects, which require fewer steps than native apps.
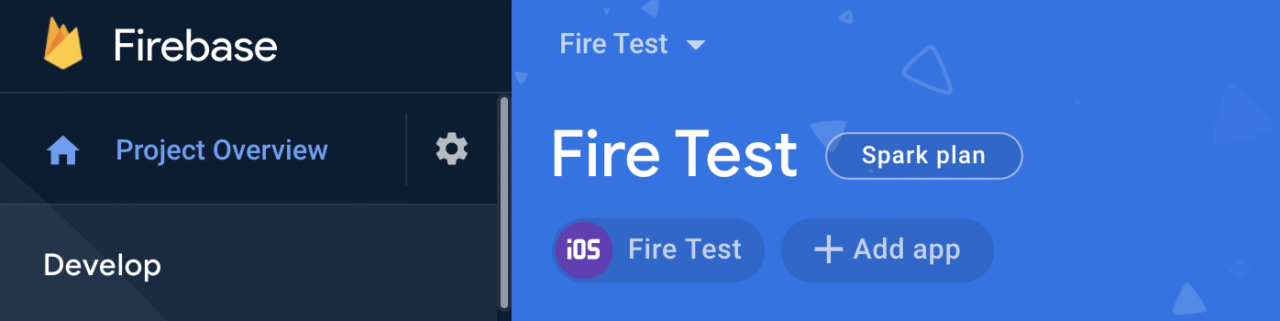
Let’s add the iOS version of the Flutter app to Firebase by clicking on the iOS icon on the project overview page.
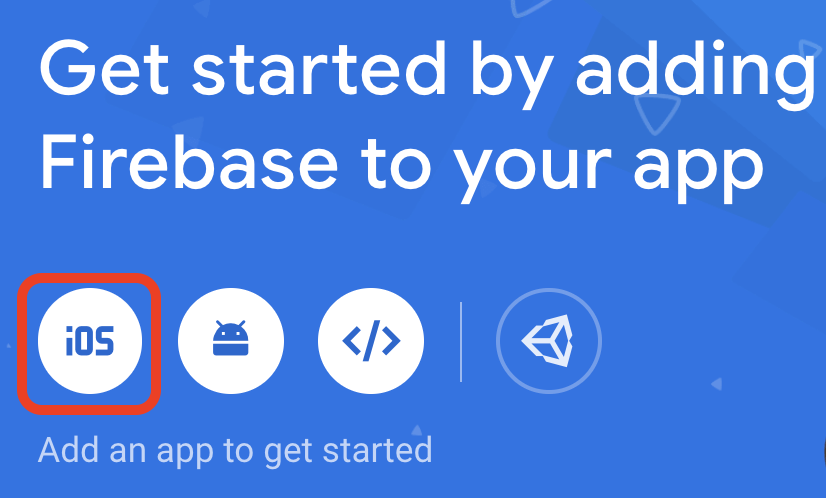
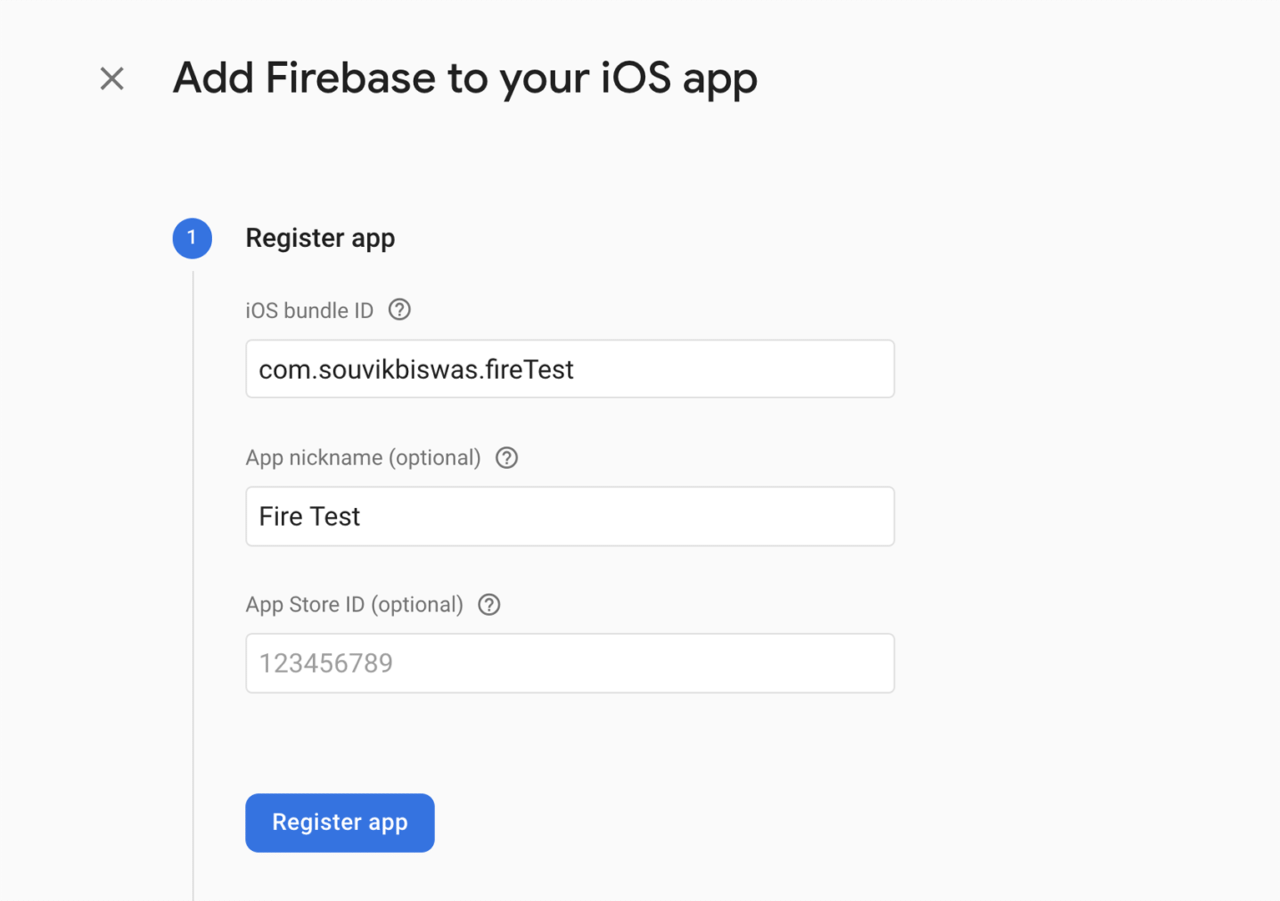
You will be asked to enter a few details for the iOS app, such as the bundle ID, nickname, and App Store ID.
Only the bundle ID is mandatory. You can get the bundle ID of the iOS app from Xcode. Open the ios/ directory in Xcode, and click on Runner in the top-left corner. You can then see the bundle identifier on the General tab of your main target.
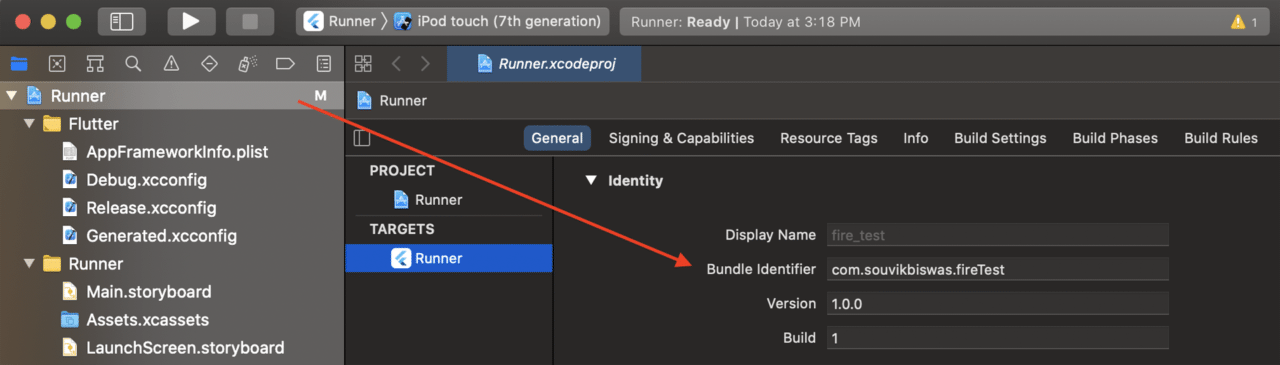
In our case, it’s com.souvikbiswas.fireTest. If you prefer using the command line, you can execute the following command by passing the scheme and project workspace of your app.
cd ios $ xcodebuild -workspace Runner.xcworkspace/ -scheme Runner -showBuildSettings | grep PRODUCT_BUNDLE_IDENTIFIER
This will print the bundle identifier of your app. Just enter the details and click on Register app.
In the next step, Firebase will ask you to download the GoogleService-Info.plist file and put it in the iOS app directory.
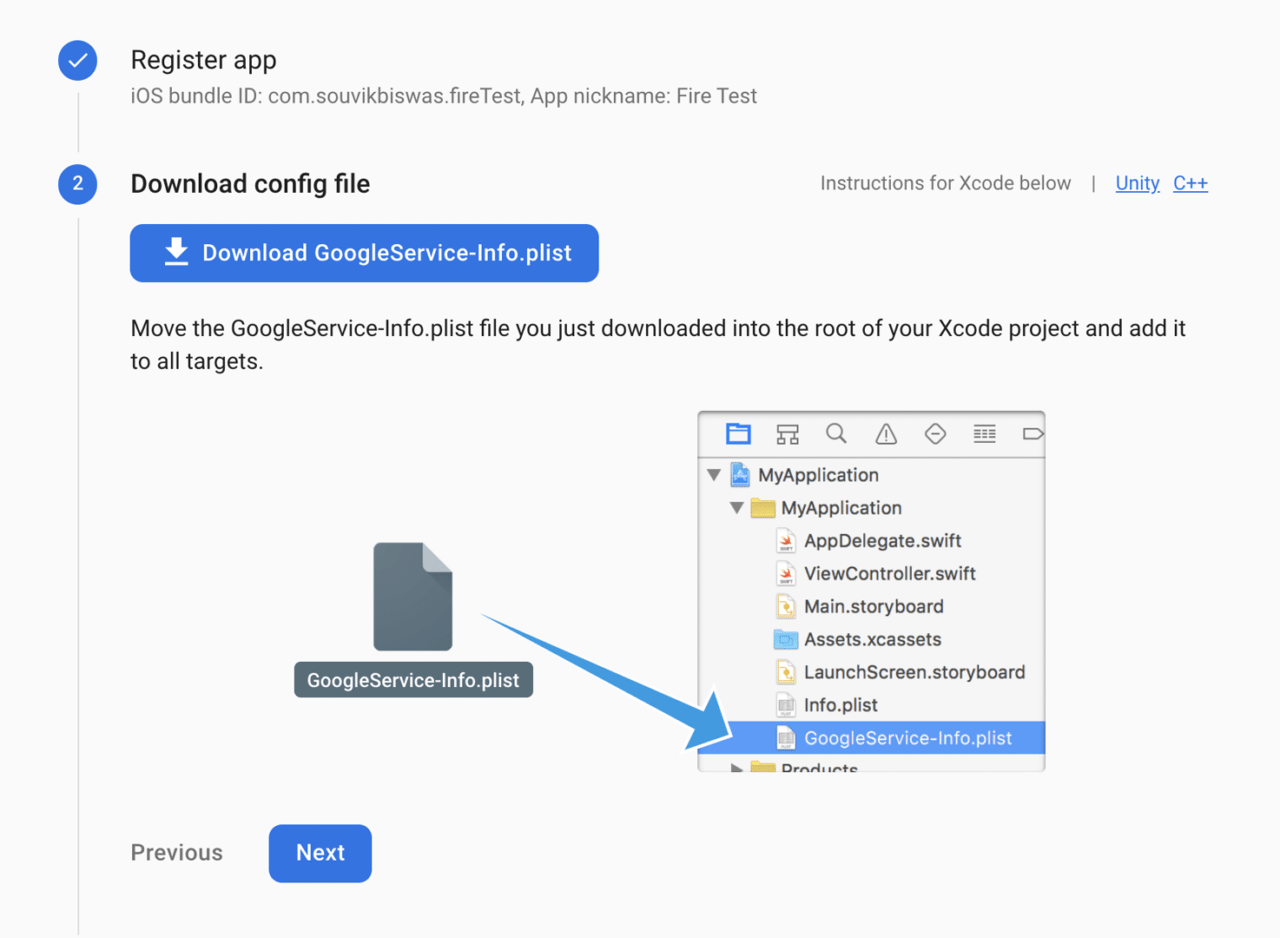
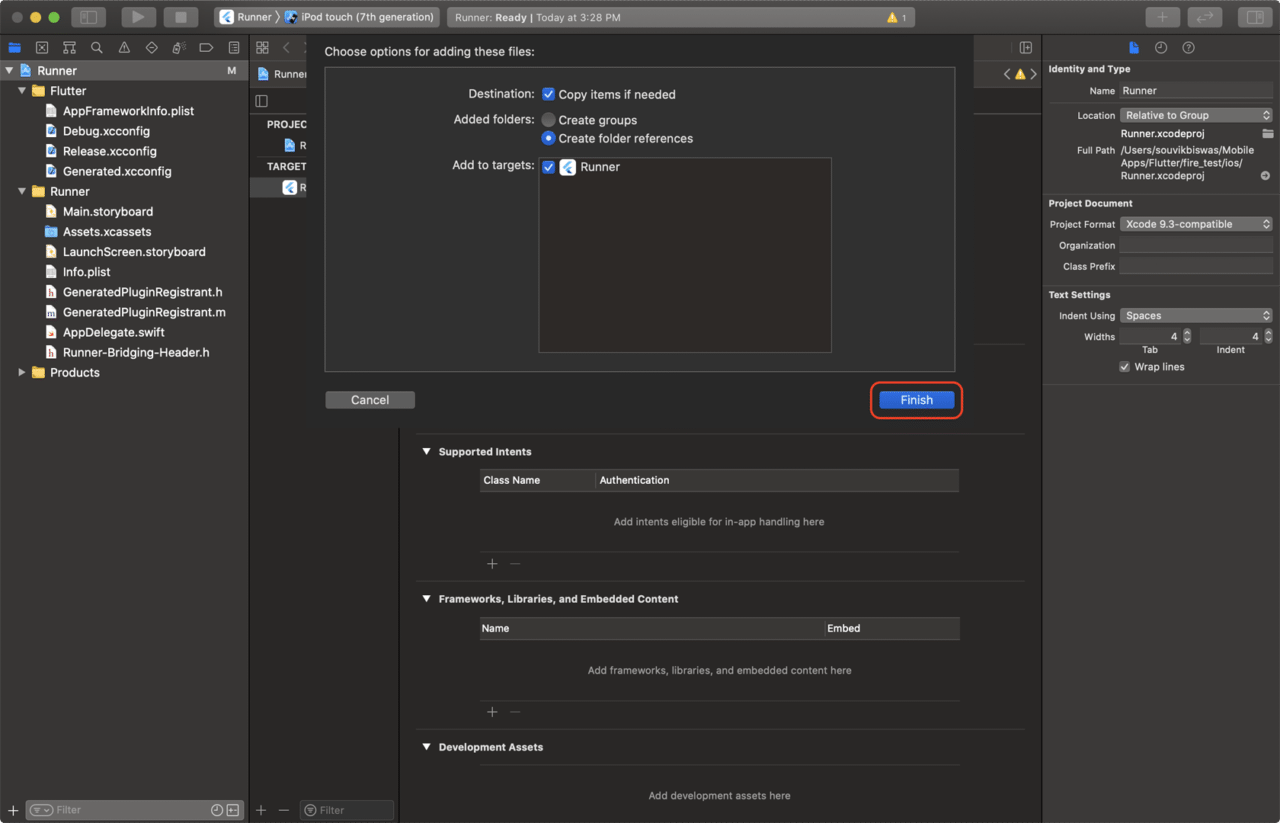
Open the ios folder of the project directory in Xcode by right-clicking and selecting Open in Xcode. Now, drag and drop the file that you downloaded into the Runner sub-folder. When a dialog box appears, make sure that Runner is selected in the “Add to targets” box. Then click Finish.
For an iOS app setup, Firebase will guide you through creating a Podfile, installing pods, etc. However, you don’t have to perform these steps for the Flutter iOS app setup. So, skip steps 3 and 4, and you will reach the last step. Just select Continue to console.
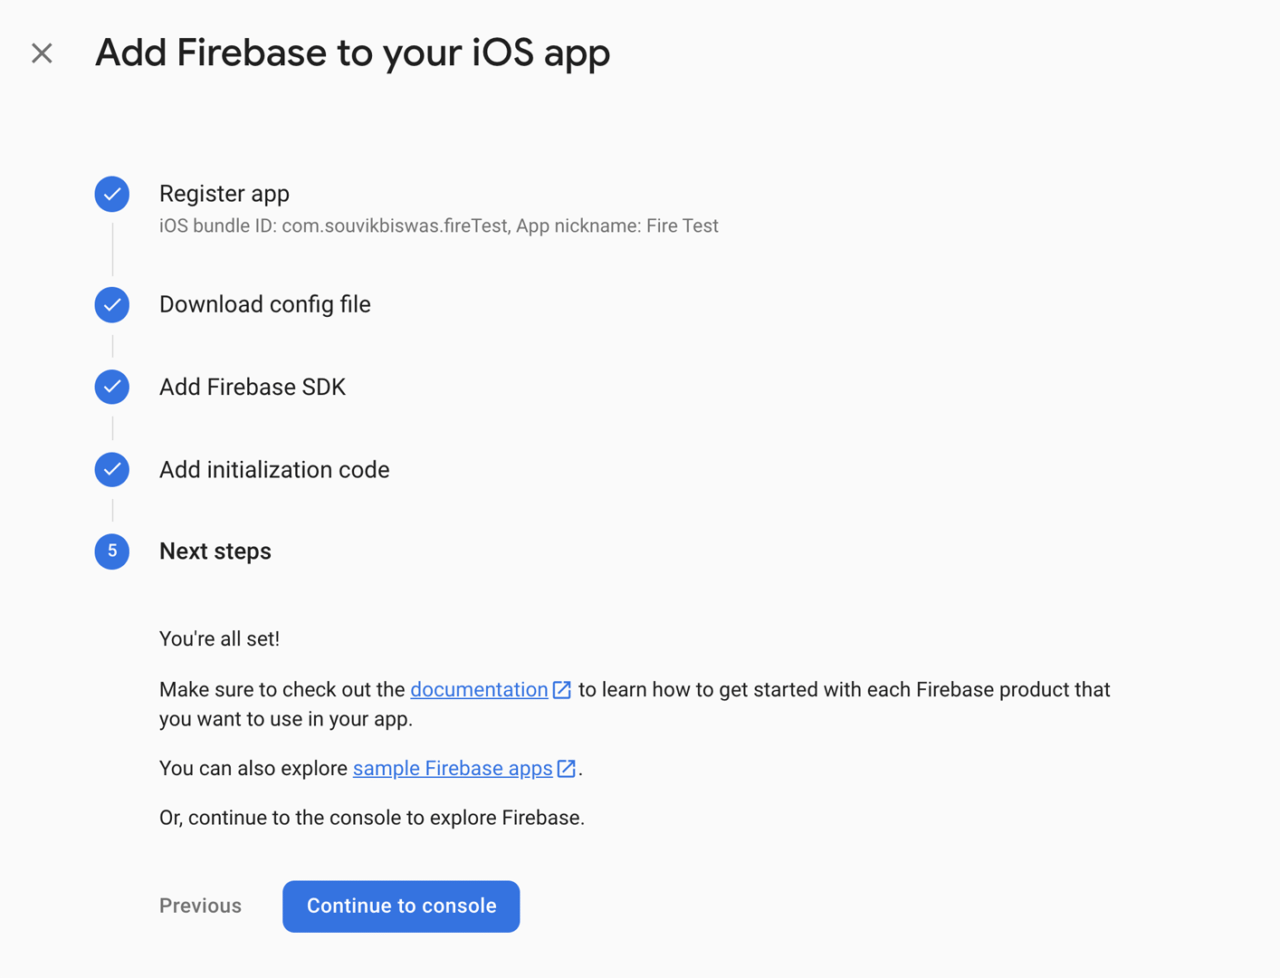
On the Firebase dashboard of your project, you will see that the iOS version of the Flutter app has been added to Firebase.
One more step before we start building the app: Navigate to Project settings > General, and enter your email in the Support email field.

Similarly, you can also set up the Flutter Android app by following the instructions for Android, but we won’t go into it in this tutorial.
Get FlutterFire plugins
As mentioned earlier, Firebase provides different services, like authentication, storage, crash reporting, etc. For each service, there are specific Flutter plugins, which are collectively known as FlutterFire. The plugins include platform-specific code for accessing services and APIs on each platform. As Flutter is a cross-platform mobile application development framework, these plugins can be used for both iOS and Android. You can find the list of all the available plugins on the FlutterFire page.
In order to add Firebase services, we need to get the required plugins and add them to your pubspec.yaml file. Let’s get the Firebase Core plugin and add it to the Fire Test project.
dependencies:
  firebase_core: ^0.5.2
Once you add the dependency, you can download those dependencies using the following command:
flutter package get
This command will download the Firebase Core plugin and create the .flutter-plugins file in the root of the project. This file contains the list of all plugins that are imported into the app.
Add the Crashlytics FlutterFire plugin
Let’s add the Crashlytics FlutterFire plugin to our Flutter project. This will report crashes in the Firebase dashboard.
Add this plugin to your pubspec.yaml file:
dependencies:
  firebase_crashlytics: ^0.2.3
Now, again run the following command:
flutter package get
This command will download the Crashlytics plugin. Once the plugin is downloaded, you can import it into the Flutter app and enable crash reporting for your app.
Using Firebase Crashlytics
In order to set up the “Fire Test” app for Crashlytics, we need to first set up CocoaPods and enable Crashlytics from Xcode.
-
Open the
ios/folder in Xcode, and select Runner from the project navigation. -
Select the
Build Phasestab, then click + > New Run Script Phase.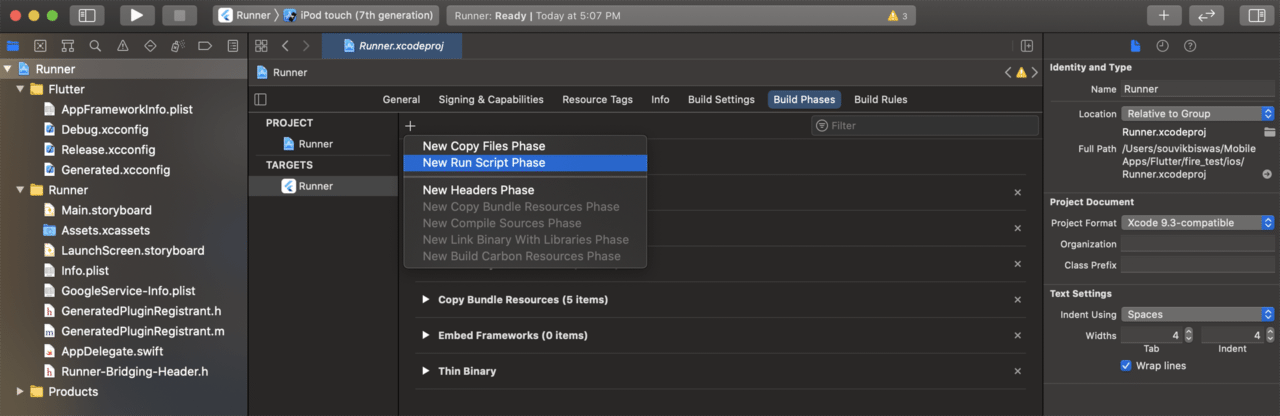
-
Add the following to the Run Script text box:
"${PODS_ROOT}/FirebaseCrashlytics/run"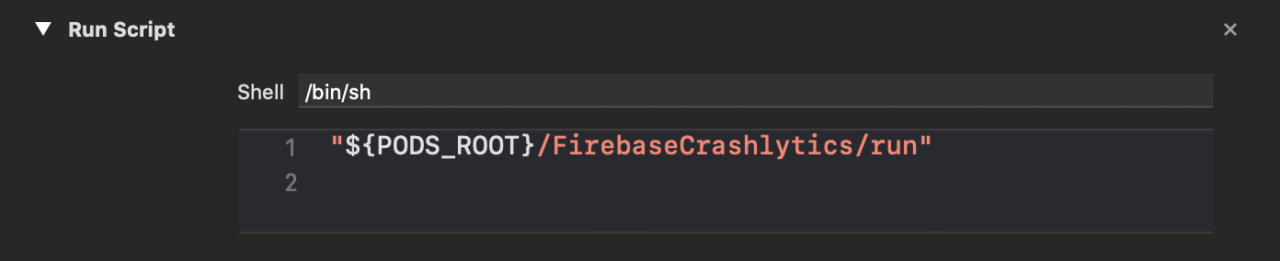
-
Finally, rebuild the app using:
flutter run
This step is needed to run the app locally and get the Firebase Crashlytics service working.
Let’s build the app now!
Go to the main.dart file and add the following:
import 'package:firebase_core/firebase_core.dart';
import 'package:firebase_crashlytics/firebase_crashlytics.dart';
import 'package:flutter/material.dart';

void main() async {
  WidgetsFlutterBinding.ensureInitialized();
  await Firebase.initializeApp();
  await FirebaseCrashlytics.instance.setCrashlyticsCollectionEnabled(true);
  FlutterError.onError = FirebaseCrashlytics.instance.recordFlutterError;
  runApp(MyApp());
}

class MyApp extends StatelessWidget {
  @override
  Widget build(BuildContext context) {
    return MaterialApp(
      title: 'Fire Test',
      theme: ThemeData(
        primarySwatch: Colors.blue,
      ),
      home: HomePage(),
    );
  }
}

class HomePage extends StatelessWidget {
  @override
  Widget build(BuildContext context) {
    return Scaffold(
      appBar: AppBar(
        title: Text('Fire Test'),
      ),
      body: Center(
        child: Column(
          children: <Widget>[
            FlatButton(
                child: const Text('Key'),
                onPressed: () {
                  FirebaseCrashlytics.instance.setCustomKey('foo', 'bar');
                }),
            FlatButton(
                child: const Text('Log'),
                onPressed: () {
                  FirebaseCrashlytics.instance.log('Simulated crash');
                }),
            FlatButton(
                child: const Text('Crash'),
                onPressed: () {
                  FirebaseCrashlytics.instance.crash();
                }),
            FlatButton(
                child: const Text('Throw Error'),
                onPressed: () {
                  throw StateError('Uncaught error thrown by app.');
                }),
            FlatButton(
                child: const Text('Async out of bounds'),
                onPressed: () {
                  Future<void>.delayed(const Duration(seconds: 2), () {
                    final List<int> list = <int>[];
                    print(list[100]);
                  });
                }),
            FlatButton(
              child: const Text('Record Error'),
              onPressed: () {
                try {
                  throw 'error_example';
                } catch (error, stackTrace) {
                  FirebaseCrashlytics.instance.recordError(error, stackTrace);
                }
              },
            ),
          ],
        ),
      ),
    );
  }
}
This is just an example app showing the use of the Crashlytics plugin. If we run the app and click on the Crash button, it will get reported the next time the app is launched.

The Crashlytics dashboard shows three crashes because I crashed and relaunched the app for the third time.
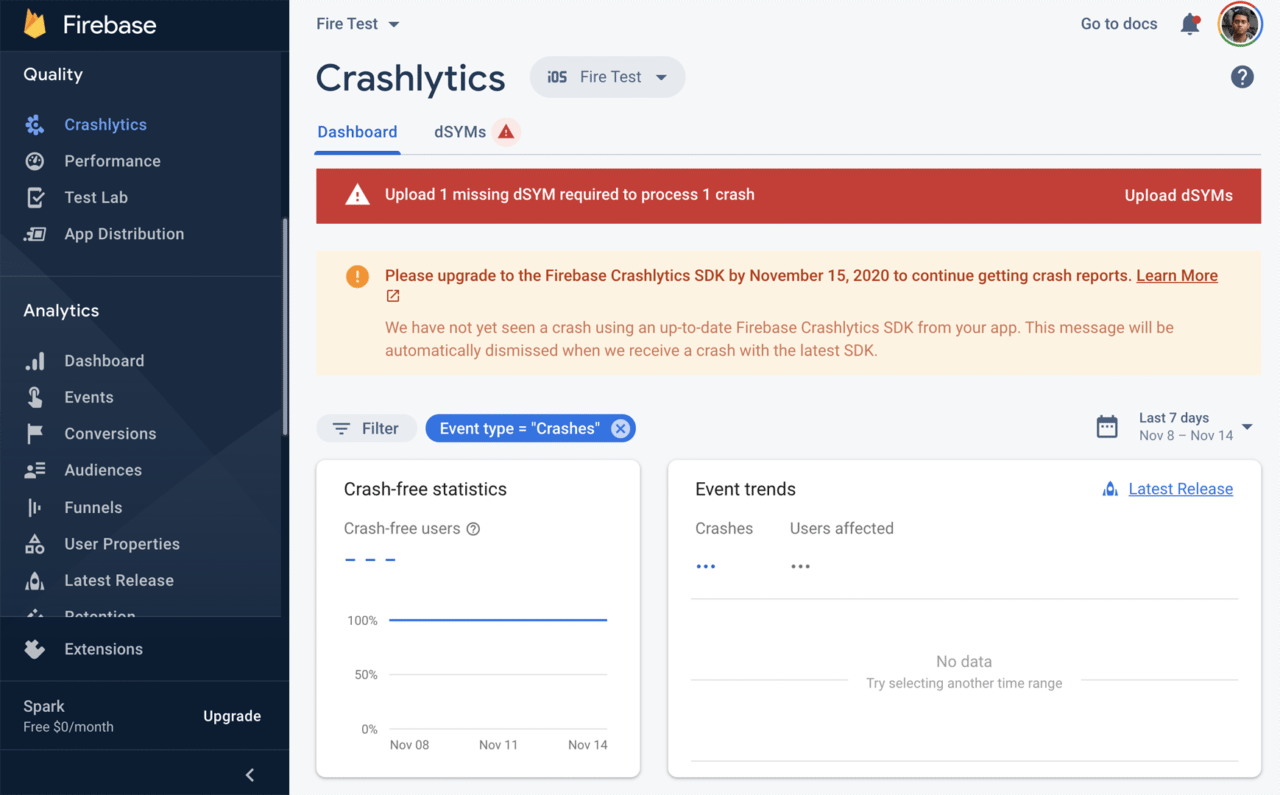
Troubleshooting
When I ran the app for the first time and navigated to the Crashlytics dashboard, it showed me the following issue, and the crash didn’t get reported:
In order to fix this, follow the steps below:
-
Open the
ios/folder in Xcode. -
Select your main build target.
-
Open the target’s Build Settings tab, then click All.
-
Search for Debug Information Format".

-
Set Debug Information Format to
DWARF with dSYM Filefor all your build types. -
Rebuild your app.
Now, if you refresh your Crashlytics dashboard page, it won’t show that issue.
We have successfully added Firebase to our Flutter app. In the next step, we will securely configure Firebase on Codemagic CI/CD.

Configure Firebase on Codemagic (encryption)
Codemagic is the official CI/CD solution for Flutter apps (and all other mobile apps). You can set up your Flutter project for continuous integration and continuous delivery within a minute and without any configuration. If you are new to Codemagic, you can read the Getting Started Guide. At this point, we have successfully configured our app with Firebase and the Firebase Crashlytics Flutter plugin. We will now have to configure the same on CI. Before proceeding, we have to consider the security aspects of our Firebase account.
In our local configuration, we have downloaded the GoogleService-Info.plist file and kept it in the ios directory of the Flutter app. This file contains sensitive data, like the API key and information about the app. This file shouldn’t be checked in to source control or exposed to the world. We have to take certain steps to secure our sensitive data.
Ignore GoogleService-Info.plist in SCM
First, we have to ignore the GoogleService-Info.plist file to avoid it being checked in to the source control manager, such as Git. You can add this file to your .gitignore:
ios/Runner/GoogleService-Info.plist
Once the file has been added to the .gitignore list, it cannot be committed to source control by mistake.
Firebase setup on Codemagic
We have not uploaded the GoogleService-Info.plist file to the version control system, but Codemagic will need that file in order to successfully generate the build artifact for iOS. So, in order to do that, we will provide the encrypted version of the file, which we have to decrypt before the build.
Follow the steps below:
-
Go to the settings of your project on Codemagic.
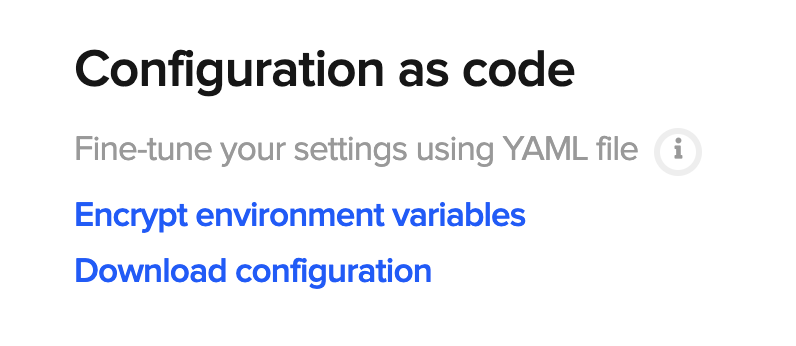
-
On the right-side menu, under Configuration as code section, click on Encrypt environment variables.
-
Drag and drop the
GoogleService-Info.plistfile there. It will generate an encrypted version of the file. Copy the encrypted string.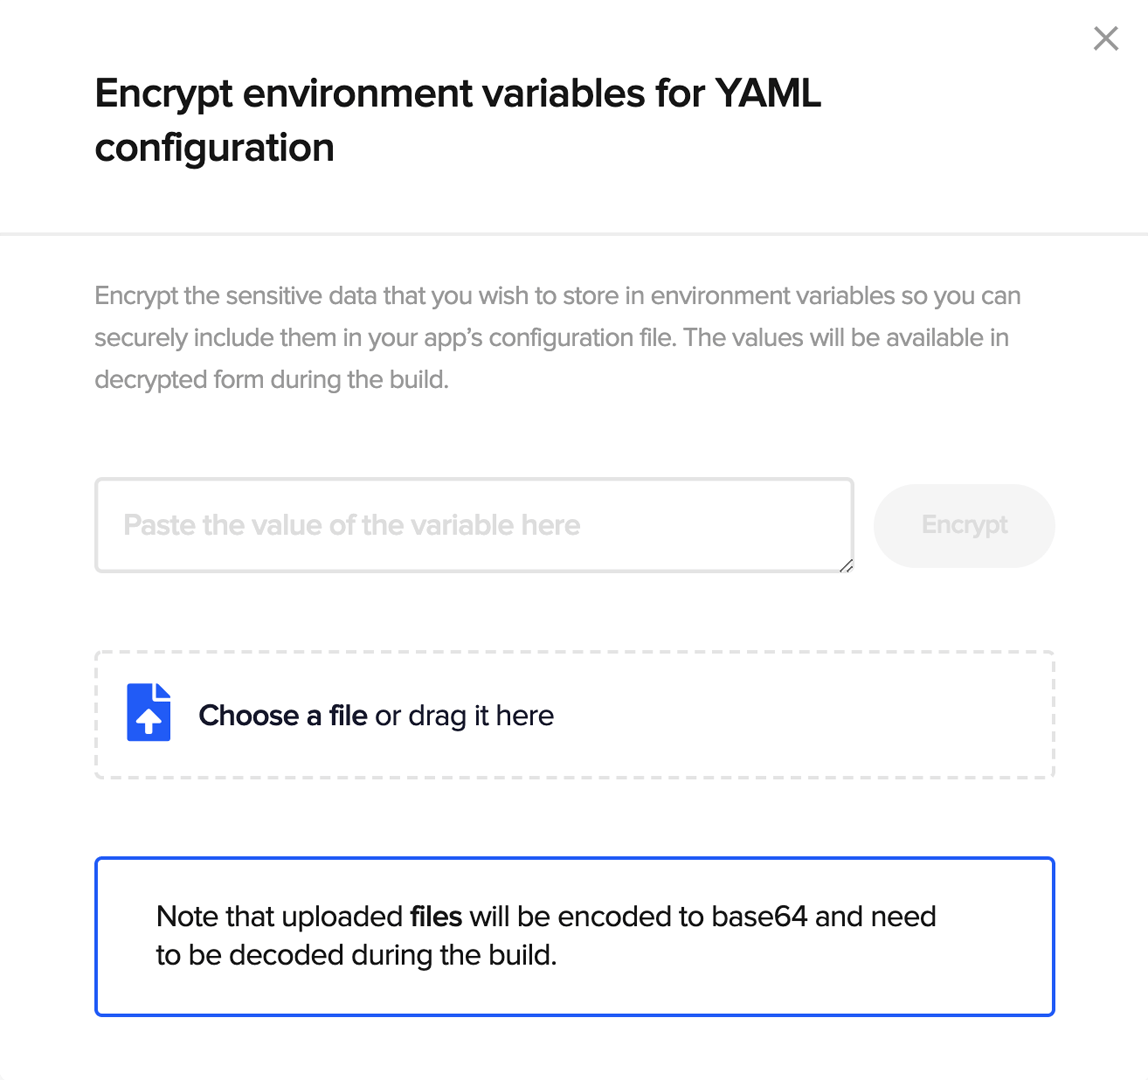
-
Go to the Environment variables section, add a new variable with the key
FIREBASE_IOS, and enter the encrypted string as its value.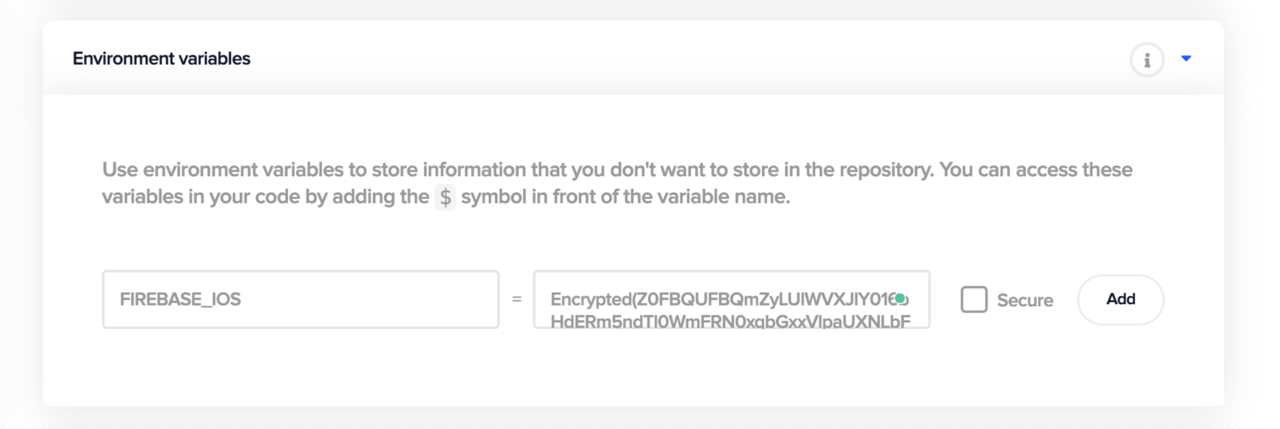
-
Enter the following for the Pre-build script:
#!/bin/sh

echo $FIREBASE_IOS | base64 --decode > $CM_BUILD_DIR/ios/Runner/GoogleService-Info.plist

echo "\nListing iOS Directory to confirm the GoogleService-Info.plist is there! "
ls ios/Runner/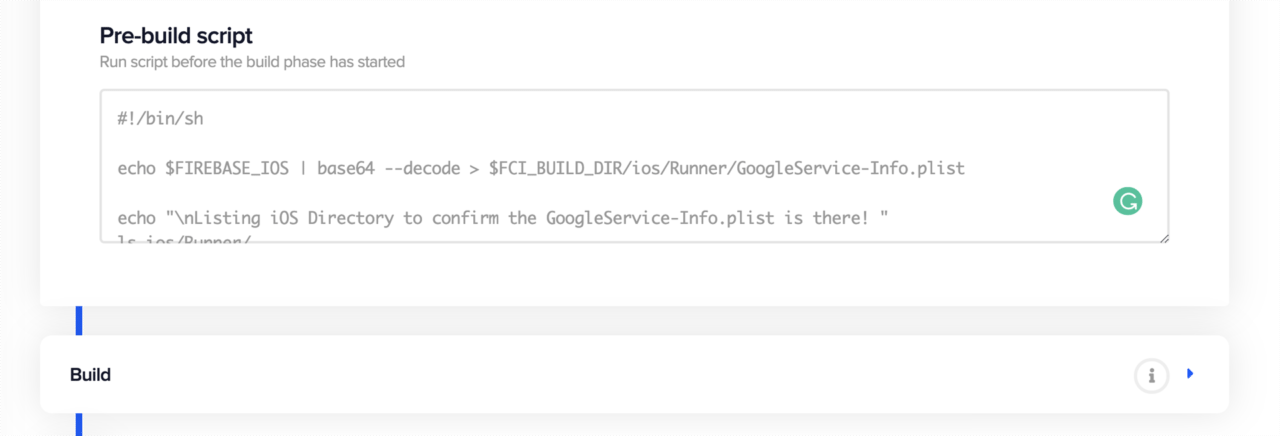
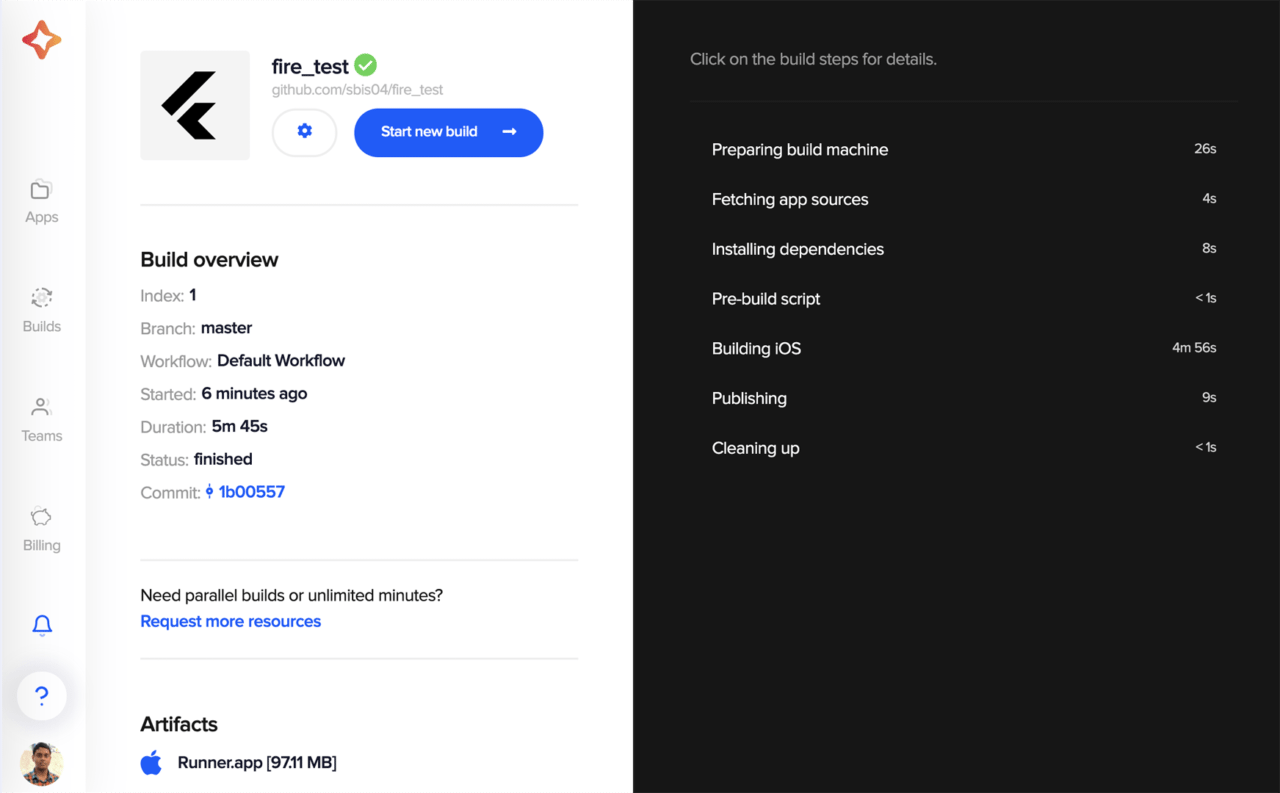
Now, click on Start new build to build the app.
We have seen how to integrate Firebase into Flutter apps and run the apps securely on the Codemagic CI/CD service. With environment variables, you can securely store the file on Codemagic instead of the repository.
Conclusion
Firebase provides out-of-the-box support for Flutter apps, and there are lots of FlutterFire plugins available. With the combination of Flutter, Firebase, and Codemagic, you can deploy Flutter apps securely with Firebase features enabled in the production.
Practical guide: Flutter + Firebase + Codemagic (for Android)

