


This article is written by Maksim Lin
Welcome to the first edition of #FlutterFunFriday! In this instalment we’ll be learning how to use the new support Flutter has for custom shaders. So grab a beverage of your choice, fire up your favourite IDE and lets have some fun!
Flutter and GLSL Shaders ?
Included in the announcement of the release of Flutter 3.7 was improved support for custom shaders which was great news for Flutter developers building games where you may need to do alot of custom drawing and that’s exactly the sort of thing that custom shaders make much more efficient by offloading the work on to a devices GPU which are optimised for exactly this sort of workload.
The world of 3D, GPUs, OpenGL and shaders is a huge one. Even the topic of “shaders” and GLSL, the C-like shader language that is used to write shaders, is a very big one, so instead of trying to cover all that ground here, I’ll follow the example of the Flutter docs on shaders and assume the reader knows the basics of shaders and GLSL. If you don’t, I can highly recomend Chapter 1 “Getting started” from The Book of Shaders by Patricio Gonzalez Vivo and Jen Lowe, to quickly get you up to speed with the required concepts.

Hello Colour
Tradition dictates that when dealing with a new language, framework or feature, a minimal example that prints “hello world” is a good place to start. For Flutter, that is of course the well known “counter app”. In the world of GLSL shaders, outputting text of any sort is rather difficult. Because Flutter only supports fragment shaders, the equivalent to hello world will be the Flutter counter app modified to just display a fixed colour painted by a shader.
Using custom shaders in Flutter primarily comes down to having a subclass of CustomPainter, where we can assign our custom shader to the Paint class instance used by a canvas draw method, though noting that not all canvas draw commands can accept a custom shader. For a most minimal example that actually does anything, this means defining a subclass like:
class ShaderPainter extends CustomPainter {
  final FragmentShader shader;

  ShaderPainter(this.shader);

  @override
  void paint(Canvas canvas, Size size) {
    canvas.drawRect(
      Rect.fromLTWH(0, 0, size.width, size.height),
      Paint()..shader = shader,
    );
  }
}
We make use of this class in a build method by passing it to a CustomPaint widget:
return CustomPaint(
    painter: ShaderPainter(shader),
);
and load the shader GLSL program using the following code:
Future<FragmentShader> _load() async {
  FragmentProgram program = await FragmentProgram.fromAsset('shaders/hellow.frag');
  return program.fragmentShader();
}
Because loading is an asynchronous operation, we can handle that by wrapping it in a FutureBuilder along with the loading state, taking care to also set the size for our CustomPaint widget:
SizedBox(
  width: MediaQuery.of(context).size.width,
  height: MediaQuery.of(context).size.height,
  child: FutureBuilder<FragmentShader>(
      future: _load(),
      builder: (context, snapshot) {
        if (snapshot.hasData) {
          final shader = snapshot.data!;
          return CustomPaint(
            painter: ShaderPainter(shader),
          );
        } else {
          return const CircularProgressIndicator();
        }
      }),
)
The actual shader GLSL code we need is just:
out vec4 fragColor;

void main() {
	fragColor = vec4(0.318,0.373,1.000,1.000);
}
Which produces the simpliest possible shader example app in Flutter:
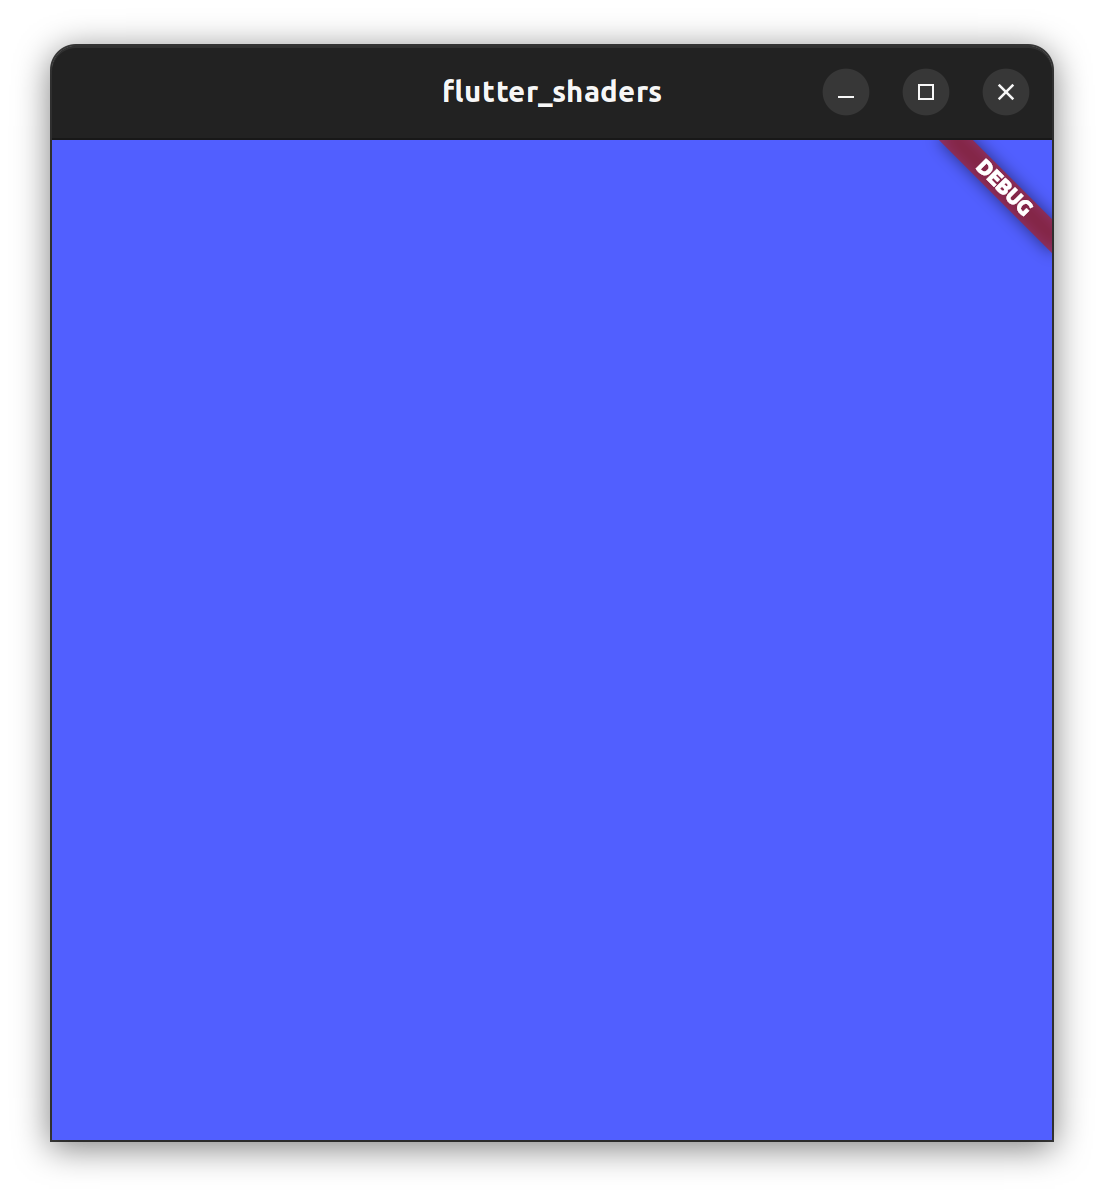
The full code for this example is available in the accompanying git repository for this article.
Lets get animated!
Now a static single colour isn’t that useful, so we can move on to looking at how Flutter supports using GLSL uniforms by using this shader code:
uniform float u_time; // Time in seconds since load

out vec4 fragColor; // output colour for Flutter, like gl_FragColor

void main() {
    float r = abs(sin(u_time * 0.8));
    float g = abs(sin(u_time * 1.5));
    float b = abs(sin(u_time * 0.3));

	fragColor = vec4(r,g,b,1.0);
}
which uses a float representing elapsed time in seconds to change the value of the colour displayed.
To use this shader, we need to use Flutter’s shader API, that allows us to set the values of uniforms in loaded GLSL programs. Fluttter’s API here is a bit spartan and provides only a setFloat() method which rather than using the names of uniforms, requires us to specify them by index in order of appearance in the GLSL code.
Hence to pass in the elapsed time, on the Flutter side we need some way of calling setFloat() on the shader as time passes, so for this we can make use of an AnimatedBuilder widget (along with using a TickerProviderStateMixin in our stateful widget) and the code in the FutureBuilder of the helloworld example now becomes:
 child: FutureBuilder<FragmentShader>(
  future: _load(),
  builder: (context, snapshot) {
    if (snapshot.hasData) {
      final shader = snapshot.data!;
      _startTime = DateTime.now().millisecondsSinceEpoch;
      return AnimatedBuilder(
          animation: _controller,
          builder: (context, _) {
            shader.setFloat(0, _elapsedTimeInSeconds);
            return CustomPaint(
              painter: ShaderPainter(shader),
            );
          });
    } else {
      return const CircularProgressIndicator();
    }
  }),
)
with the start time now a basic Dart getter:
int _startTime = 0;
double get _elapsedTimeInSeconds => (_startTime - DateTime.now().millisecondsSinceEpoch) / 1000;
This produces the colourful:
Again the full code for this example is available.
Graduating to Gradients
Having conquered the use of uniforms and a way to update them with the passage of time, we can move on to a slightly more involved example with a shader using varying values:
#include <flutter/runtime_effect.glsl>

uniform float u_time;       // Time in seconds since load
uniform vec2 u_resolution;  // Canvas size (width,height)

out vec4 fragColor; // output colour for Flutter, like gl_FragColor

void main() {
    vec2 st = FlutterFragCoord().xy/u_resolution.xy;
    st.x *= u_resolution.x/u_resolution.y;

    vec3 color = vec3(0.);
    color = vec3(st.x,st.y,abs(sin(u_time)));

    fragColor = vec4(color,1.0);
}
Here we illustrate the need to use the Flutter specific FlutterFragCoord() varying, that is provided by the flutter/runtime_effect.glsl include, instead of the more common gl_FragCoord to provide the coordinates of the current pixel the shader is operating on. You can find more details on why you need to use the Flutter specific varying in the Flutter docs.
From the Flutter side code, the only thing to note with this shader is that we don’t need to call setFloat() in the order of the indexes and can also call it multiple times, as can be seen in this code sample, where we only set the width and height when the outer widget rebuilds, rather than every tick:
builder: (context, snapshot) {
    if (snapshot.hasData) {
      final shader = snapshot.data!;
      _startTime = DateTime.now().millisecondsSinceEpoch;
      shader.setFloat(1, MediaQuery.of(context).size.width); //width
      shader.setFloat(2, MediaQuery.of(context).size.height); //height
      return AnimatedBuilder(
          animation: _controller,
          builder: (context, _) {
            shader.setFloat(0, _elapsedTimeInSeconds);
            return CustomPaint(
              painter: ShaderPainter(shader),
            );
          });
    } else {
      return const CircularProgressIndicator();
    }
Serious Toys!
Now that we have covered all the basics of using shaders in Flutter, we can finally move on to trying out a really cool demo, courtesy of a user on the ShaderToys website.
The main thing that this example illustates is the “porting” that needs to be done in moving GLSL code between different enviroments, as for instance the ShaderToys website provides alot of uniforms:
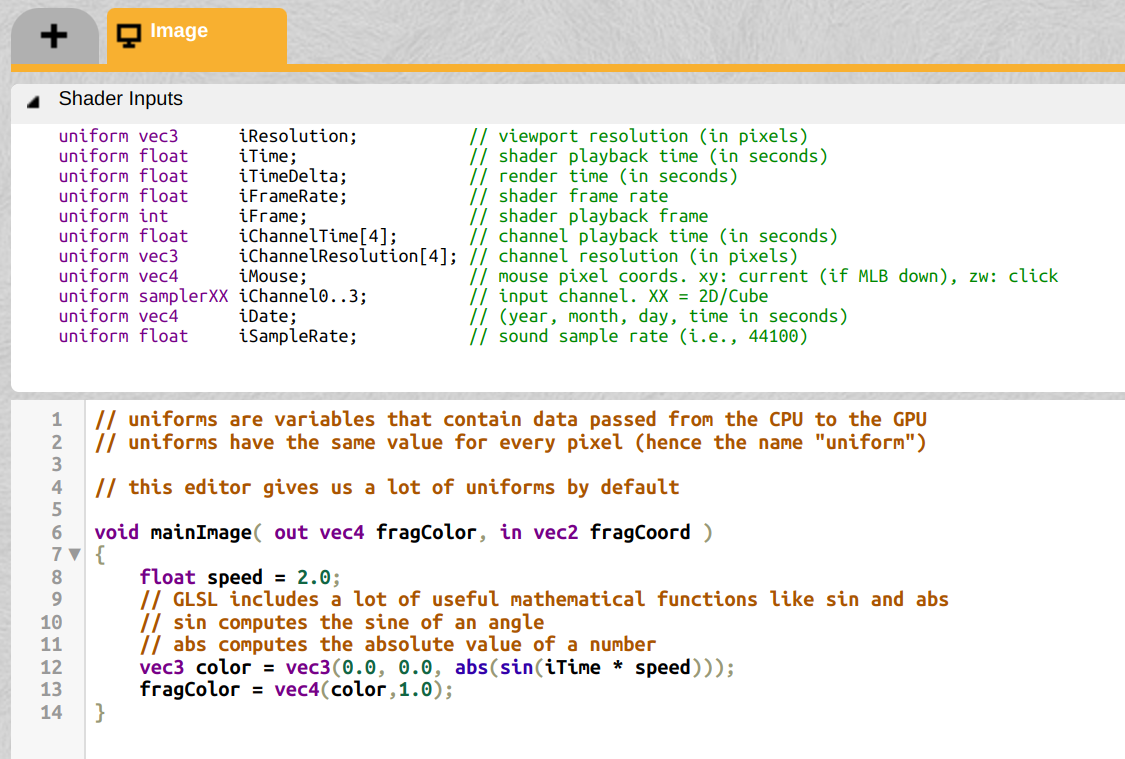
which fragment shader programs built for that website can make use of. However if we want to make use of those shaders in our Flutter apps, we need to then either add both the definitions of those uniforms in the GLSL code that we bring across as well as calls to setFloat() to set those values or modify the shader code.
In the case of this very impressive water waves demo, the uniforms it uses are iTime, iResolution and iMouse. Also the output uniform of fragColor used by Flutter as an output uniforom is again slightly different to the way ShaderToy defines it in its main() along with fragCoord versus ``FlutterFragCoord(): void mainImage( out vec4 fragColor, in vec2 fragCoord ) {…`
Finally I also found that the coordinates used in Flutter seem to be flipped so a bit of extra code was needed on the Flutter side in the paint() method:
canvas.translate(size.width, size.height);
canvas.rotate(180 * vec.degrees2Radians);
However once these differences are accounted for, the shader code from the ShaderToy demo runs perfectly fine in our Flutter app, with no other changes from our previous example.
Shade away
And with that we’ve covered the main topics in using custom fragment shaders in your Flutter code.
While I’ve covered using a shader with a AnimatedBuilder, the majority of Flutter game projects will be using the Flame game engine to drive the apps painting, so if you would like to see example code of how to use shaders with the Flame game engine, I recommend looking at @Wolfenrain’s repo.
Finally for an example of how to use Samplers with shaders, which is a topic I didn’t cover in this article, checkout the source code of the flutter_shaders package.
Happy shading!


