


Written by Souvik Biswas
SonarQube is the leading tool for continuously inspecting the Code Quality and Security of your codebase and guiding development teams during code reviews. It is an open-source tool and has support for 27 languages.
In this article, you will learn how to integrate SonarQube with Codemagic for generating code analyses of your Android and iOS projects.
Using SonarQube on your local system
You can either download the SonarQube Community Edition zip file from here, or you can use their Docker image.
We will be using their Docker image for testing (whether we can properly generate the code analysis) because later, we will shift to Codemagic for generating and uploading the analysis results to SonarQube.
You can check the instructions here for using the zip file.
- Start the Docker server using:
docker run -d --name sonarqube -e SONAR_ES_BOOTSTRAP_CHECKS_DISABLE=true -p 9000:9000 sonarqube:latest
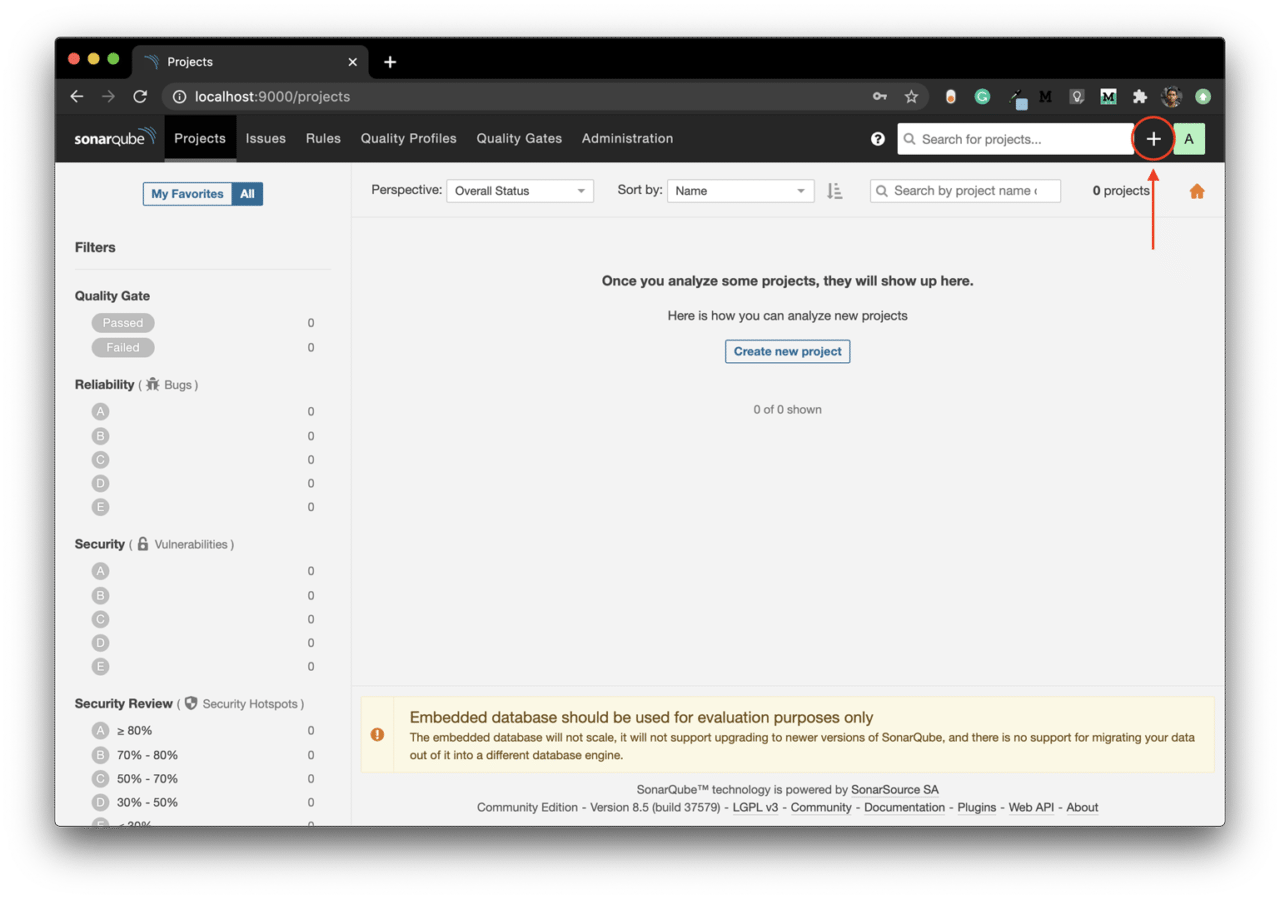
- Now, log in to http://localhost:9000 with System Administrator credentials (login=admin, password=admin).

- Click on the Create new project button.
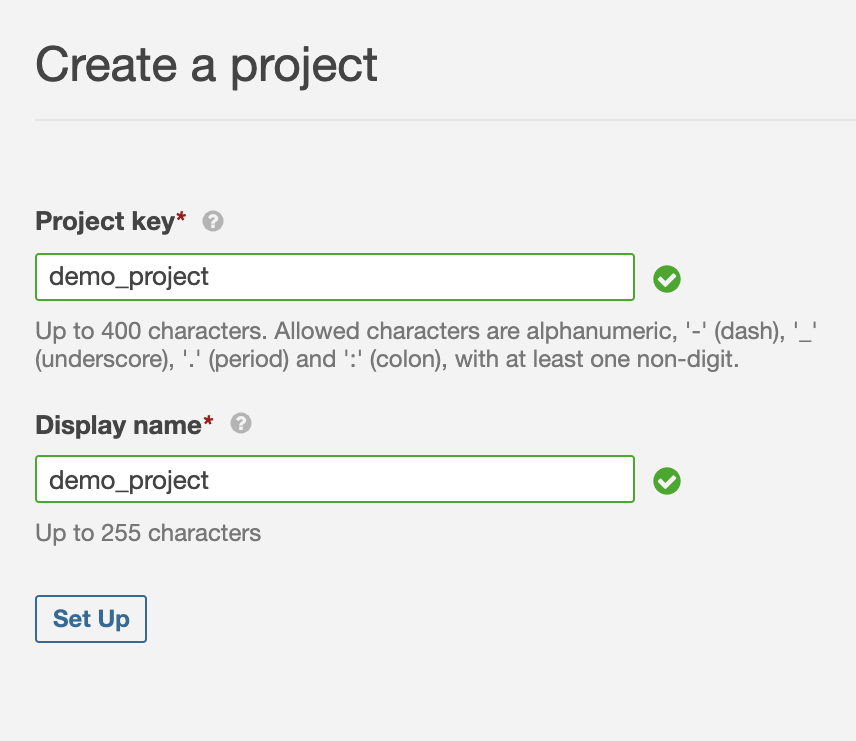
When asked How do you want to create your project, select Manually.
Enter a Project key and a Display name, and click on Set Up.
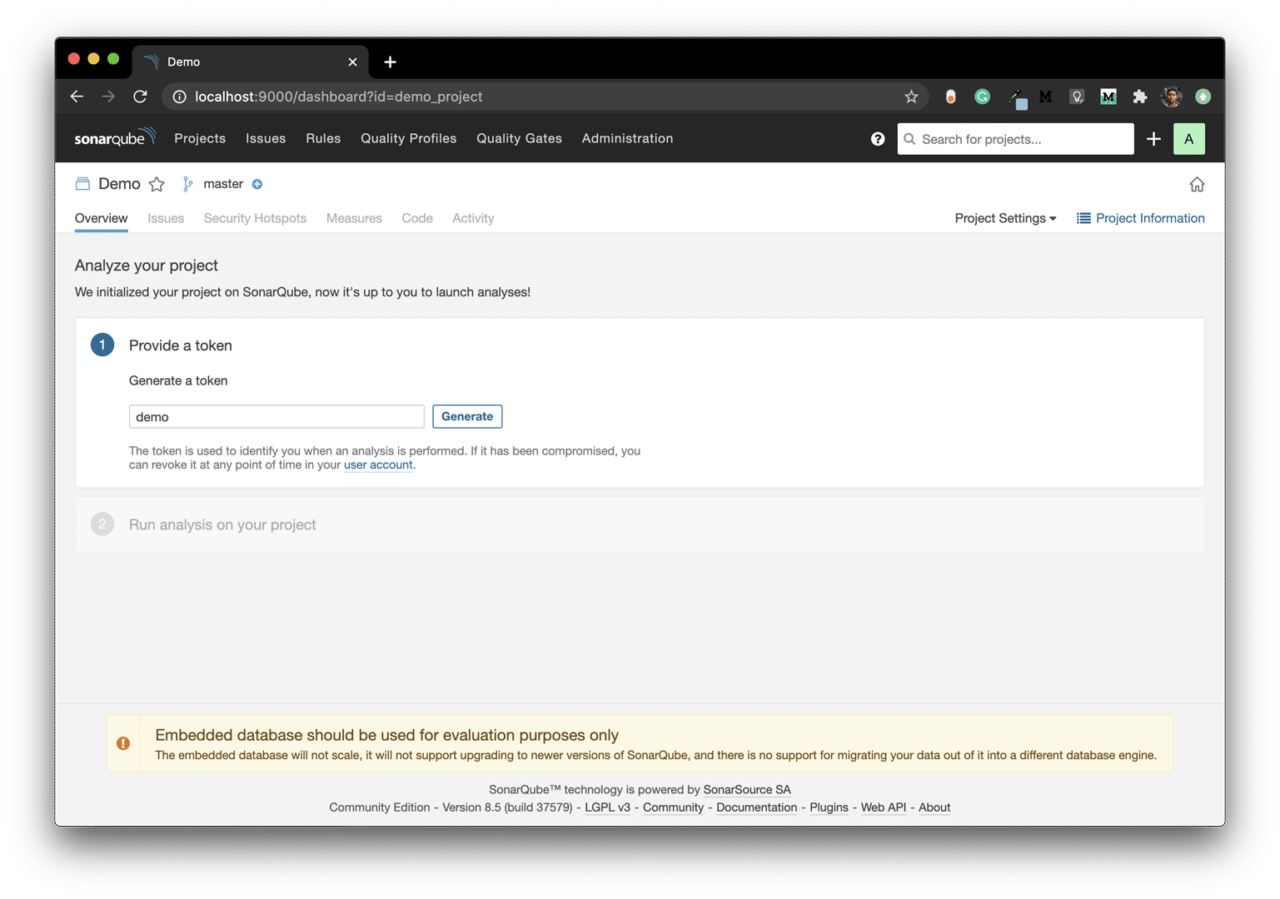
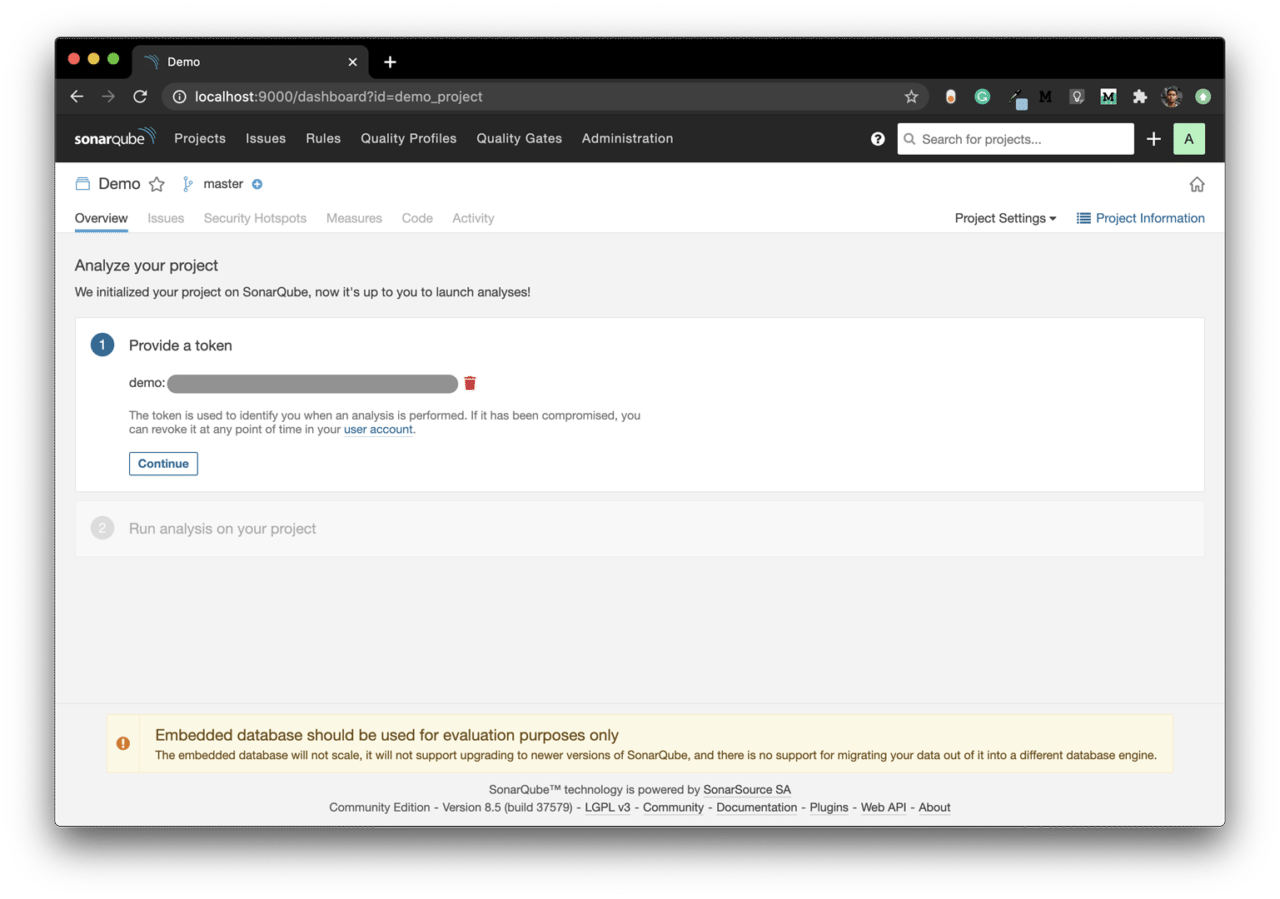
- Under Provide a token, enter a token name, and click on Generate.
- Copy the token and click on Continue. You will need this while running the analysis CLI command.
- Select your project’s main language, and follow the instructions.
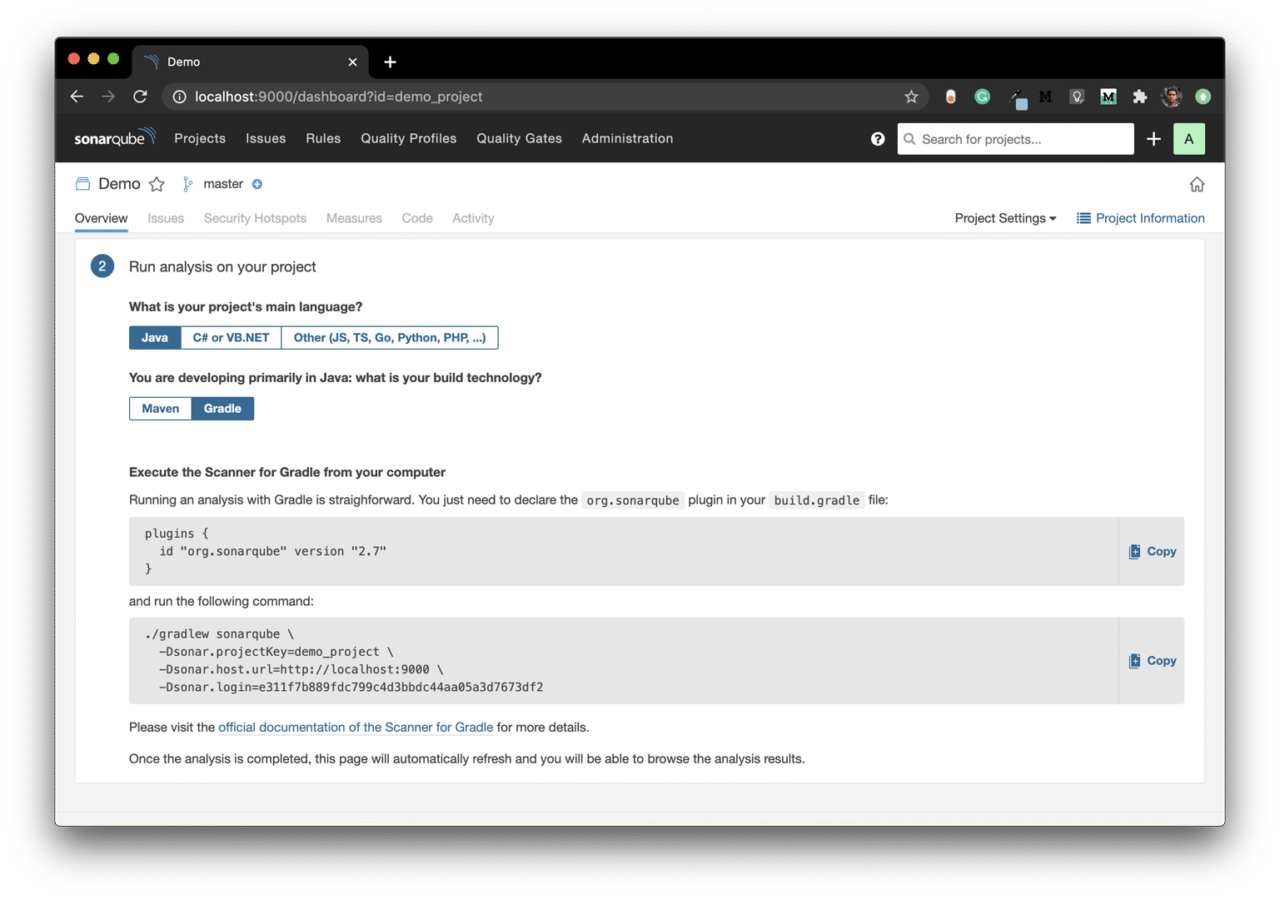
SonarQube has a dedicated Gradle plugin called SonarScanner for Gradle, which can be used for generating the SonarQube analysis for your Android project.
Unfortunately, SonarQube doesn’t provide any CocoaPods plugins for iOS projects. But you can use their SonarScanner as a CLI tool for generating the SonarQube analysis for your iOS project.
Android integration
Integrating SonarQube with the Android project is pretty straightforward—follow the steps below:
Navigate to your
build.gradle (app).Add the SonarQube Gradle plugin:
plugins {
    id "org.sonarqube" version "3.0"
}
Run project sync
Then use the following command from the terminal:
./gradlew sonarqube \
  -Dsonar.projectKey=<project_key> \
  -Dsonar.host.url=http://localhost:9000 \
  -Dsonar.login=<login_token>
iOS integration
Download SonarScanner from here, and add the
bindirectory to thePATHenvironment variable.Use the following command to upload the analysis results:
sonar-scanner \
  -Dsonar.projectKey=<project_key> \
  -Dsonar.sources=. \
  -Dsonar.host.url=http://localhost:9000 \
  -Dsonar.login=<login_token>
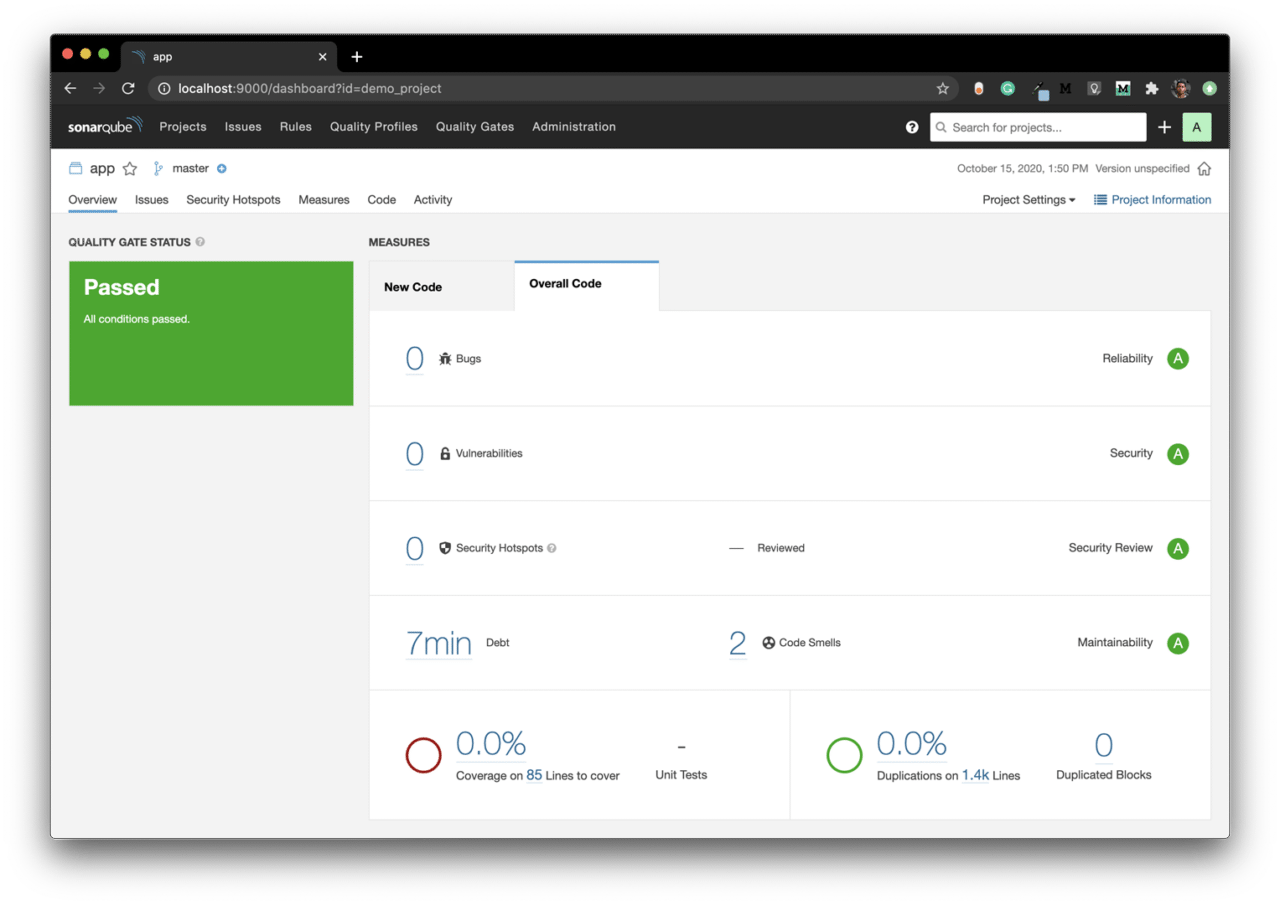
You will see the code analysis status displayed on the SonarQube dashboard.
Connecting with SonarCloud
You uploaded the build analysis results to the localhost in the previous step. But to easily access the analysis results of SonarQube, you can use their cloud-based code analysis service, called SonarCloud.
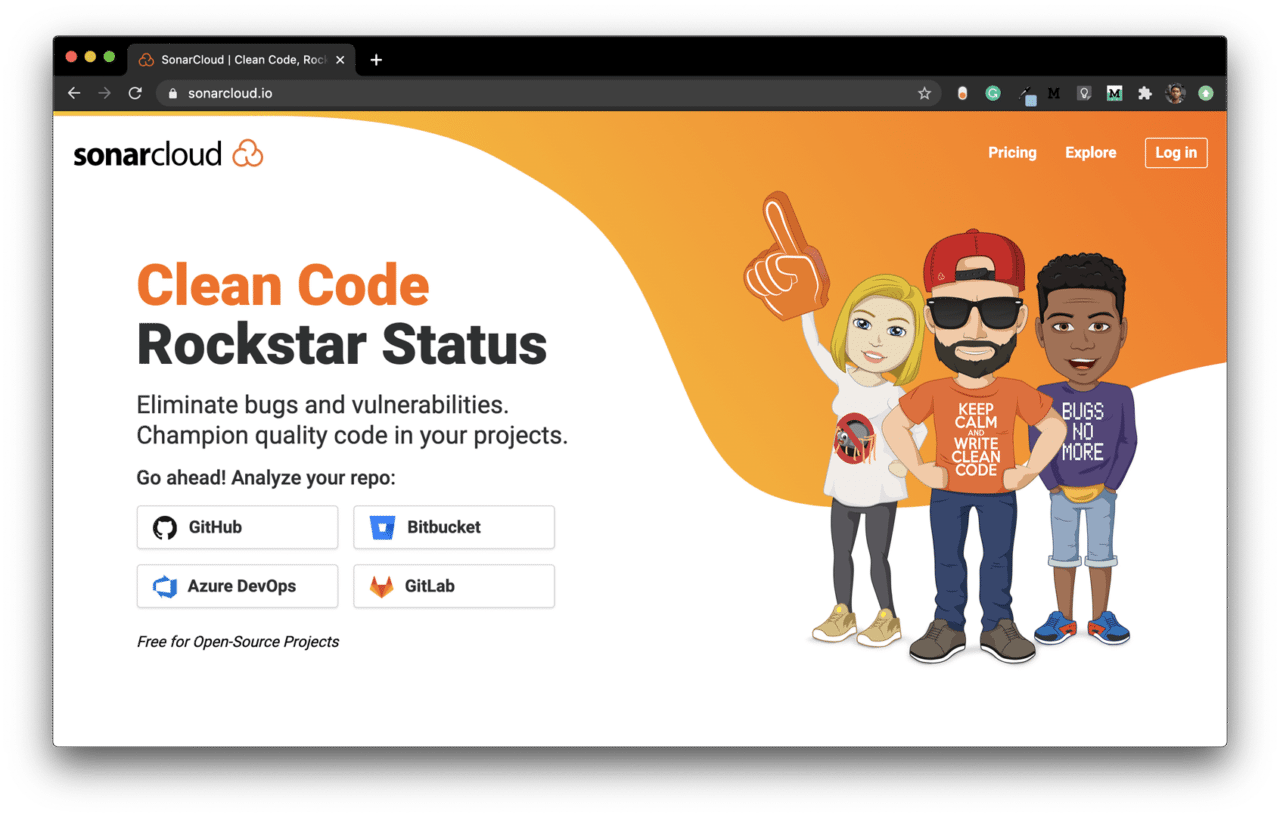
This also helps in getting access to the analysis results generated in a CI/CD environment. SonarCloud works by connecting to a cloud-based code repository service, like GitHub, Bitbucket, or GitLab.
For more information, visit here.
Follow the steps below to connect your project:
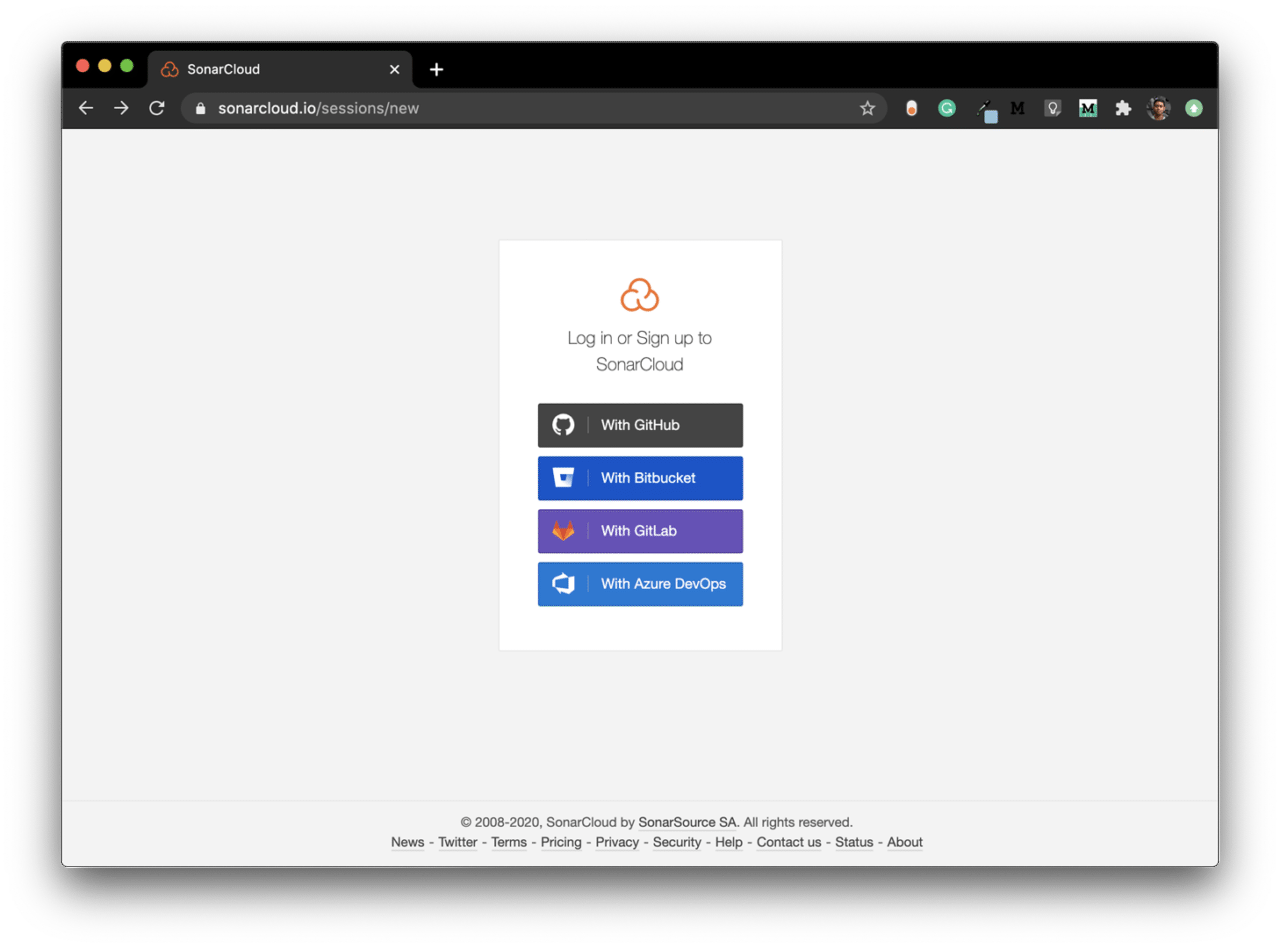
Log in to SonarCloud here.
Enter an organization key and click on Continue.
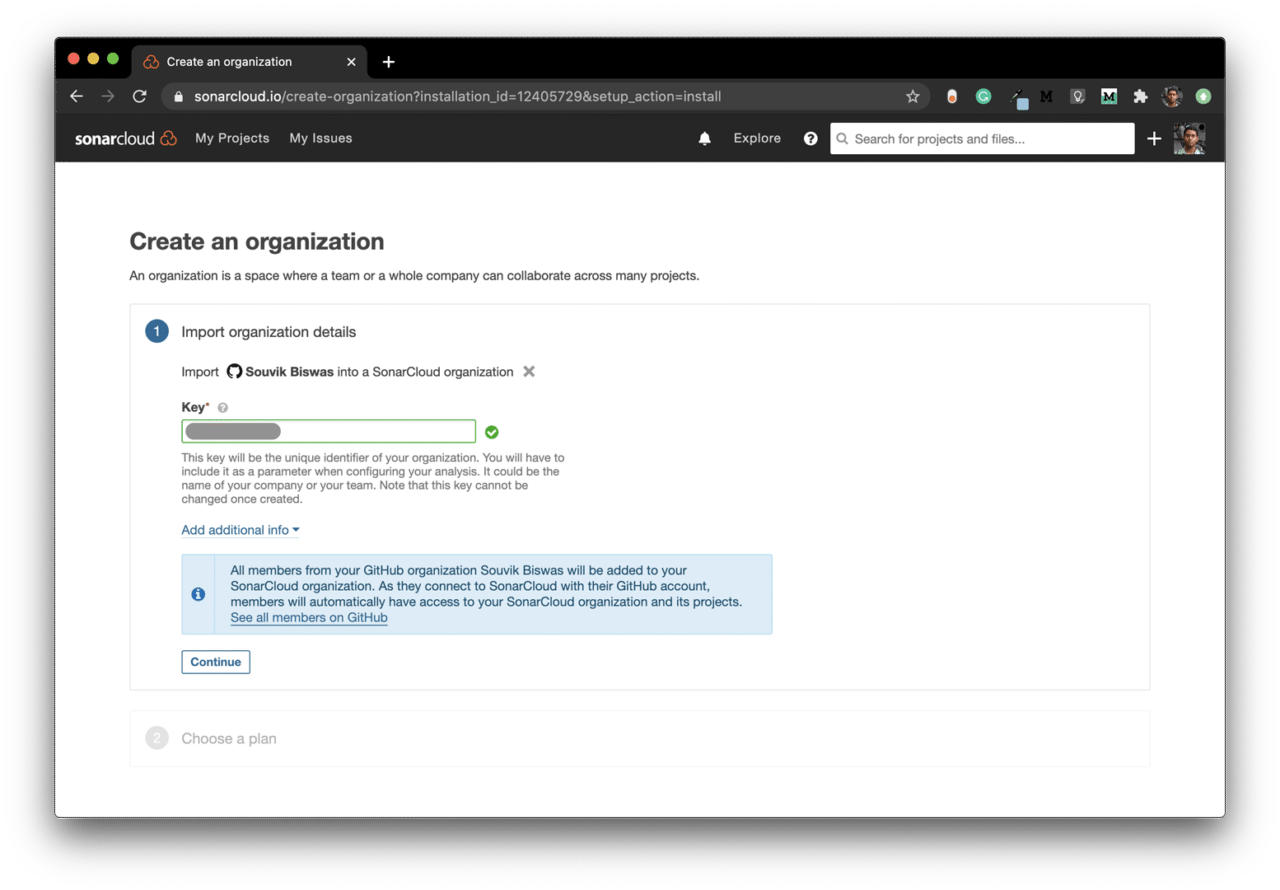
Choose the Free plan and click on Create Organization.

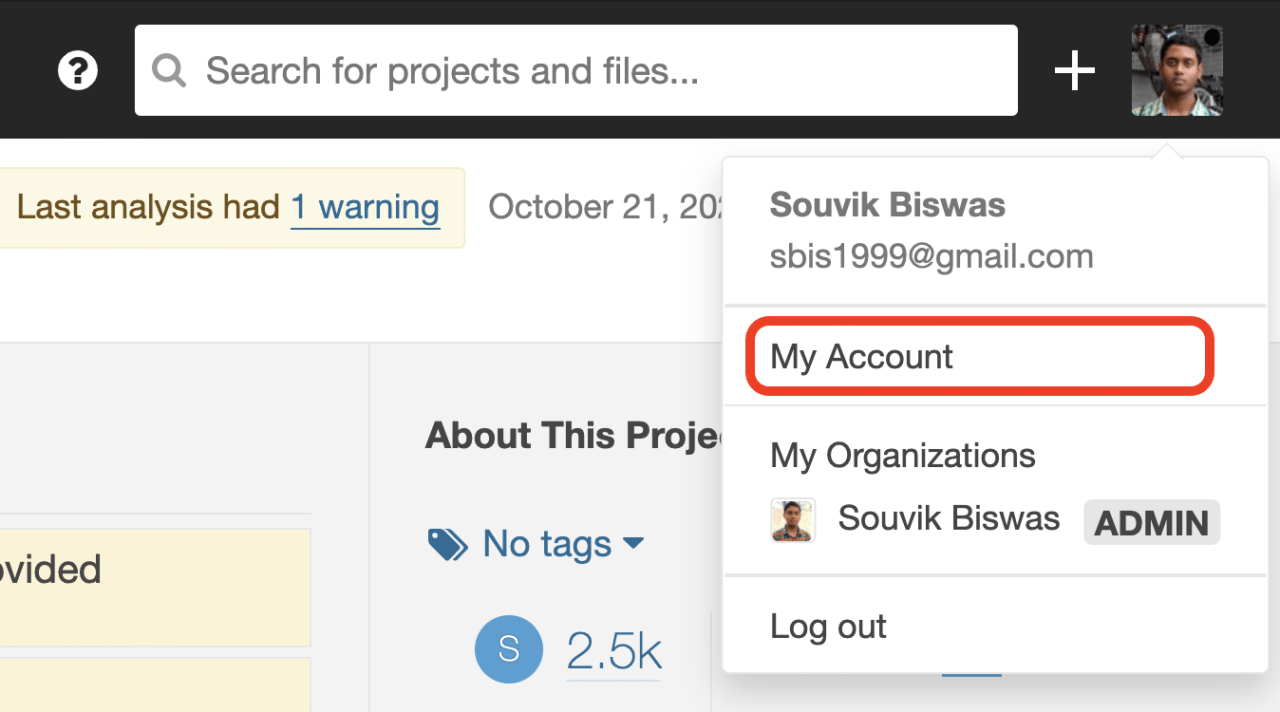
Now, go to My Account.
Under the Security tab, generate a token by entering a name and clicking on Generate.
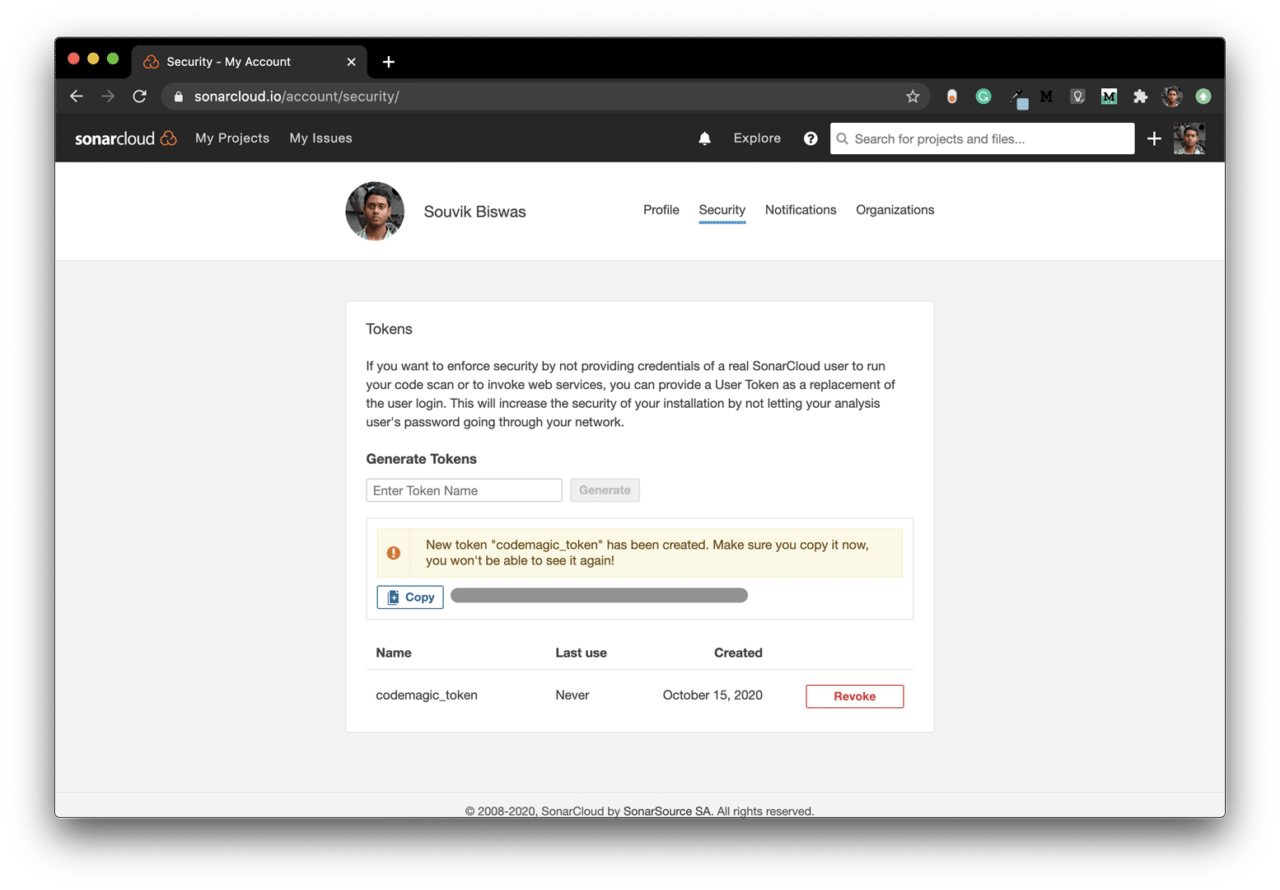
Copy this token. You will need it while running the analysis command.
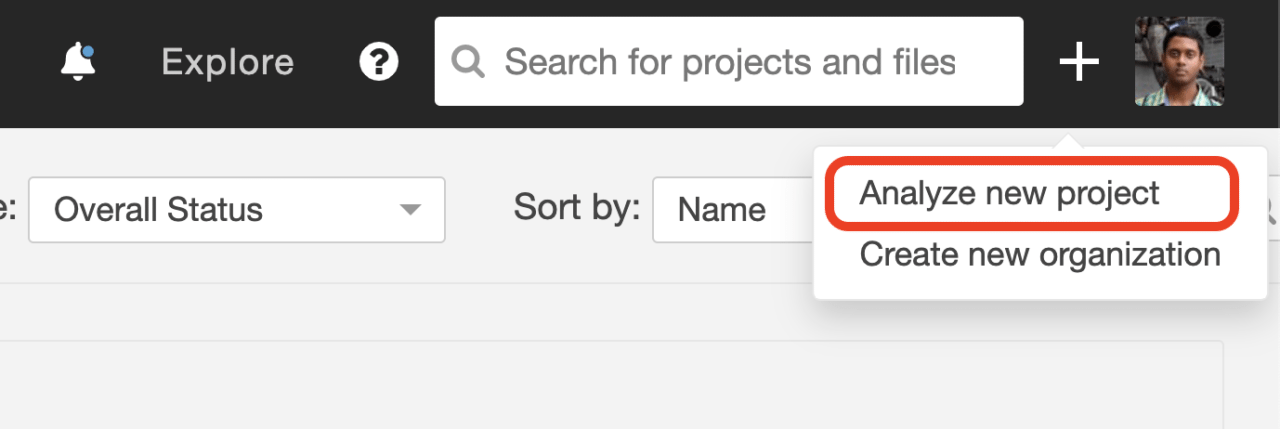
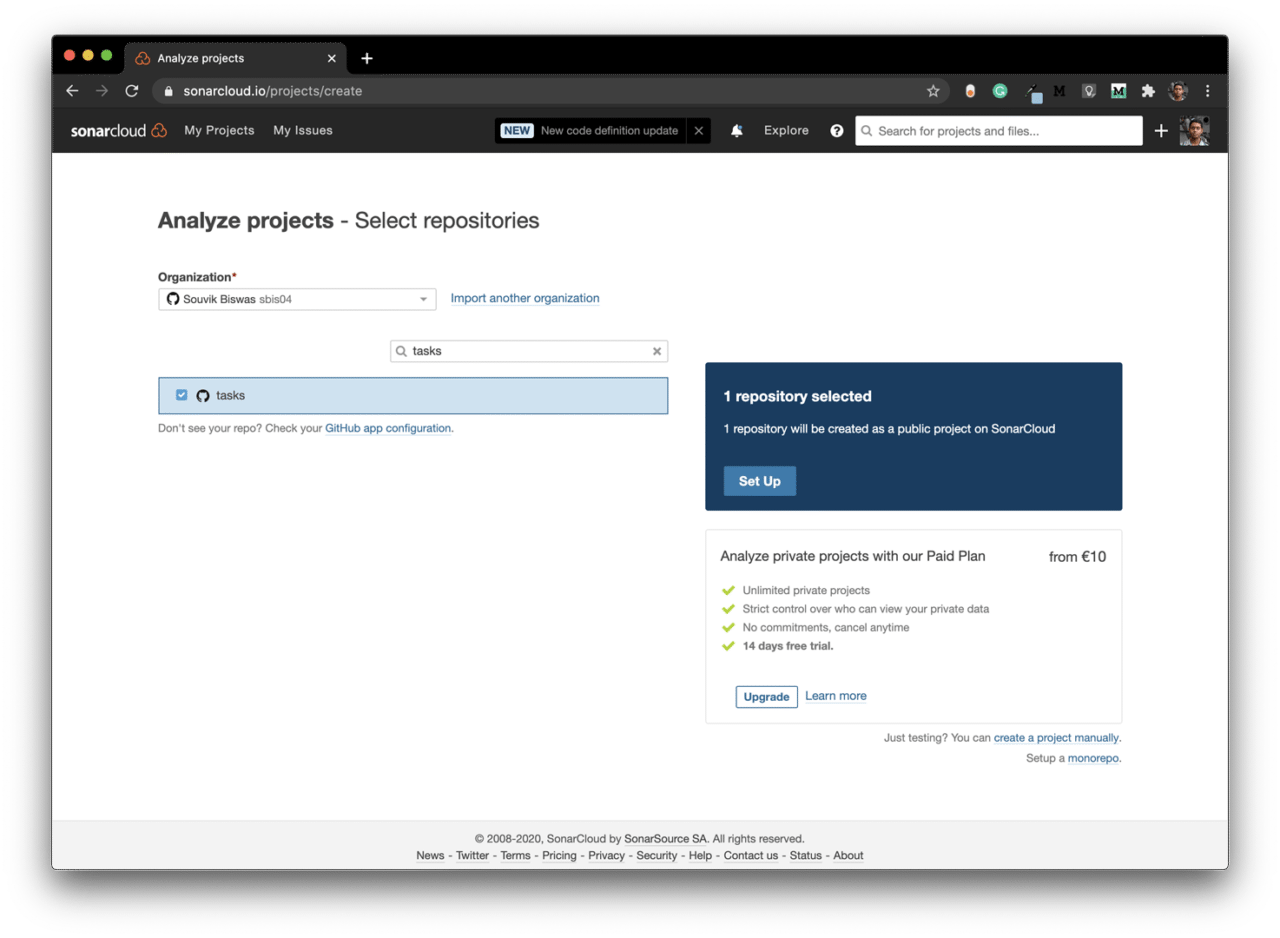
Click on the “+” button in the top-right corner, and select Analyze a new project to add a new project.
Select the project and click on Set Up.
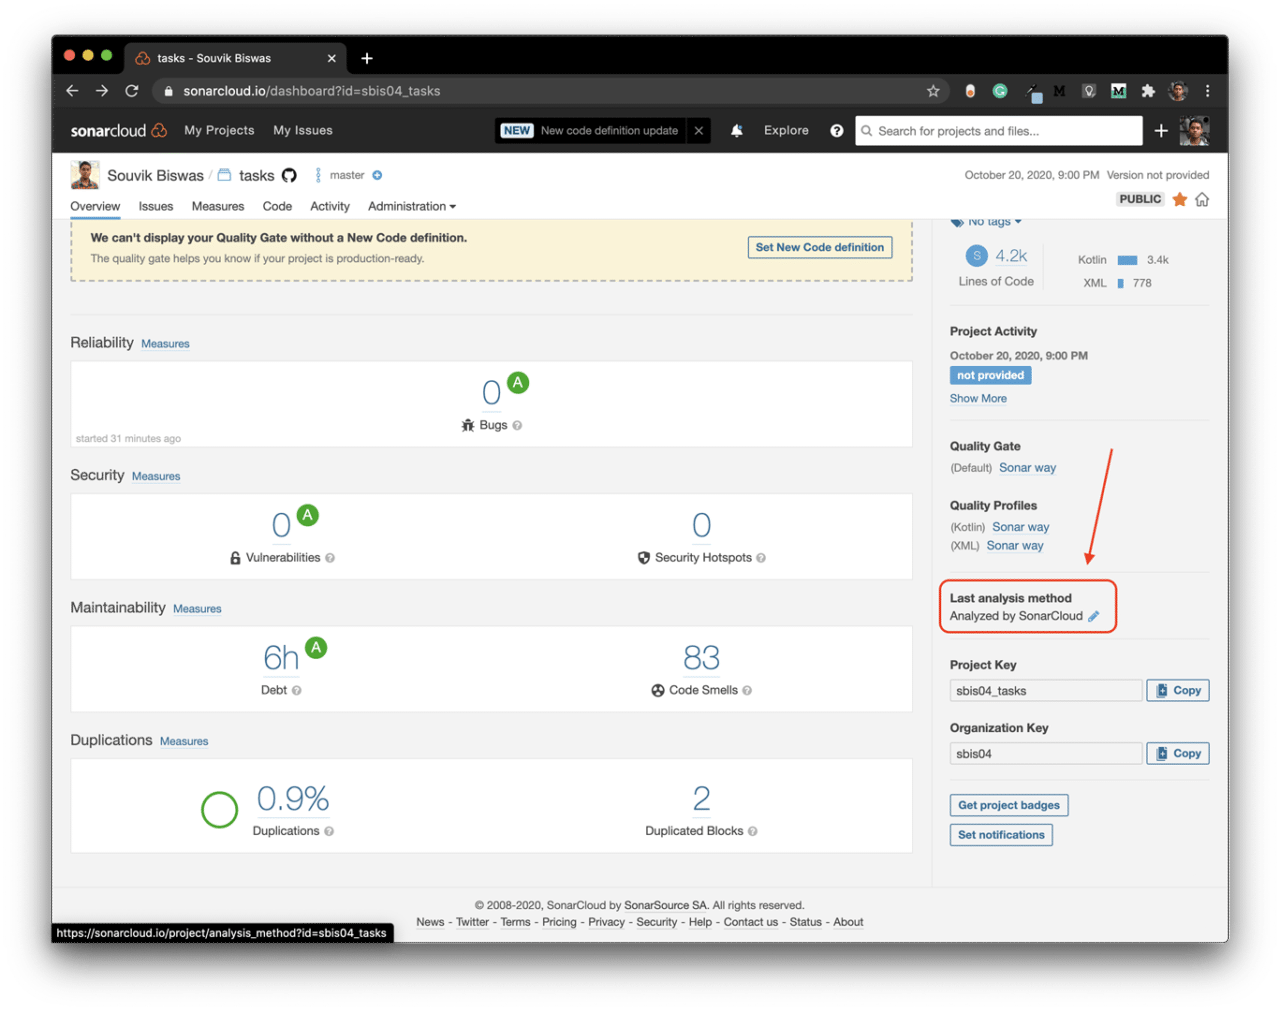
Wait for the initial analysis to complete, then modify the Last analysis method.
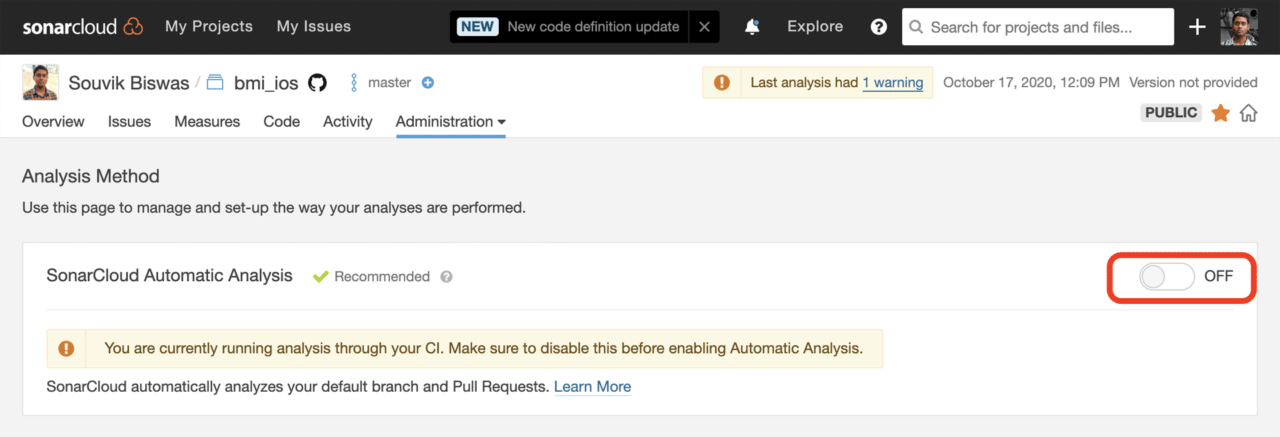
Turn off the SonarCloud Automatic Analysis.
Now, you are ready to upload code analysis reports to SonarCloud.
Using SonarQube with Codemagic
You can easily integrate SonarQube with Codemagic using the codemagic.yaml file.
A template YAML file to start with is given below:
workflows:
  android-app:
    name: Quotes Trivia
    environment:
      vars:
        SONAR_TOKEN: Encrypted(...) # enter the encrypted version of your SonarCloud token
        SONAR_PROJECT_KEY: Encrypted(...) # enter the encrypted version of your SonarCloud project key
        SONAR_ORG_KEY: Encrypted(...) # enter the encrypted version of your SonarCloud organization key
    scripts:
      # define build pipeline here
You can generate the encrypted version of your SonarCloud credentials by going to the project settings on Codemagic and clicking on Encrypt environment variables.
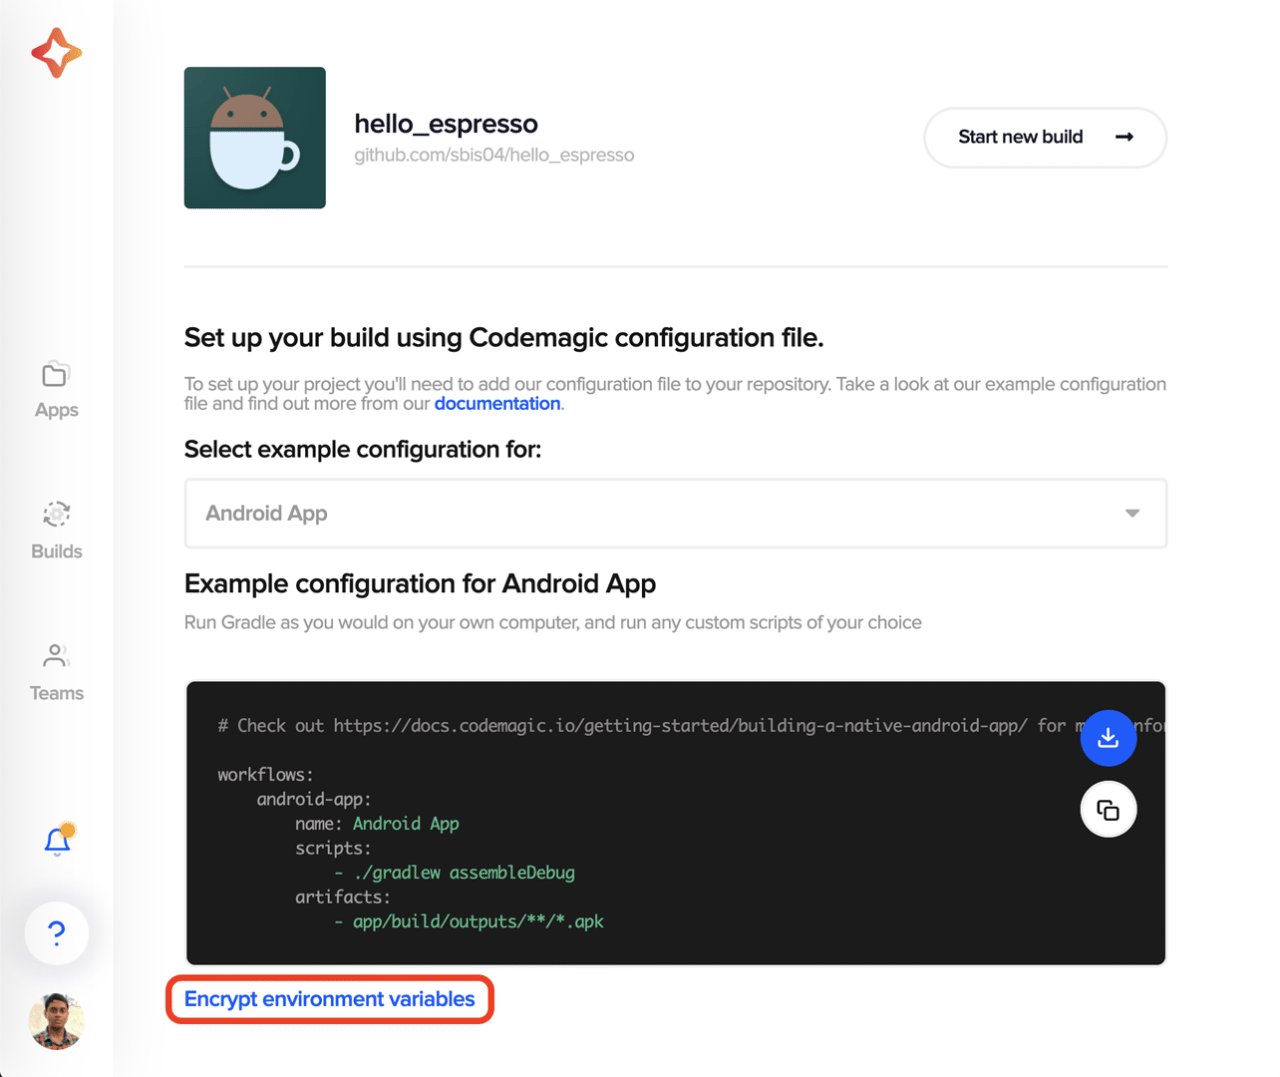
Copy the encrypted version of the credentials, and enter them in the YAML file.
Let’s define the build pipeline script in the codemagic.yaml file for both the Android and iOS projects.
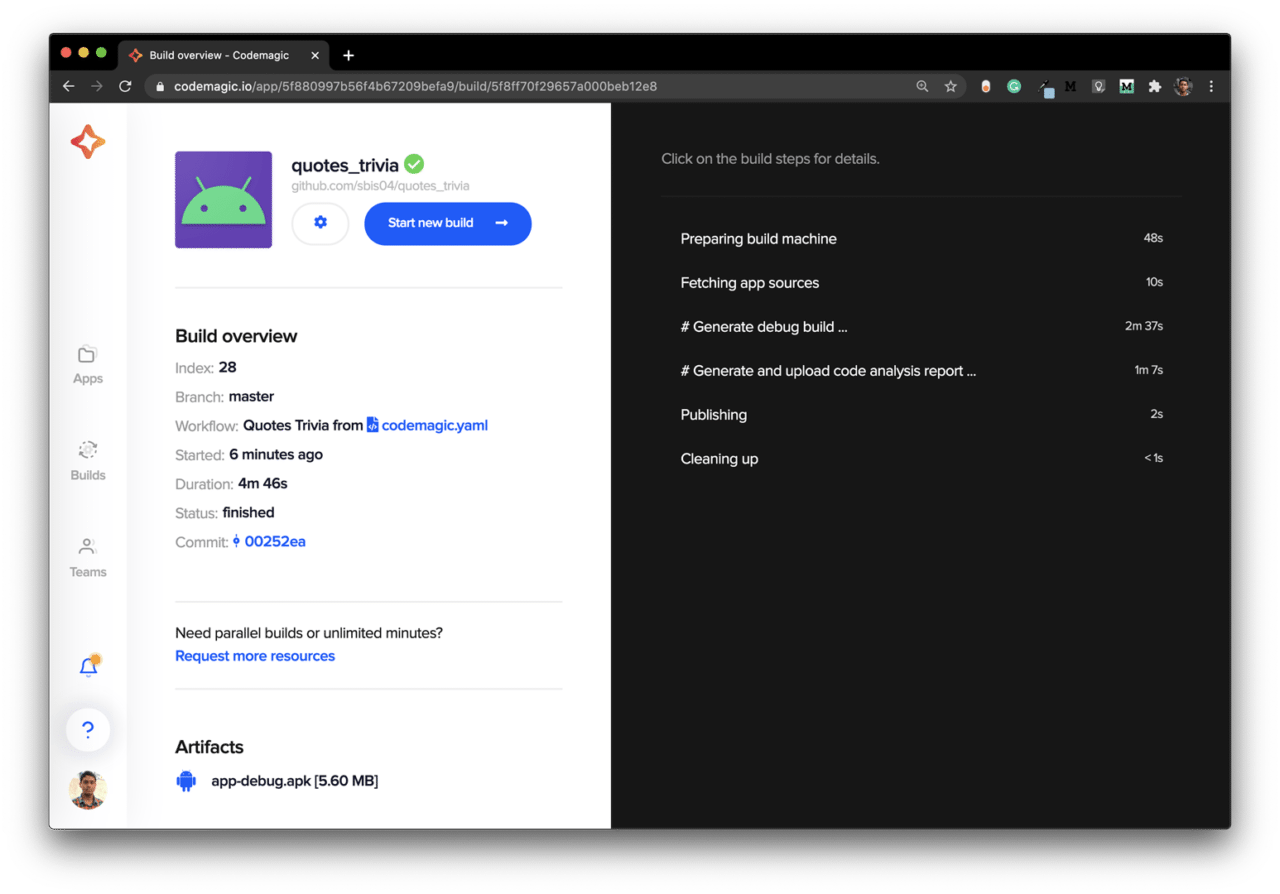
Android project
SonarQube uses a Gradle plugin, which you have already integrated. Now, you can just specify a Gradle command in the codemagic.yaml file for generating and uploading the code analysis report to SonarCloud.
You can use the following script:
workflows:
  android-app:
    name: Quotes Trivia
    environment:
      vars:
        SONAR_TOKEN: Encrypted(...) # enter the encrypted version of your SonarCloud token
        SONAR_PROJECT_KEY: Encrypted(...) # enter the encrypted version of your SonarCloud project key
        SONAR_ORG_KEY: Encrypted(...) # enter the encrypted version of your SonarCloud organization key
    scripts:
      - |
        # Generate debug build
        ./gradlew assembleDebug
      - |
        # Generate and upload code analysis report
        ./gradlew sonarqube \
        -Dsonar.projectKey=$SONAR_PROJECT_KEY \
        -Dsonar.organization=$SONAR_ORG_KEY \
        -Dsonar.host.url=https://sonarcloud.io \
        -Dsonar.login=$SONAR_TOKEN \
        -Dsonar.projectVersion=1.0.0-cm
    artifacts:
      - app/build/outputs/**/*.apk
    publishing:
      email:
        recipients:
          - name@example.com # enter your email
To generate a code coverage report of your Android project, you can use JaCoCo. You can upload the coverage report in XML format by specifying the following SonarQube property:
-Dsonar.coverage.jacoco.xmlReportPaths=<path_to_the_jacoco_report>
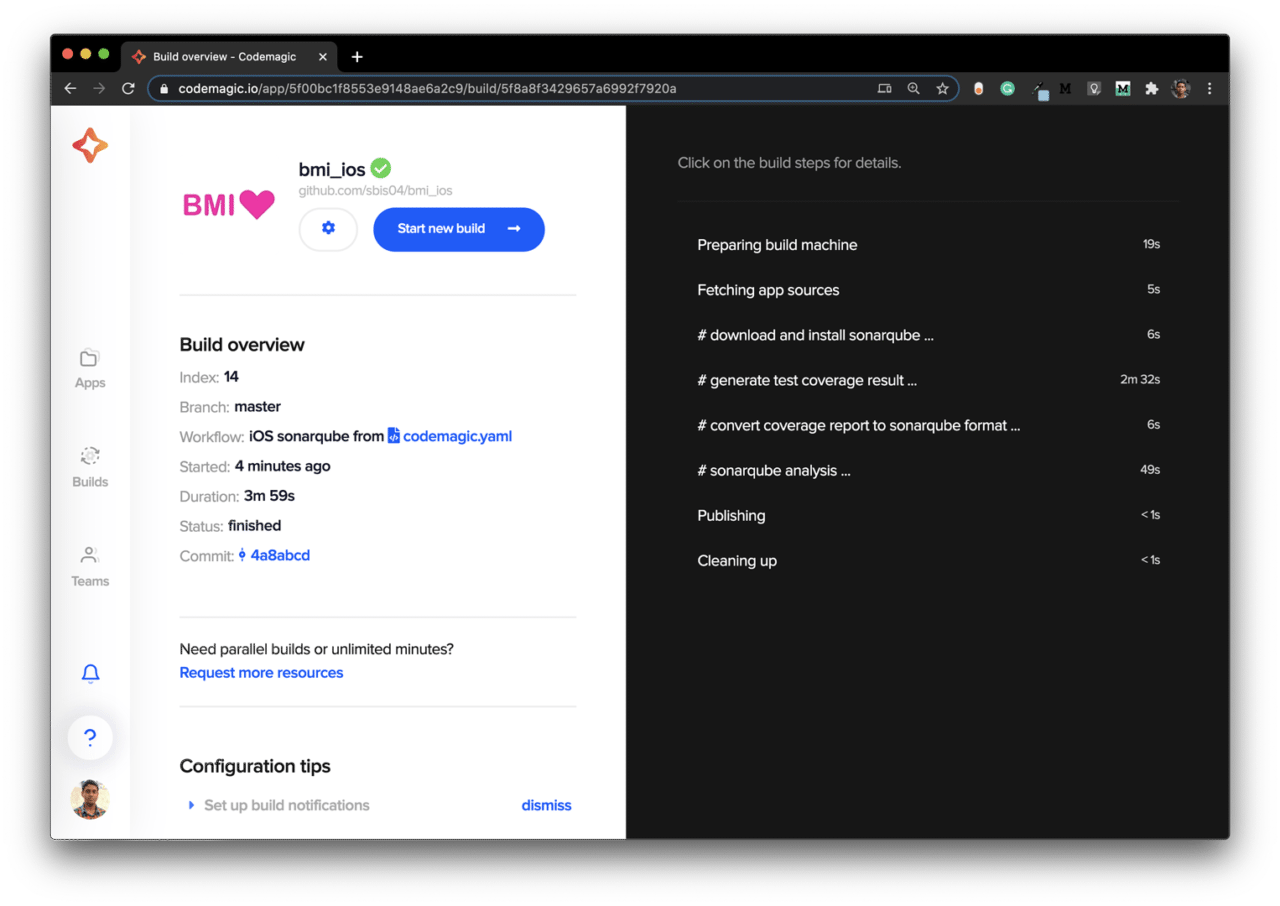
iOS project
For the iOS build analysis, we have to first download and add the SonarScanner to the path. Then we can use it to run the CLI command, which will generate and upload the build analysis results to SonarCloud.
You can use the following script:
workflows:
  ios-sonarqube:
    name: iOS sonarqube
    environment:
      vars:
        SONAR_TOKEN: Encrypted(...) # enter the encrypted version of your SonarCloud token
        SONAR_PROJECT_KEY: Encrypted(...) # enter the encrypted version of your SonarCloud project key
        SONAR_ORG_KEY: Encrypted(...) # enter the encrypted version of your SonarCloud organization key
      xcode: latest
      cocoapods: default
    scripts:
      - |
        # download and install SonarQube
        wget -O $CM_BUILD_DIR/sonar-scanner.zip https://binaries.sonarsource.com/Distribution/sonar-scanner-cli/sonar-scanner-cli-4.4.0.2170-macosx.zip
        unzip $CM_BUILD_DIR/sonar-scanner.zip
        mv sonar-scanner-* sonar-scanner
      - |
        # Generate debug build
        xcodebuild build \
        -project "<project_name>.xcodeproj" \
        -scheme "<scheme_name>" \
        CODE_SIGN_IDENTITY="" CODE_SIGNING_REQUIRED=NO CODE_SIGNING_ALLOWED=NO
      - |
        # Generate and upload code analysis report
        export PATH=$PATH:$CM_BUILD_DIR/sonar-scanner/bin
        sonar-scanner \
        -Dsonar.projectKey=$SONAR_PROJECT_KEY \
        -Dsonar.organization=$SONAR_ORG_KEY \
        -Dsonar.host.url=https://sonarcloud.io \
        -Dsonar.login=$SONAR_TOKEN \
        -Dsonar.projectVersion=1.0.0-cm \
        -Dsonar.sources=.
    artifacts:
      - $HOME/Library/Developer/Xcode/DerivedData/**/Build/**/*.app
    publishing:
      email:
        recipients:
          - name@example.com # enter your email
Replace
<project_name>and<scheme_name>with their appropriate values.
You can generate the code coverage report for your iOS project using:
xcodebuild \
-project "BMI Calculator.xcodeproj" \
-scheme "BMI Calculator" \
-sdk iphonesimulator \
-destination 'platform=iOS Simulator,name=iPhone 11 Pro,OS=14.0' \
-derivedDataPath Build/ \
-enableCodeCoverage YES \
clean build test CODE_SIGN_IDENTITY="" CODE_SIGNING_REQUIRED=NO
But the report cannot be uploaded in this format, so you have to use the following script to convert it from an .xcresult to an .xml file:
# File name: xccov-to-sonarqube-generic.sh

#!/usr/bin/env bash
set -euo pipefail

function convert_file {
  local xccovarchive_file="$1"
  local file_name="$2"
  echo "  <file path=\"$file_name\">"
  local line_coverage_cmd="xcrun xccov view"
  if [[ $@ == *".xcresult"* ]]; then
    line_coverage_cmd="$line_coverage_cmd --archive"
  fi
  line_coverage_cmd="$line_coverage_cmd --file \"$file_name\" \"$xccovarchive_file\""
  eval $line_coverage_cmd | \
    sed -n '
    s/^ *\([0-9][0-9]*\): 0.*$/    <lineToCover lineNumber="\1" covered="false"\/>/p;
    s/^ *\([0-9][0-9]*\): [1-9].*$/    <lineToCover lineNumber="\1" covered="true"\/>/p
    '
  echo '  </file>'
}

function xccov_to_generic {
  echo '<coverage version="1">'
  for xccovarchive_file in "$@"; do
    local file_list_cmd="xcrun xccov view"
    if [[ $@ == *".xcresult"* ]]; then
      file_list_cmd="$file_list_cmd --archive"
    fi
    file_list_cmd="$file_list_cmd --file-list \"$xccovarchive_file\""
    eval $file_list_cmd | while read -r file_name; do
      convert_file "$xccovarchive_file" "$file_name"
    done
  done
  echo '</coverage>'
}

xccov_to_generic "$@"
Run this script using:
bash xccov-to-sonarqube-generic.sh Build/Logs/Test/*.xcresult/ > sonarqube-generic-coverage.xml
Pass the result to SonarQube by specifying the following properties:
-Dsonar.cfamily.build-wrapper-output.bypass=true \
-Dsonar.coverageReportPaths=sonarqube-generic-coverage.xml \
-Dsonar.c.file.suffixes=- \
-Dsonar.cpp.file.suffixes=- \
-Dsonar.objc.file.suffixes=-
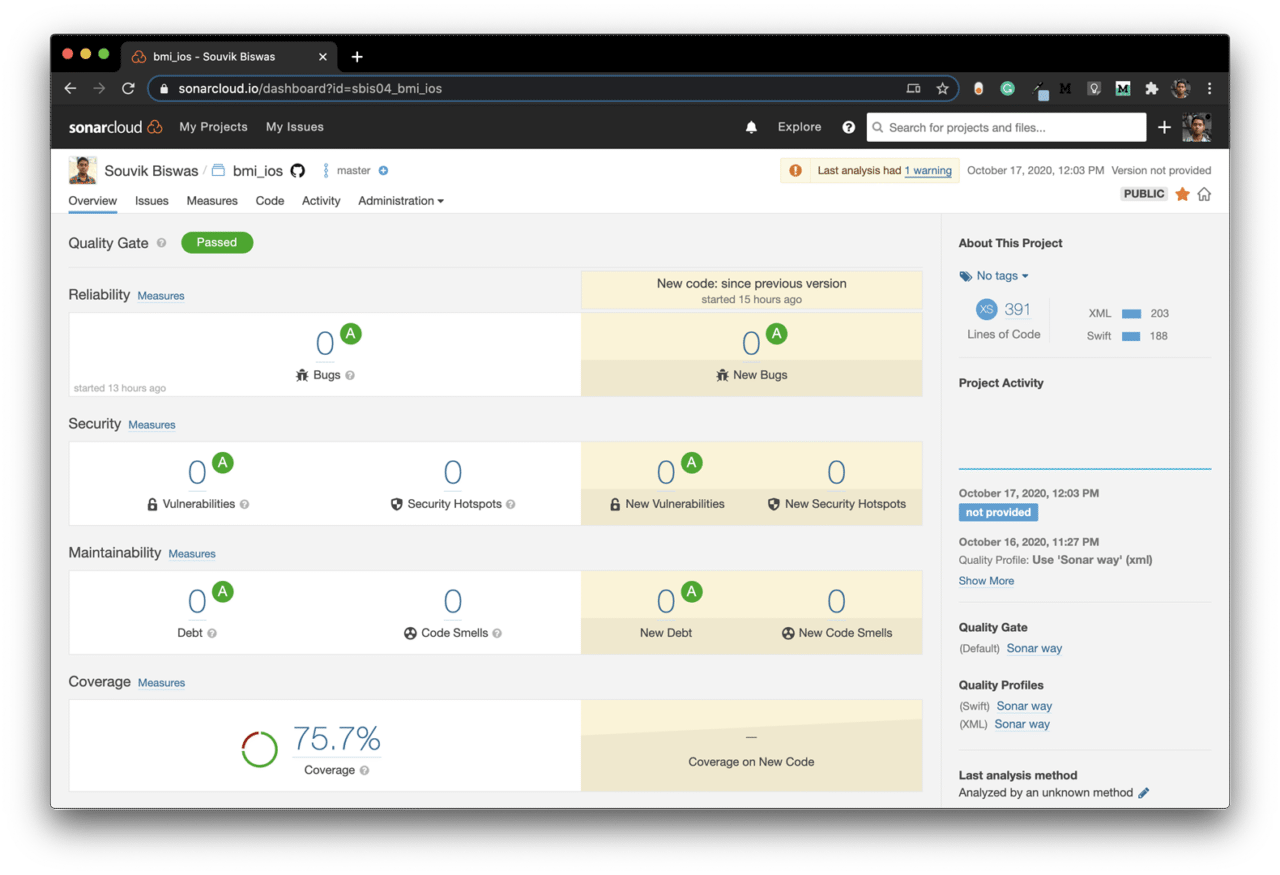
The SonarCloud dashboard for this project will look like this:
Conclusion
SonarQube integration with Codemagic is really simple using the codemagic.yaml file. The code analysis results are directly uploaded to their cloud server, which can be easily viewed by navigating to the SonarCloud dashboard. Though I have covered the basic configuration required for generating the code analysis report, there are various other properties that you can specify while using SonarQube.

Learn more
- SonarCloud documentation
- GitHub repo of the sample Android app
- GitHub repo of the sample iOS app
- Android continuous integration and delivery (CI/CD) with Codemagic
- iOS continuous integration and delivery (CI/CD) with Codemagic
Souvik Biswas is a passionate Mobile App Developer (Android and Flutter). He has worked on a number of mobile apps throughout his journey. Loves open source contribution on GitHub. He is currently pursuing a B.Tech degree in Computer Science and Engineering from Indian Institute of Information Technology Kalyani. He also writes Flutter articles on Medium - Flutter Community.


